How to buy domain and hosting package – Guide

Table of Contents
Process 1: Purchase a domain name
Make a clear picture yourself of what you are going to build the website for and what your target audiences are and purchase the domain name accordingly.
Once you are clear with the domain name, you can get the domain at a low price in SeekaHost -> https://www.seekahost.com/register-domain/.
To know how to register a domain name ,check here -> https://www.seekahost.com/how-to-register-a-domain-name/.
To transfer a domain from other hosting to SeekaHost -> https://www.seekahost.com/transfer-domain/
To know how to transfer the domain ownership, check here -> https://www.seekahost.com/transfer-domain-ownership/.
IMPORTANT NOTE:
1. If you purchase a new domain on first order, kindly verify the domain ownership verification email for the domain within 14 days to avoid domain suspension.
2. If you transfer domain to SeekaHost, approve the domain transfer email received to your registered mail to successfully initiate the domain transfer. It will take 7 to 14 days to transfer once the mail approved.
Process 2: Purchase a hosting package
Once purchased the domains, you need hosting to store files and develop your website. Before purchasing a package, know your requirements for the domains and choose accordingly.
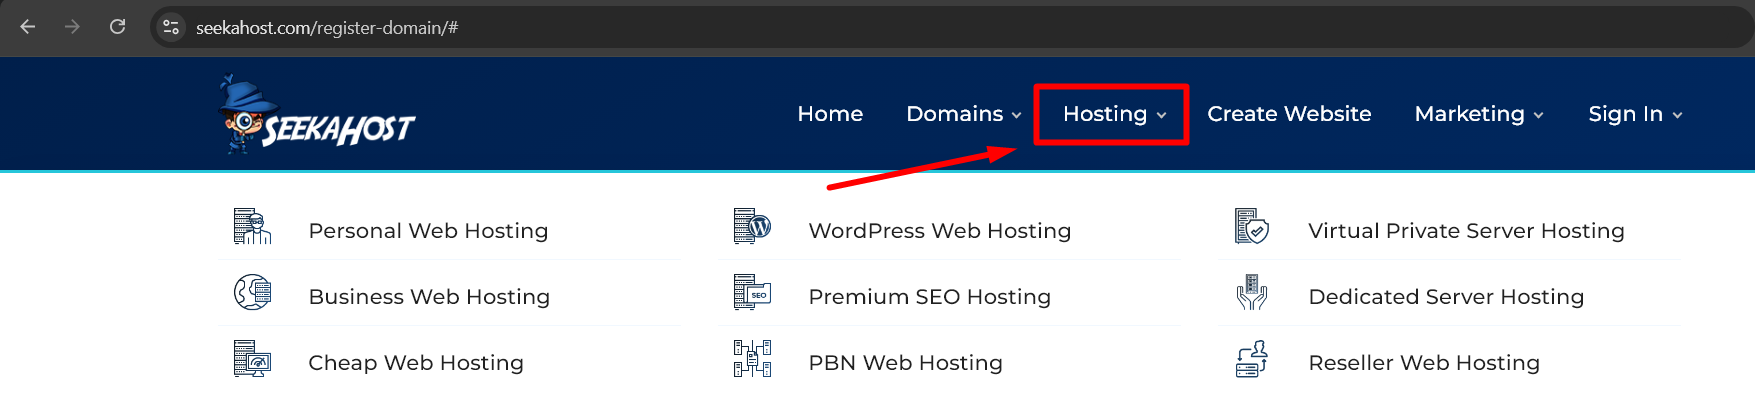
Go to Seekahost.com and click “Hosting” on top and choose the package.
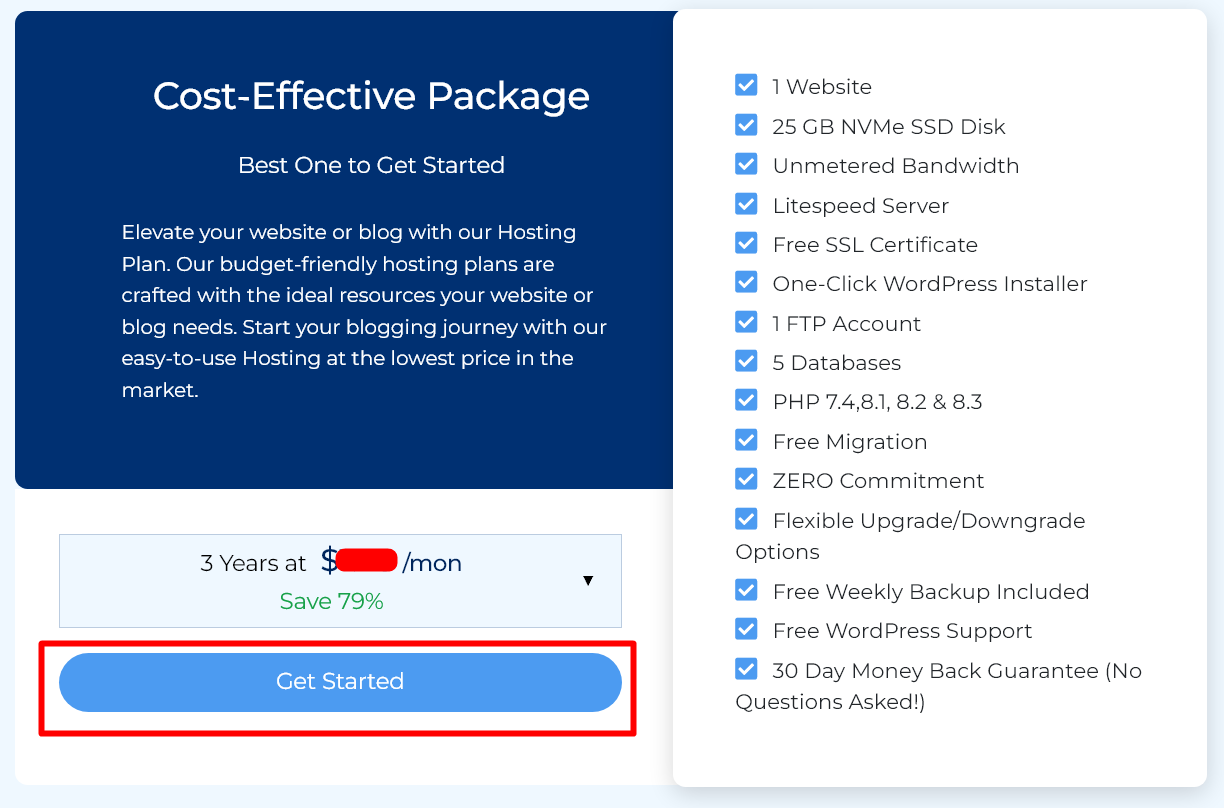
For Personal and Business Hosting Package:
1. Click “Get started” on which plan you choose from the package.
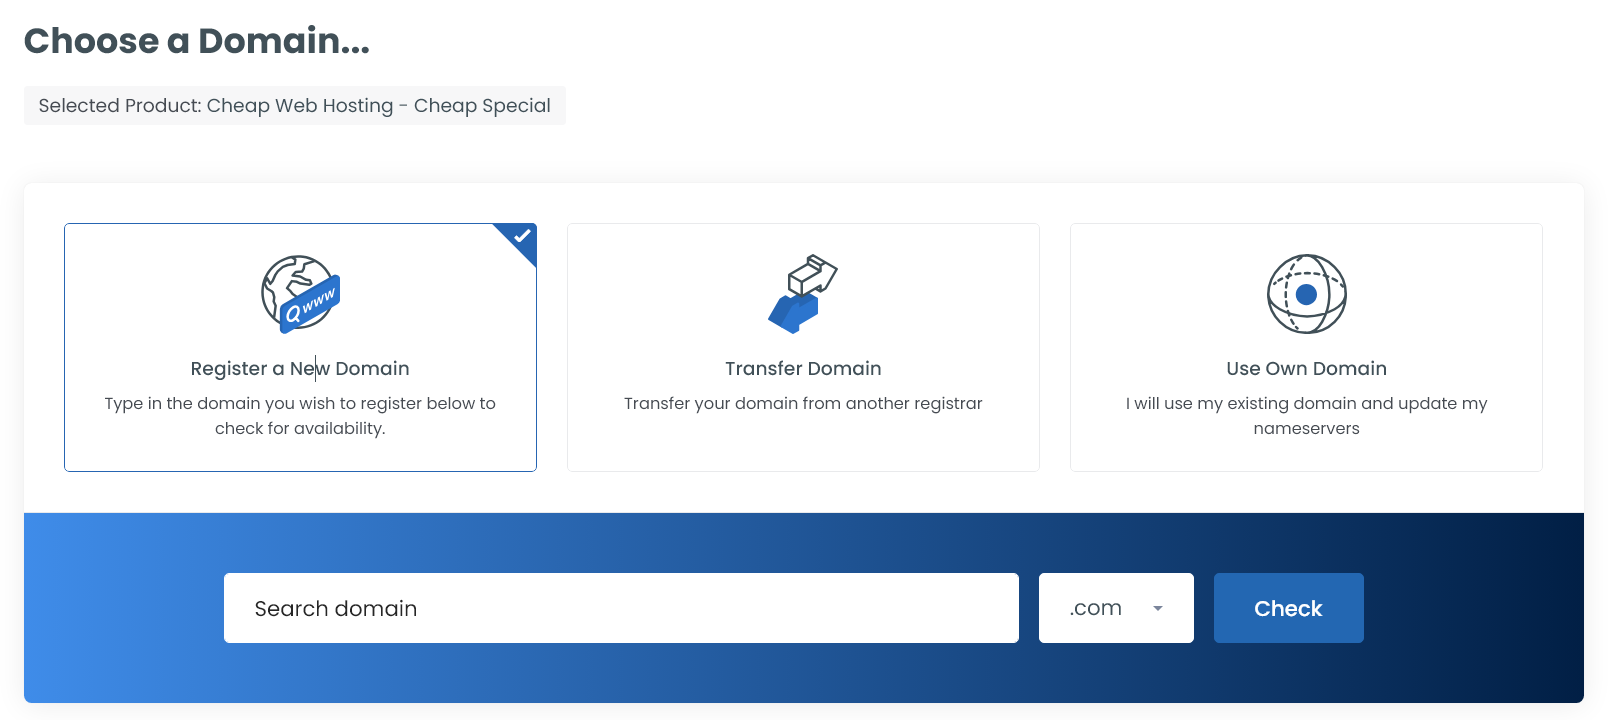
2. You will have three options to choose from,
- Register a new domain -> Choose, If you do not have any domains registered with you.
- Transfer your domain from another registrar -> Choose, If you registered the domain already with another provider and wish to transfer
- I will use my existing domain and update my nameservers -> Choose, If you already registered domain or added in cart with us and wish to use that domain.
If you want to register multiple domains, once you enter the first domain, click “Continue”. Now again come back and do the same process for all the domains to add in cart.
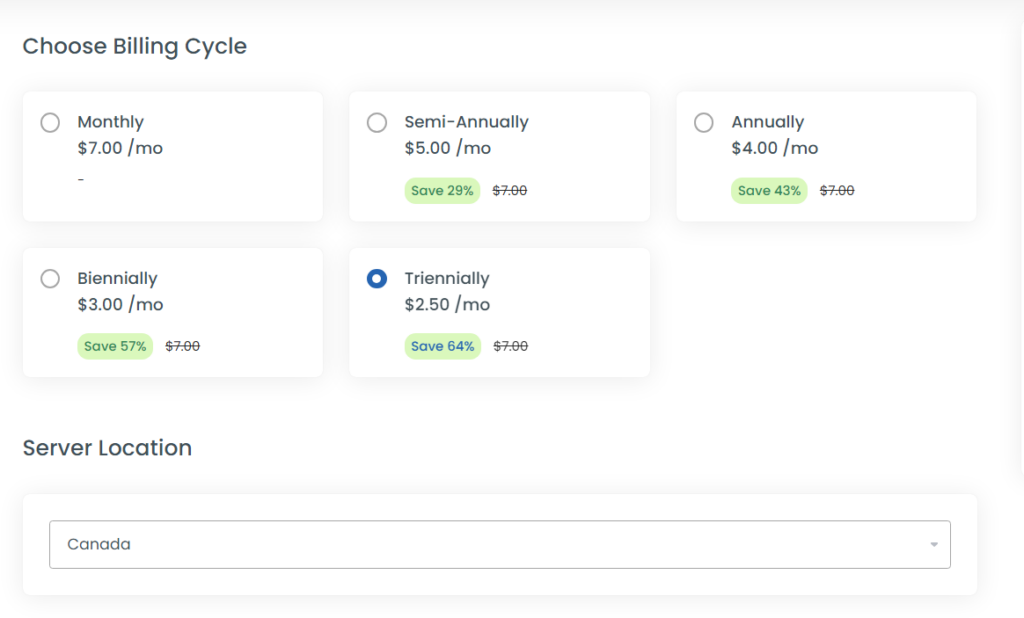
3. Choose the billing cycle and Server Location. Click “Continue”.
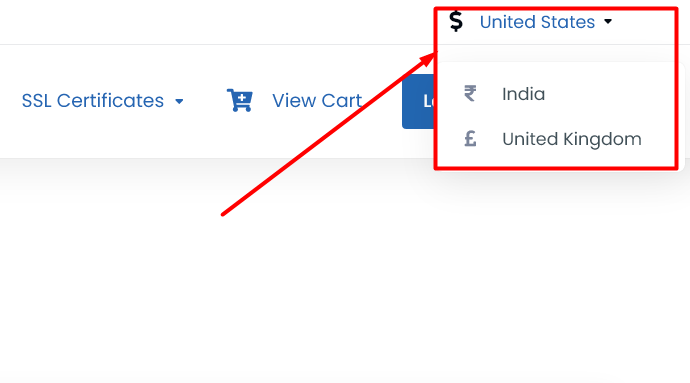
- If want to pay with different currency, then choose the currency type from right top of the page. It will redirect to respective portal.
- Choose the billing cycle and server location where you want to host the website.
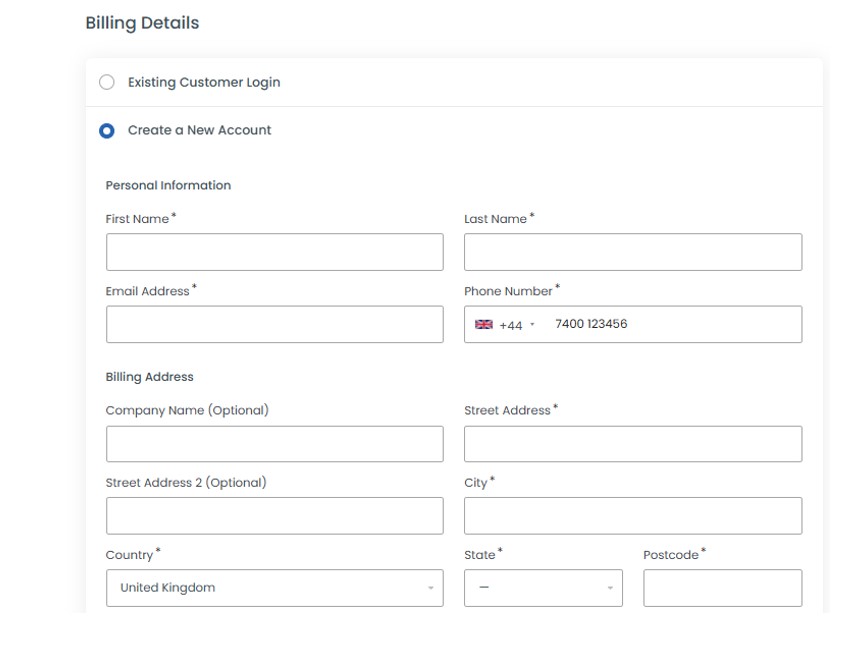
- If already have account with us, choose “Existing Customer Login” option or choose “Create a New Account” to create one.
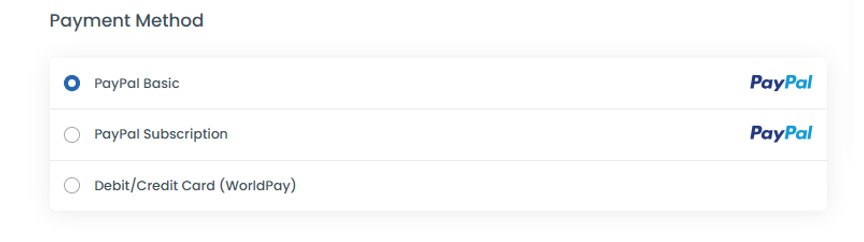
- Choose the payment method you like to pay.
- If you have purchased a domain alongside, you can enable the DNS Management (Free), ID protection, and Email forwarding (Free) for the domain.
NOTE: You can save 79% on and Triennially billing cycle.
4. Once completed, again click “Checkout” and make the payment.
5. For Personal, Business Hosting, and WordPress Package (includes WordPress installation details), you will receive the hosting cPanel details to the registered mail ID with SeekaHost.
For PBN and SEO Package:
- Order a PBN/SEO Hosting by visiting seekahost.com and Click “Get started” on which plan you choose from the package.
- Choose the billing cycle and additional resources need for websites
- For the PBN package, if you need additional bandwidth and disk space, increase the bar accordingly or else you can request that by raising a ticket with the domain name. Our team will process it for you.
- To add funds, kindly raise a ticket and our support team will send you an invoice to add funds.
NOTE: You can use the available credit balance for any future invoice or upgrade disk space and bandwidth additionally.
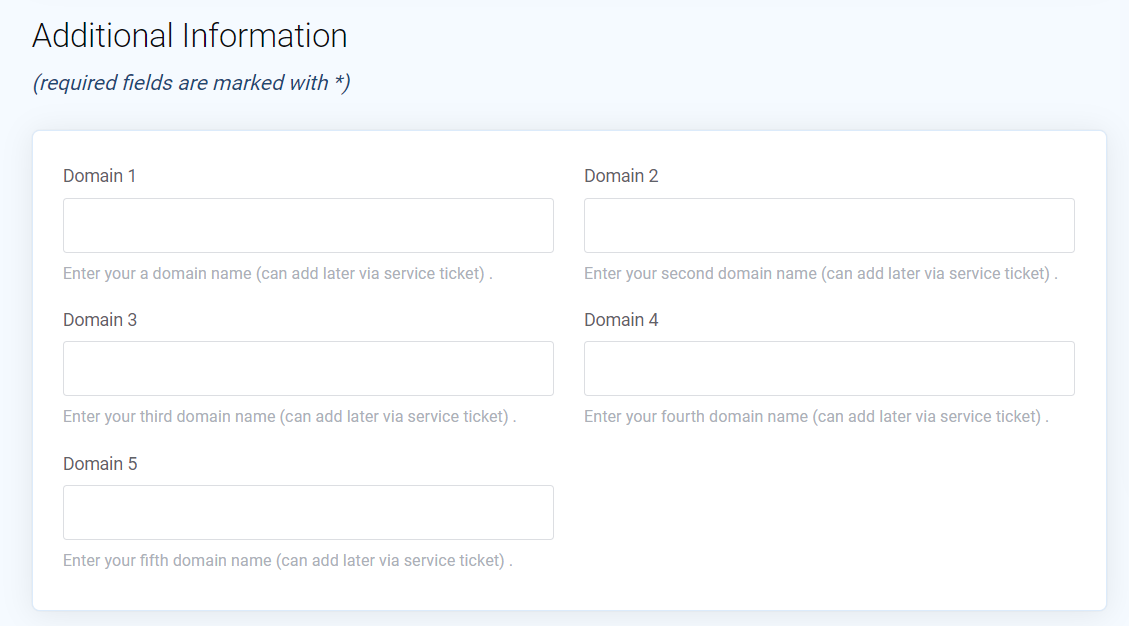
- Under Additional Information, mention the domain names in the slot that you want us to host.
- Click “Continue” and Choose the respective options and click “Checkout” again.
3. In case you have forgotten to mention the domain names while ordering the package, you can still share the domain list through ticket or ask for assistance via live chat.
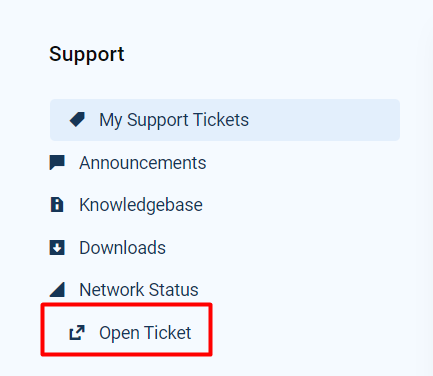
To raise ticket, login to client area -> Support -> Ticket -> Open Ticket.
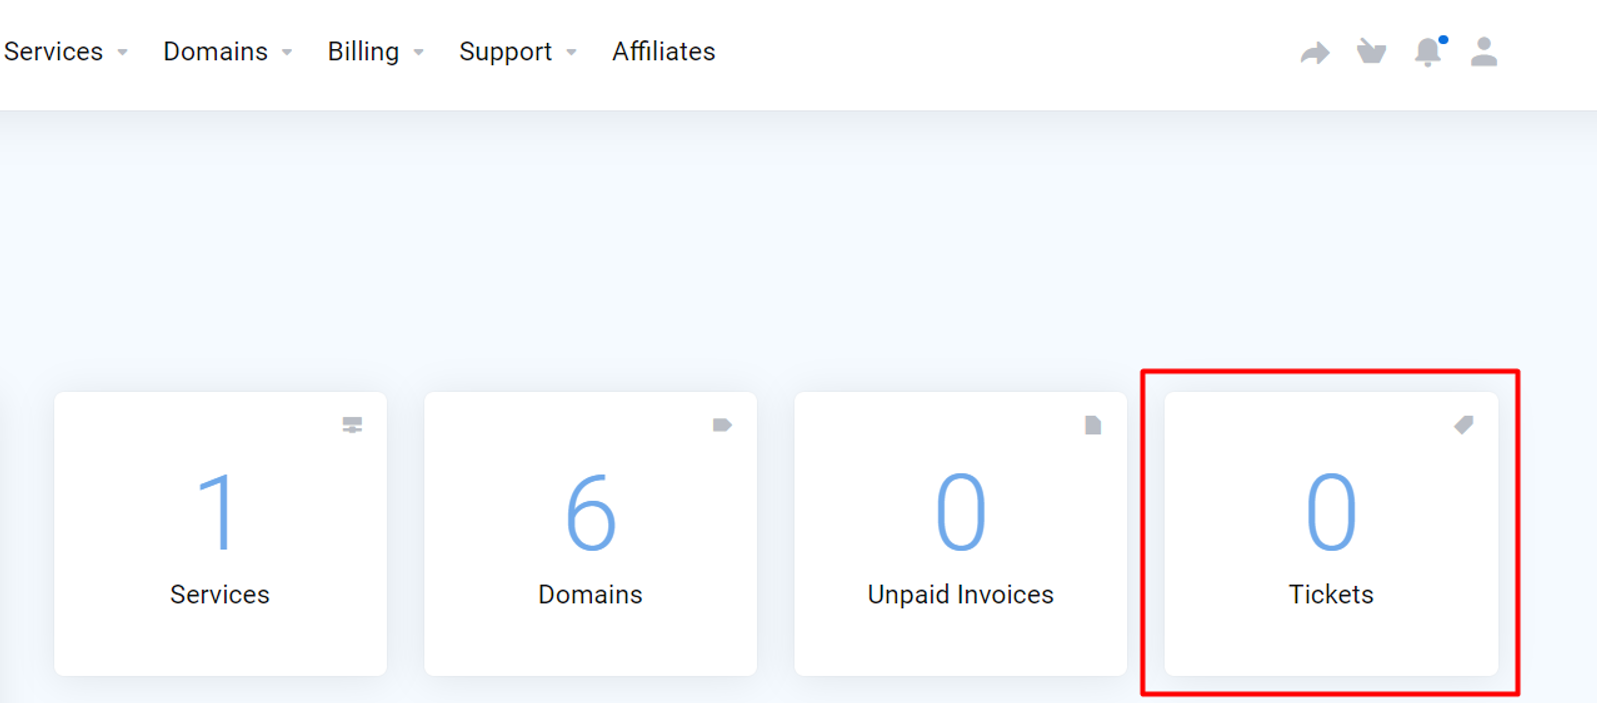
All the tickets you have raised will get displayed as shown in below screenshot. You can click on those tickets to view their status and replies.
Now choose the respective department under which you want to raise the ticket and click it.
Information:
Suggestion/Complaint – If you want to give suggestions on our services to improve or complaints/issues about our services.
Billing Department – If you want to know any details or have any payment-related issues.
Technical Issues – If you are facing any difficulty on your website or have any queries related to it.
Account Setup – If you want to add, remove or change domains under your packages.
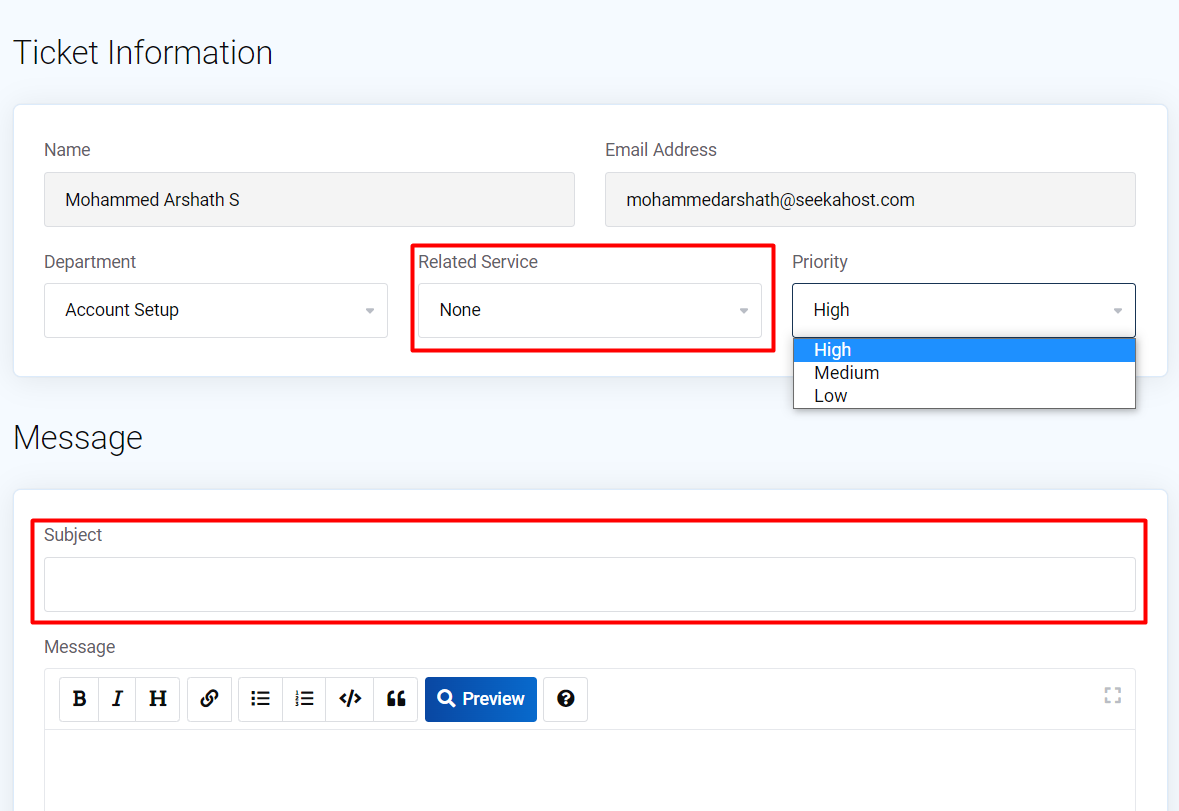
In the below image, choose the hosting package for your query under “Related Service”, mention the subject and type the message you want to share with us.
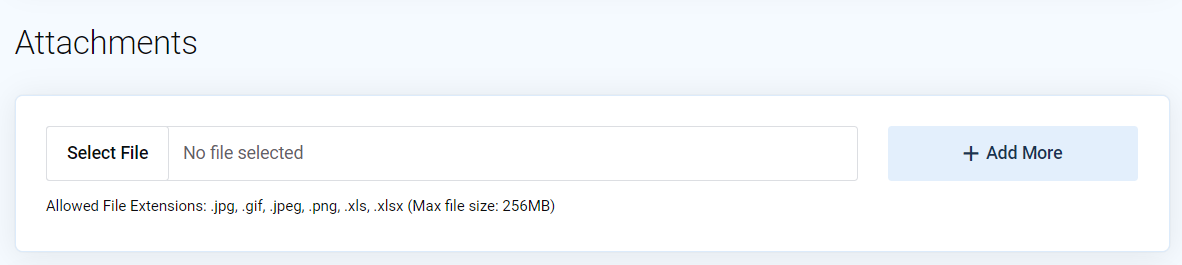
If you want to attach any additional files to let us know more details regarding your ticket, you can attach the file as shown in the image below,
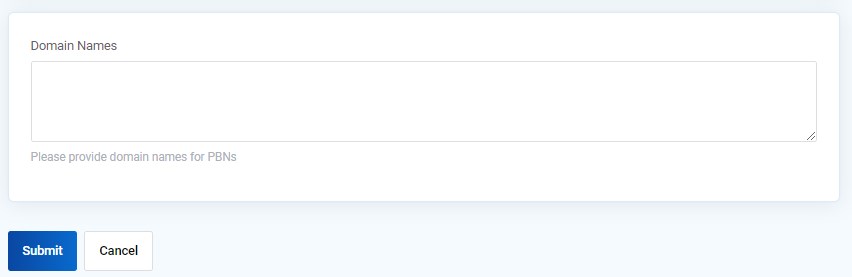
Under Account Setup, you can mention the domain names you want to host under your package in the image shown below.
Click “Submit” and the ticket id will be shown.
IMPORTANT NOTE:
In order to successfully activate the order, you need to verify the email for the account. You can request for verification email on top of the dashboard.

Process 3: Nameserver Update
- You will receive the cPanel details of the Nameserver and IP for the domains you have mentioned through the ticket and registered mail id once our team hosted it.
- After receiving the details, you are obliged to update that nameserver in your domain registrar to live the website and login to the cPanel for the domain.
For the nameserver update process for your respective domain registrar, check here -> https://www.seekahost.com/index.php/knowledgebase/12/Update-Private-NameServer-Provided-By-SeekaHost.html
You can confirm the update on Leafdns.com or whatsmydns.net.
NOTE: Kindly wait a maximum of 24 to 48 hours after the update for completion of propagation. Only after confirming, move on to the next process below.
- Once confirmed, log in to the cPanel of the respective domain and upload it to make the site live with the content.
- Upload the content you have or install WordPress through Softaculous and develop your website then.
To install wordpress -> https://www.seekahost.com/install-wordpress-using-cpanel/
NOTE: If there is no content, the website will show 403 Forbidden.
Process 4: Install SSL
(Only after successful update of our nameservers / A record, install SSL)
To Install the SSL for the website, follow the steps mentioned in the article here -> https://www.seekahost.com/install-free-ssl-in-cpanel/
NOTE: Avoid repeated failure of SSL running if it shows any error after installation.
Process 5: HTTP TO HTTPS Redirect
After installing SSL, if the website still does not load with HTTPS, you can do a force redirect from cPanel. It will load the website even if access to it with HTTP.
For Force redirection, follow the steps mentioned here -> https://www.seekahost.com/how-to-redirect-from-http-to-https/
Hope you’re now clear about SeekaHost Package purchase!
If you still have any queries, you can directly connect us through Live Chat Support. Our dedicated support team is available 24*7 to support you.