
How to Order PBN Hosting in SeekaHost?

PBN Hosting is beneficial and provided as service for those who want to rank their money site as priority using other hosting domains backlink using the PBN service and configuration which is necessary to avoid footprint or penalty while google crawl the sites.
Let’s explore more about the pbn hosting service and how you can purchase the package with us!
Table of Contents
What is PBN Hosting Service?
PBN Hosting Service is a specialized web hosting plan which helps to bring all the pbn sites into a blog of networks called private blog network. In this private blog network, a main website or money site will function as primary to navigate in top of Search Engine Ranking and Optimization with the support and creation of other network websites interlinked in the network.
To make it more simplified, build multiple blog of websites with intention of forwarding their link juice and SEO value to single website (Money Site) which you want to rank on top of search ranking and want to be visited by your visitors.
Steps to Order PBN Hosting in SeekaHost:
If you want to know how to Order PBN Hosting at SeekaHost, we will Guide you through the process in just 8 easy Steps:
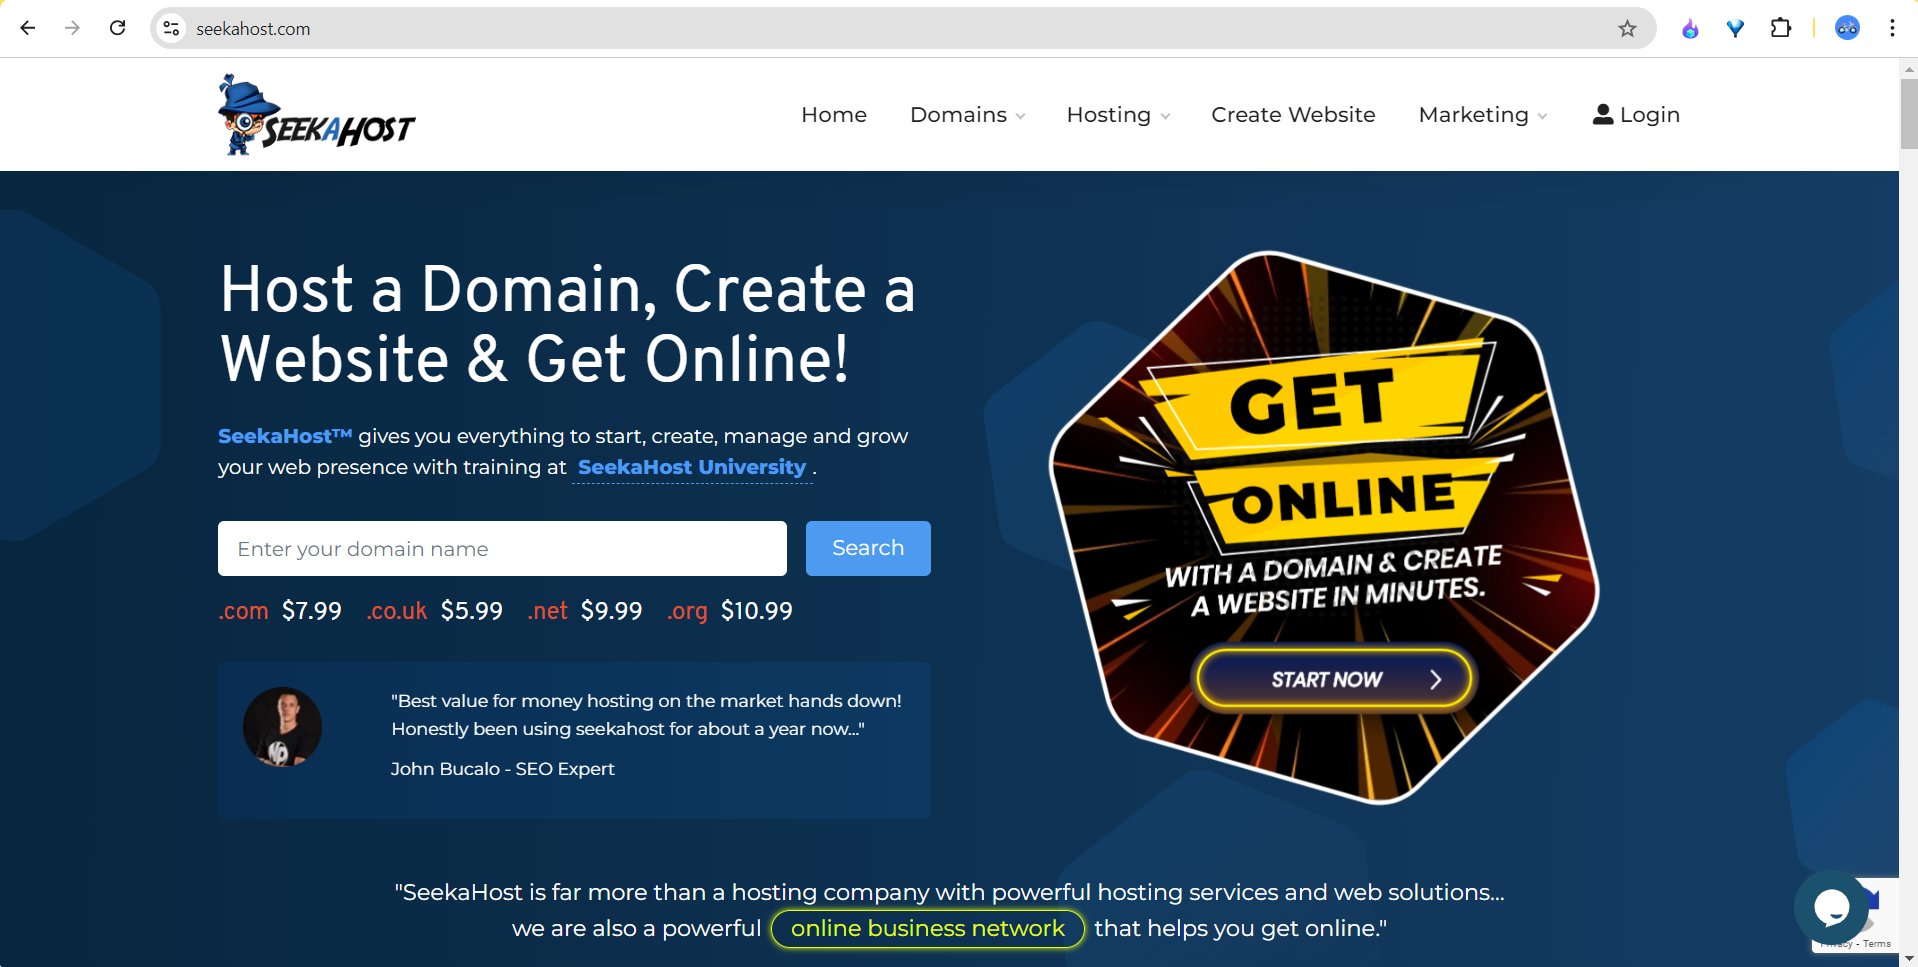
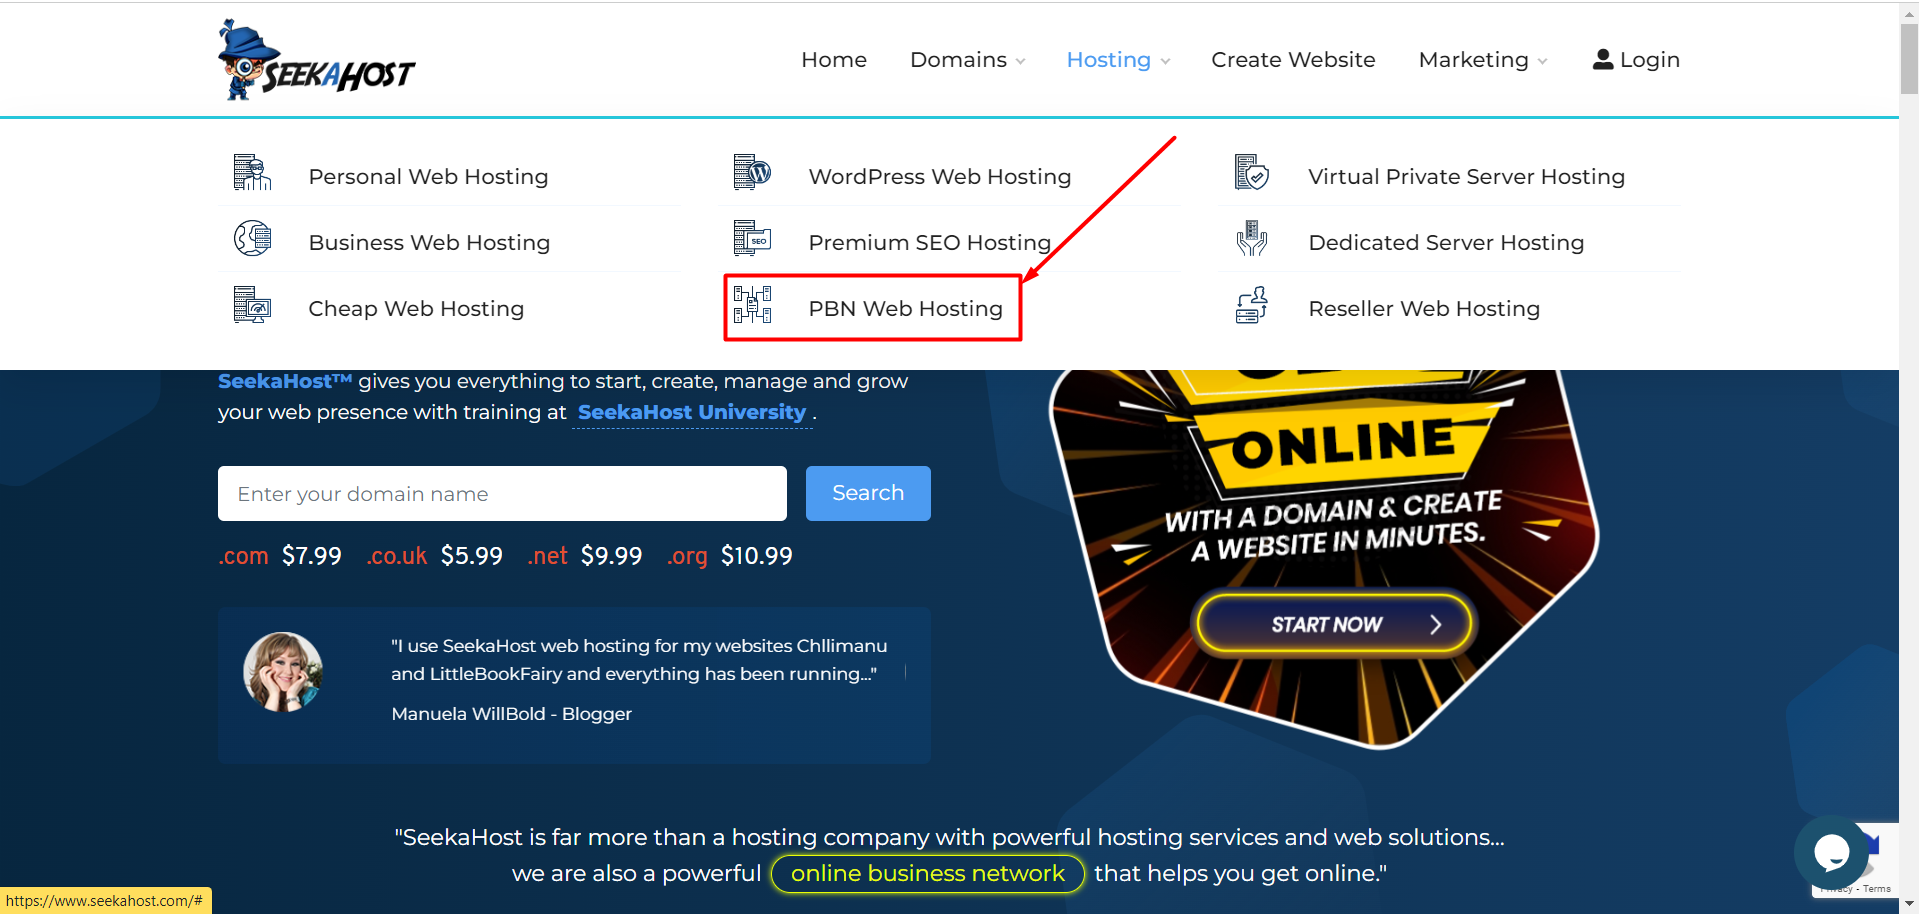
Step 1: Navigate to the Hosting Section
In the home page, hover the mouse over the hosting section in the top navigation option. From the dropdown menu, Click on the PBN Web Hosting.
Step 2: Select the Hosting Package:
Check all our pbn hosting products we offer, Select the package that best suits for you. Example, if you choose 10 IP PBN Hosting, you can host 10 domains in it.

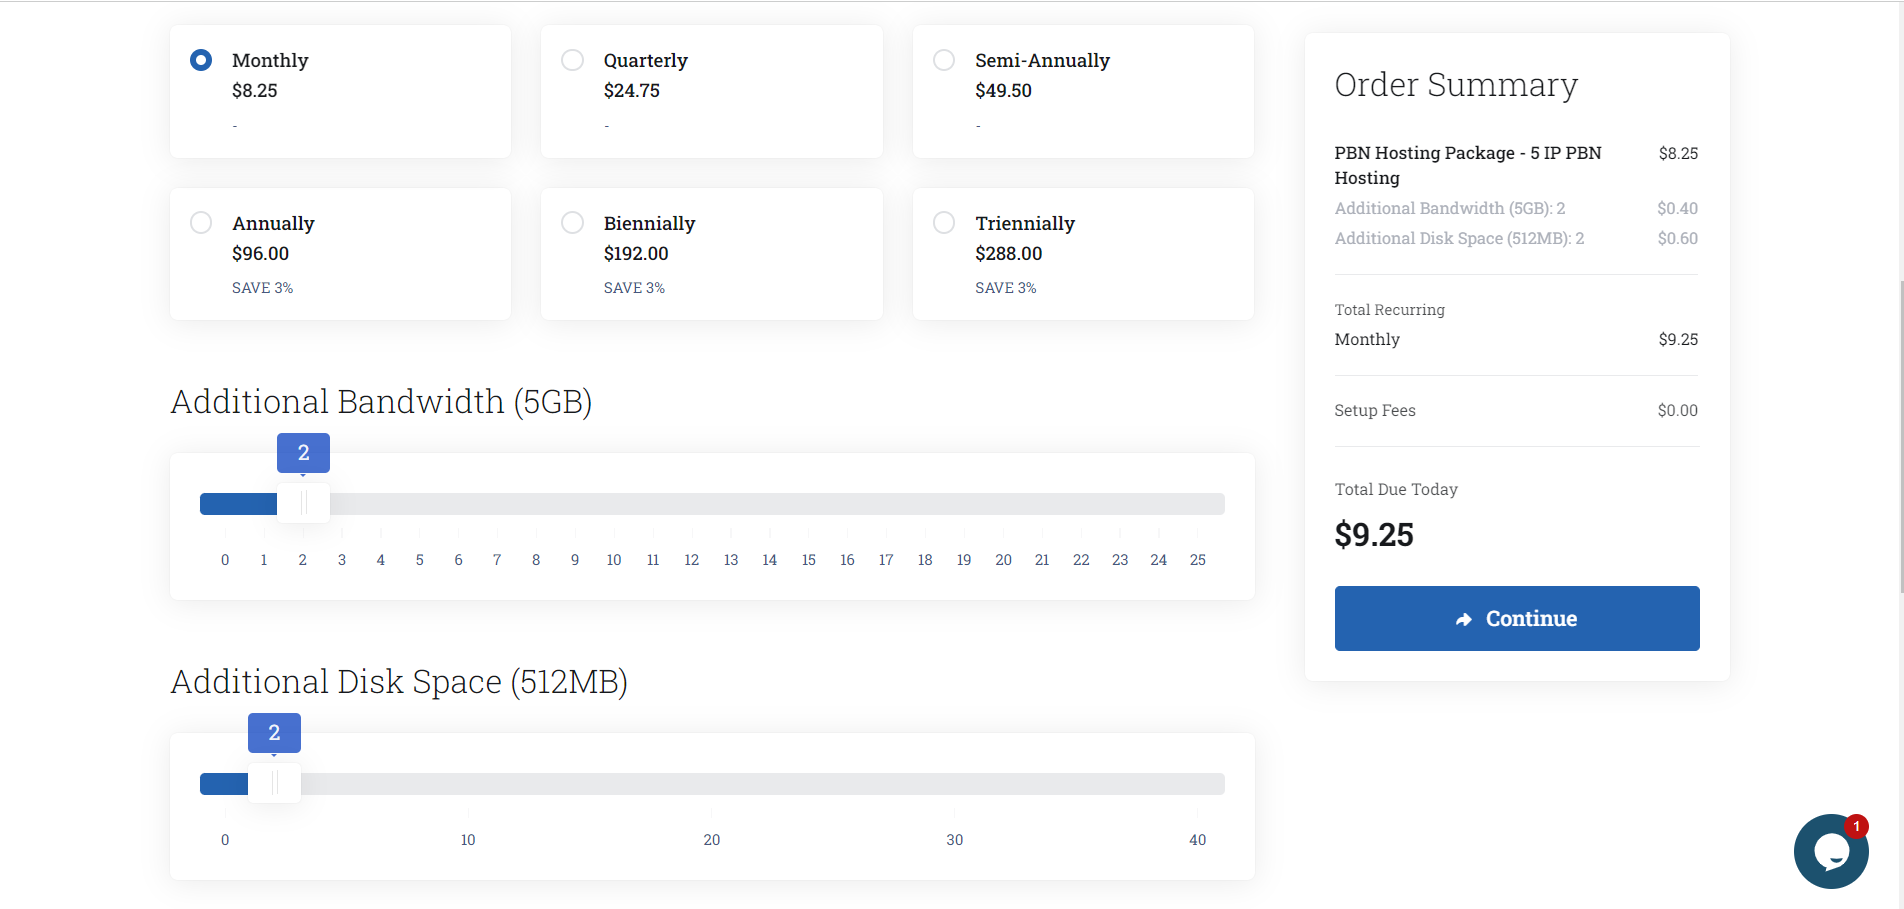
Step 3: Customize the Resources for the Hosting Package Websites:
Here choose the Billing Cycle and increase the limit under Additional Bandwidth (5GB) & Additional Diskspace (512MB). For example, if you increase the count to 2, then you will get 10GB bandwidth and 1Gb disk space for entire package which our team will allocate unless you specify how you want to allocate the resources for specific websites by raising the ticket.
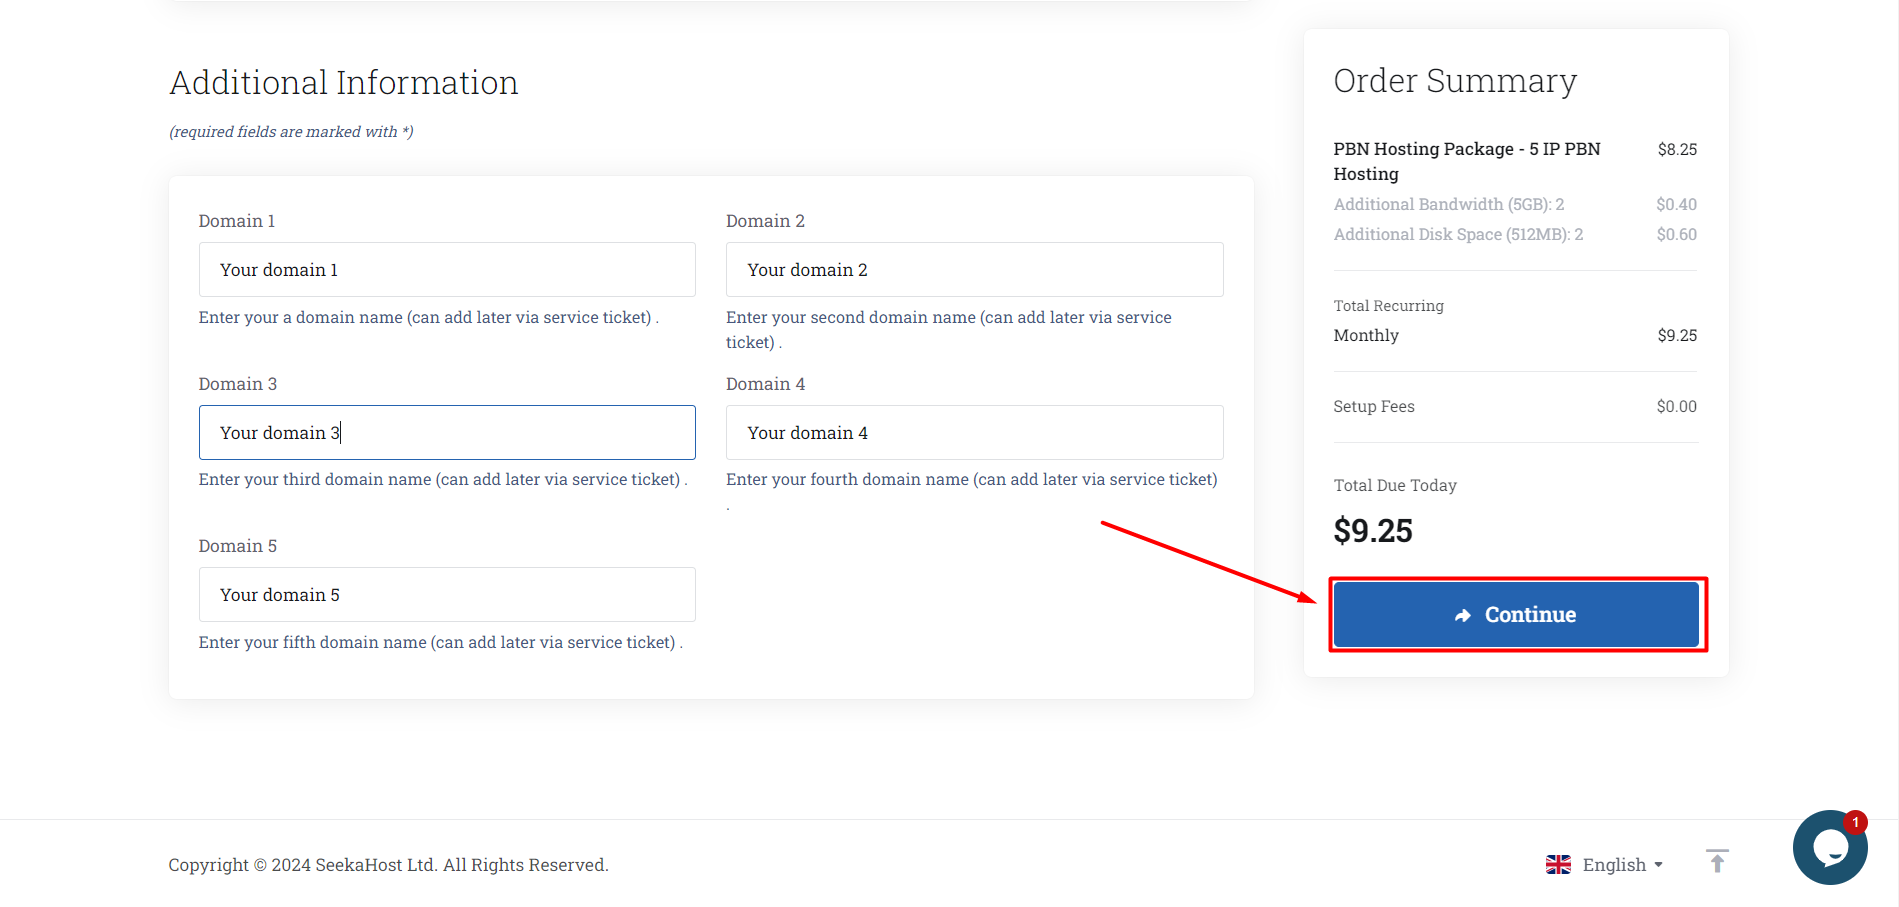
Step 4: Enter the Domain Name or Share List
If you already purchased domains, enter the domain names in each of the slots given under the “Additional Information” section or mention the domain names by raising a ticket. If you haven’t purchased any domains yet, you can either register new domains with us or purchase high quality expired domains from our available list.
If you purchase and host the domains with us, it will be easier for you to manage everything under one interface and support for your service will be easier and faster for you. Also, we will be updating nameservers, install ssl and force https redirection to help you start your journey with building the website instead of waiting for the propagation time or other updates.
Step 5: To Create an Account with us
If you already had an account with us, choose “Existing Customer Login” option. If you doesn’t have any account, choose “Create a New Account” and update the valid and correct details.

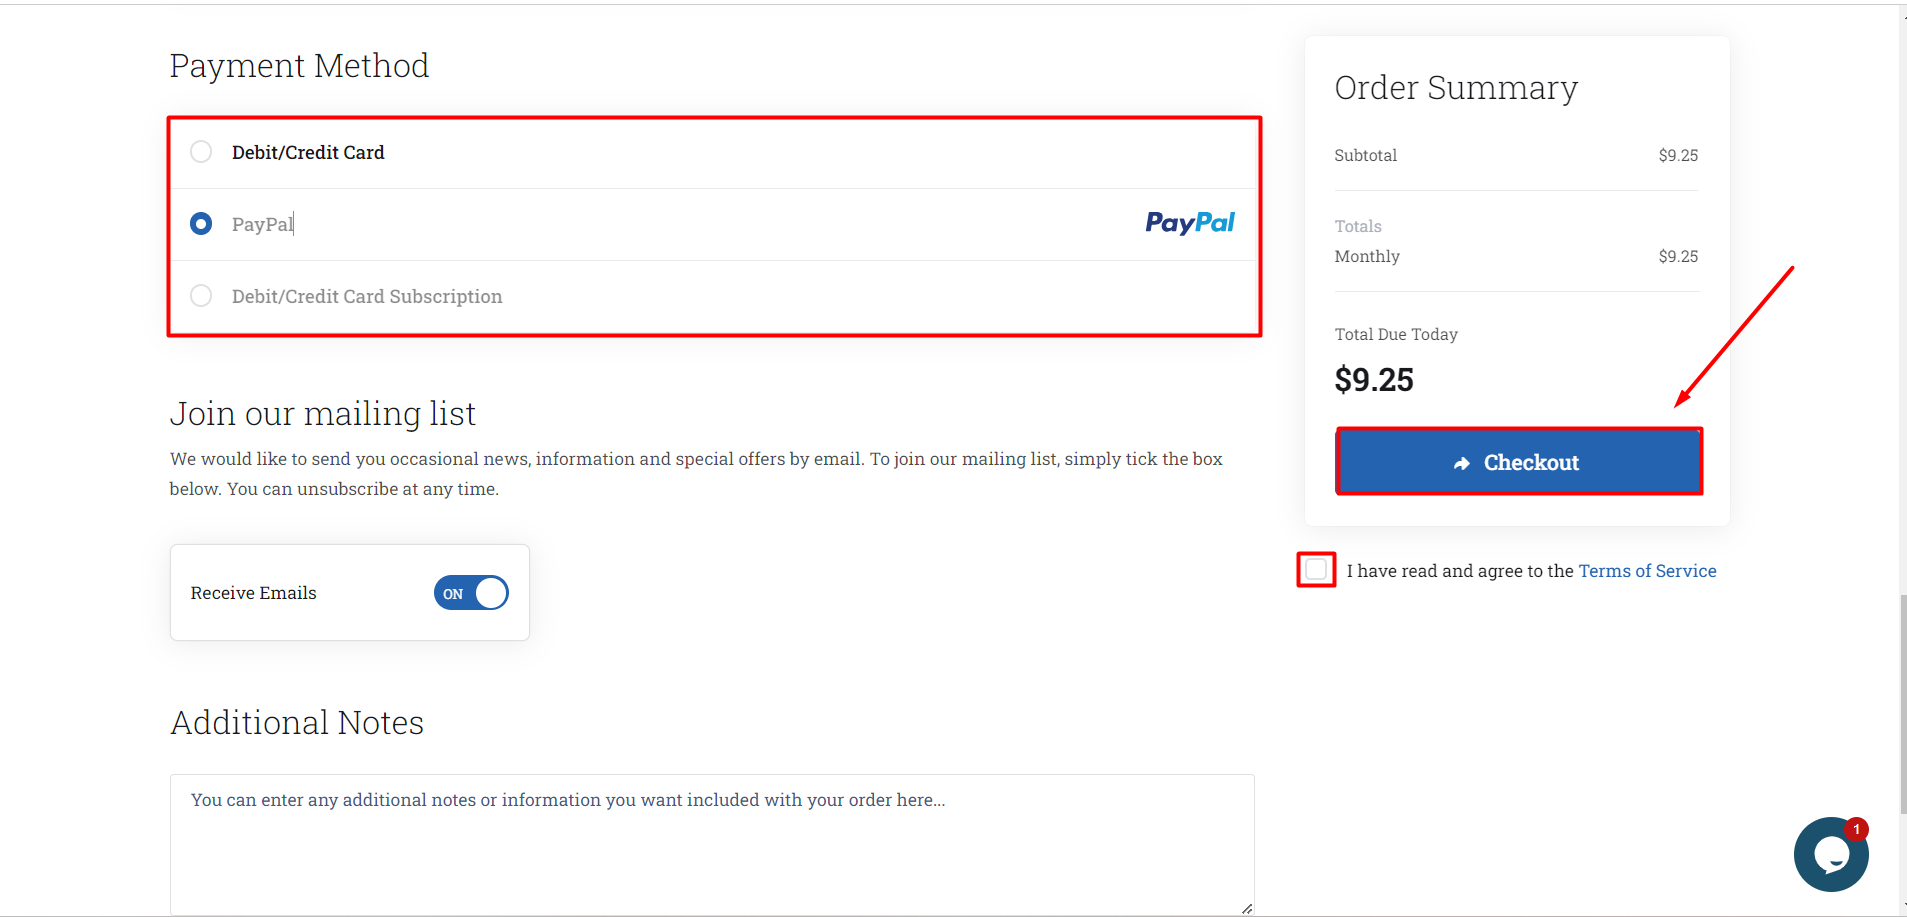
Step 6: Choose Payment Method
Choose the Payment method from the available options on the review and checkout page, if your preferred payment option is not available. (Currently we are not accepting any Crypto payments).
Once selected, please click the Check box for the term of service and checkout.
Step 7: Receive Confirmation
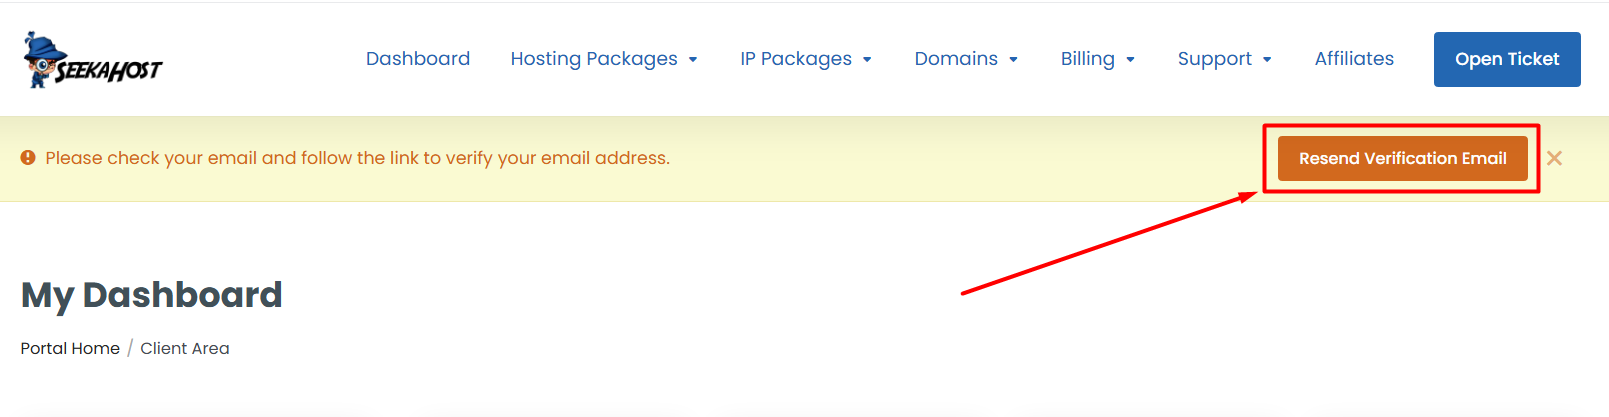
After the payment is done, you will receive an order confirmation via email. After that, you need to verify the email verification for the account so you do not miss any important updates from us and to validate the account.
If you didn’t receive any emails, please cross the email address spelling and click “Resend Verification Email” to get the link.
Step 8: Setting up the hosting
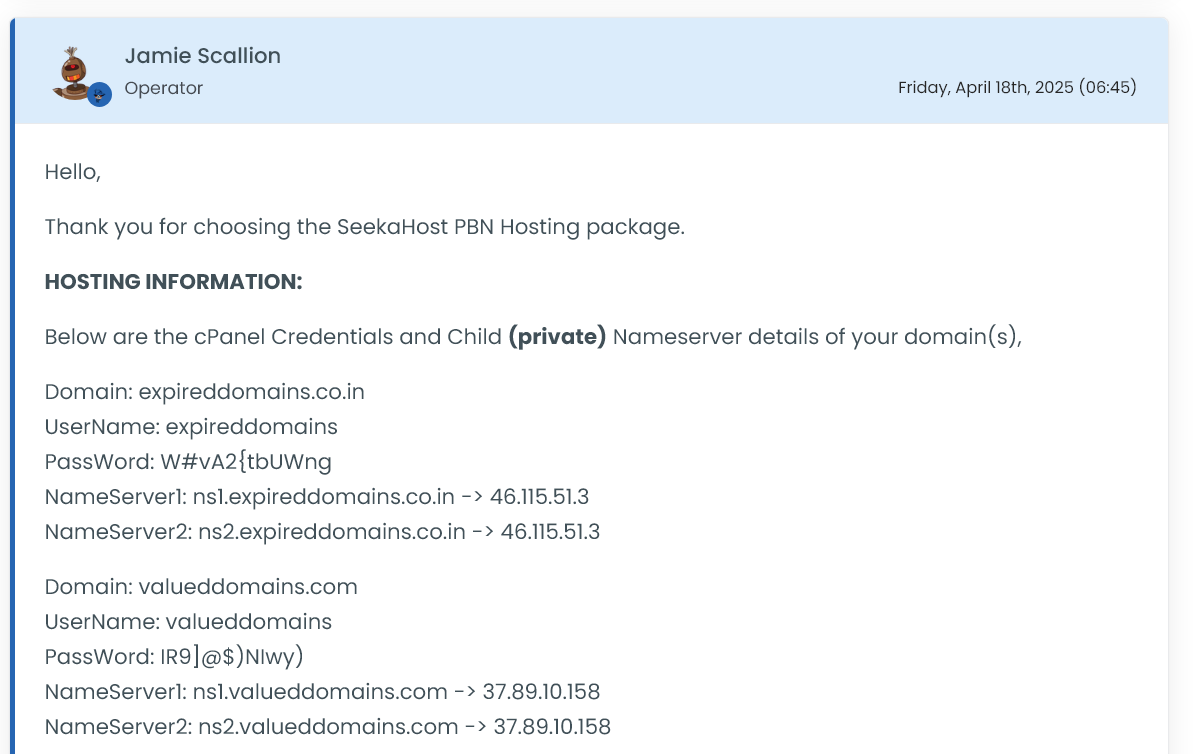
Once the order has been placed with the domain list in the package slots, you will get the hosing details including private nameserver, IP address, cPanel login details, information about process to follow for accessing the cPanel.
Additional Step: Raise Ticket and share list of domains names to host
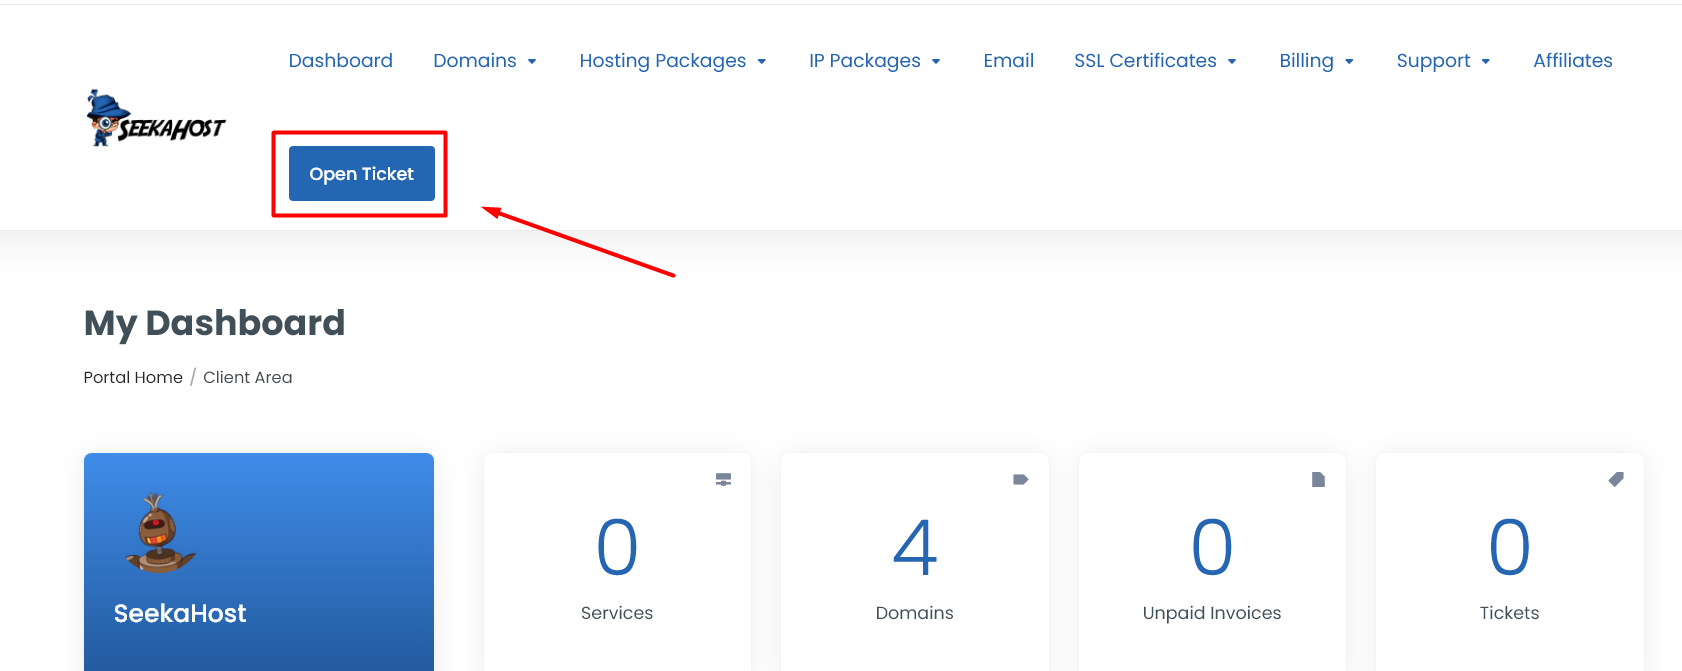
Step 9: To host your domains purchased already in PBN/SEO hosting, you can share the list of the domains names by raising a ticket to our support team.
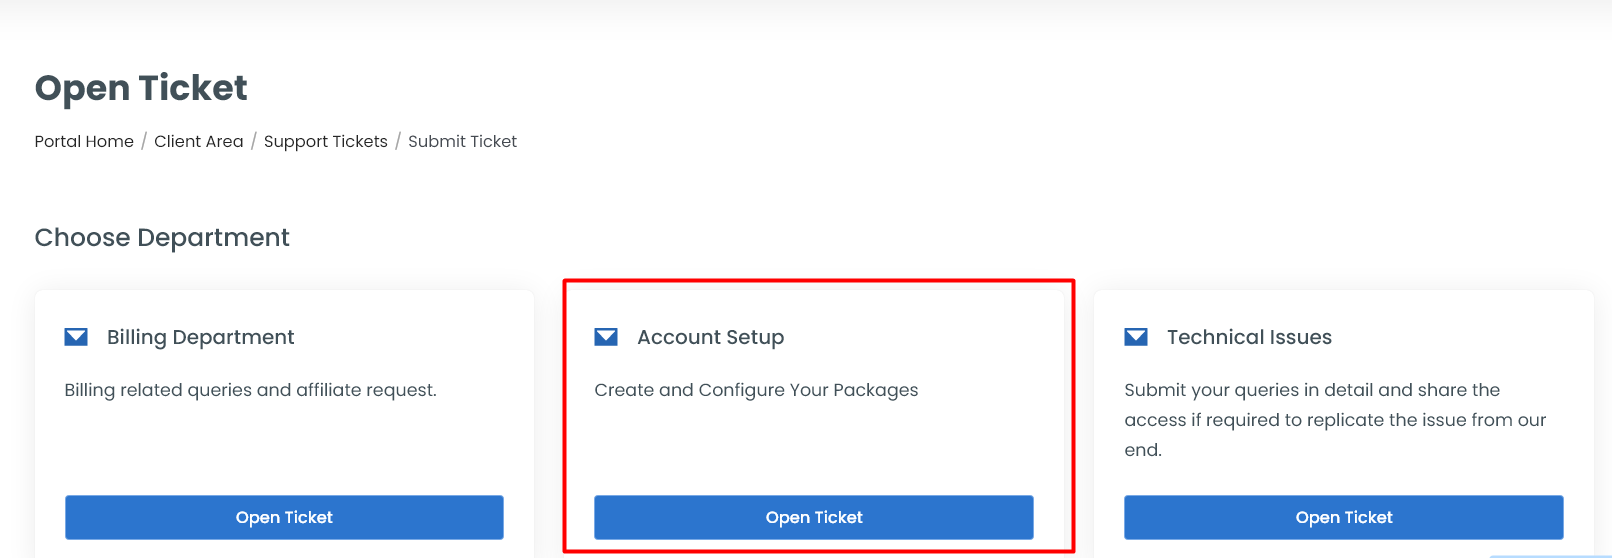
Click “Open Ticket” button on top of the dashboard.
Choose “Account Setup” department.
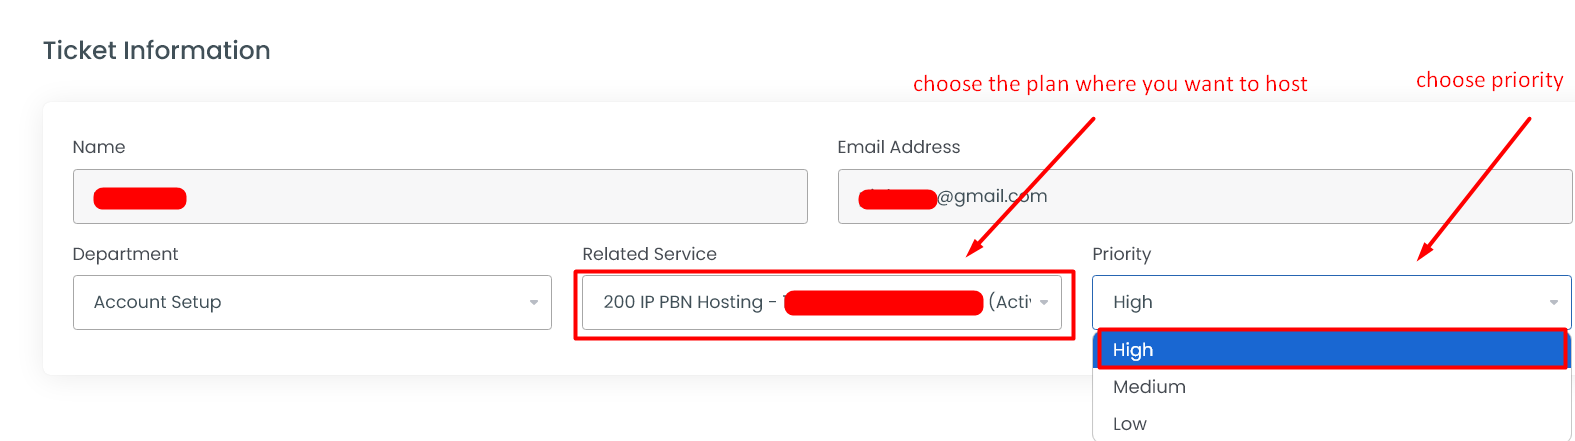
Choose the related service and priority from the drop down.
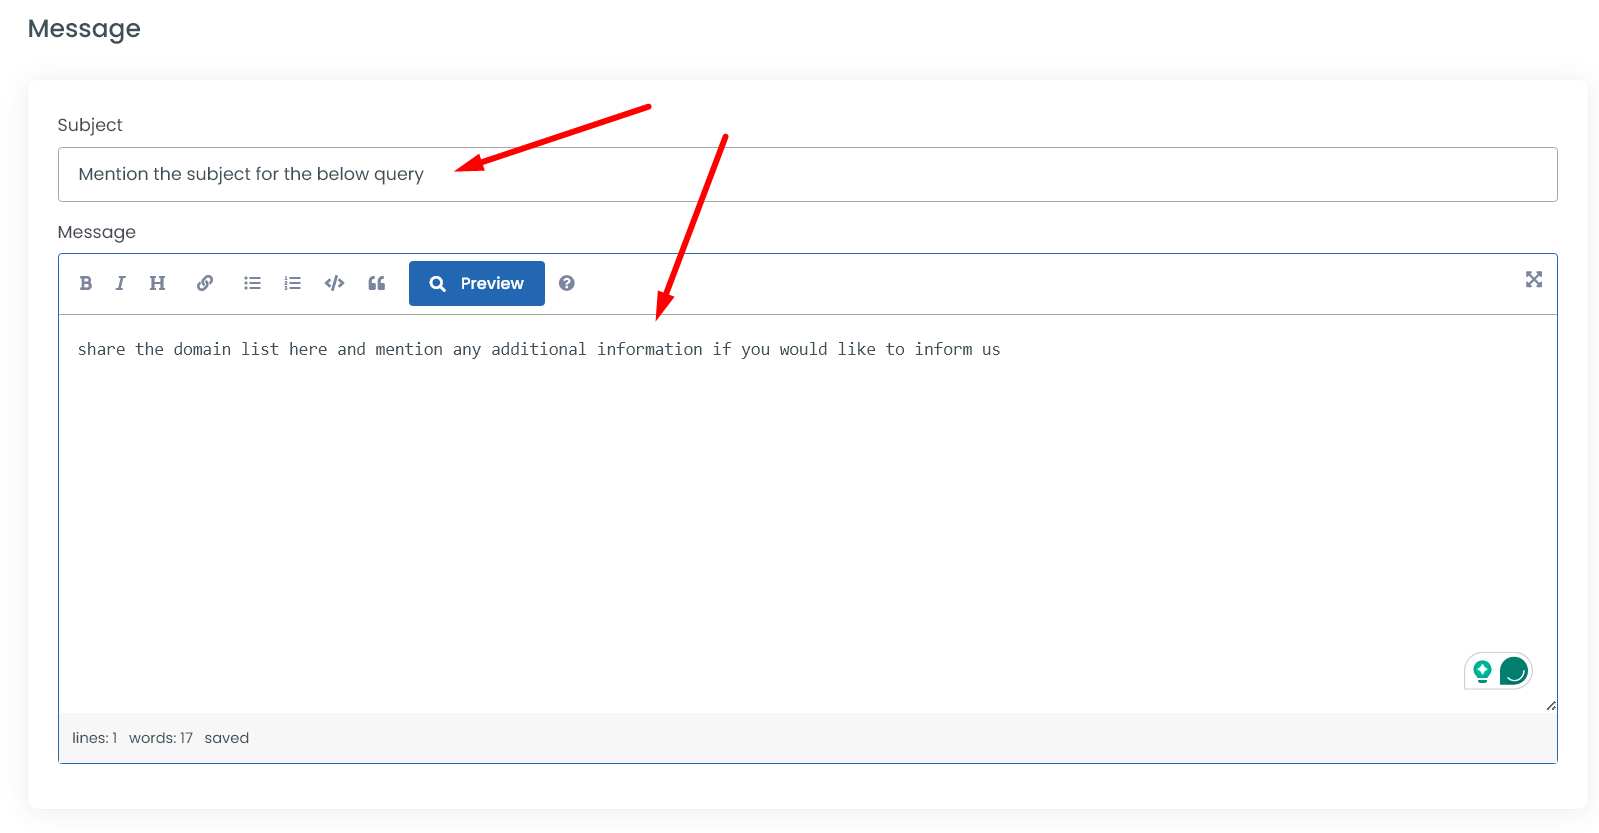
Mention the subject and share the domain list in the content section and click “submit” button at the end of the page.
Your ticket will be created and click “continue” to take you to the ticket section.
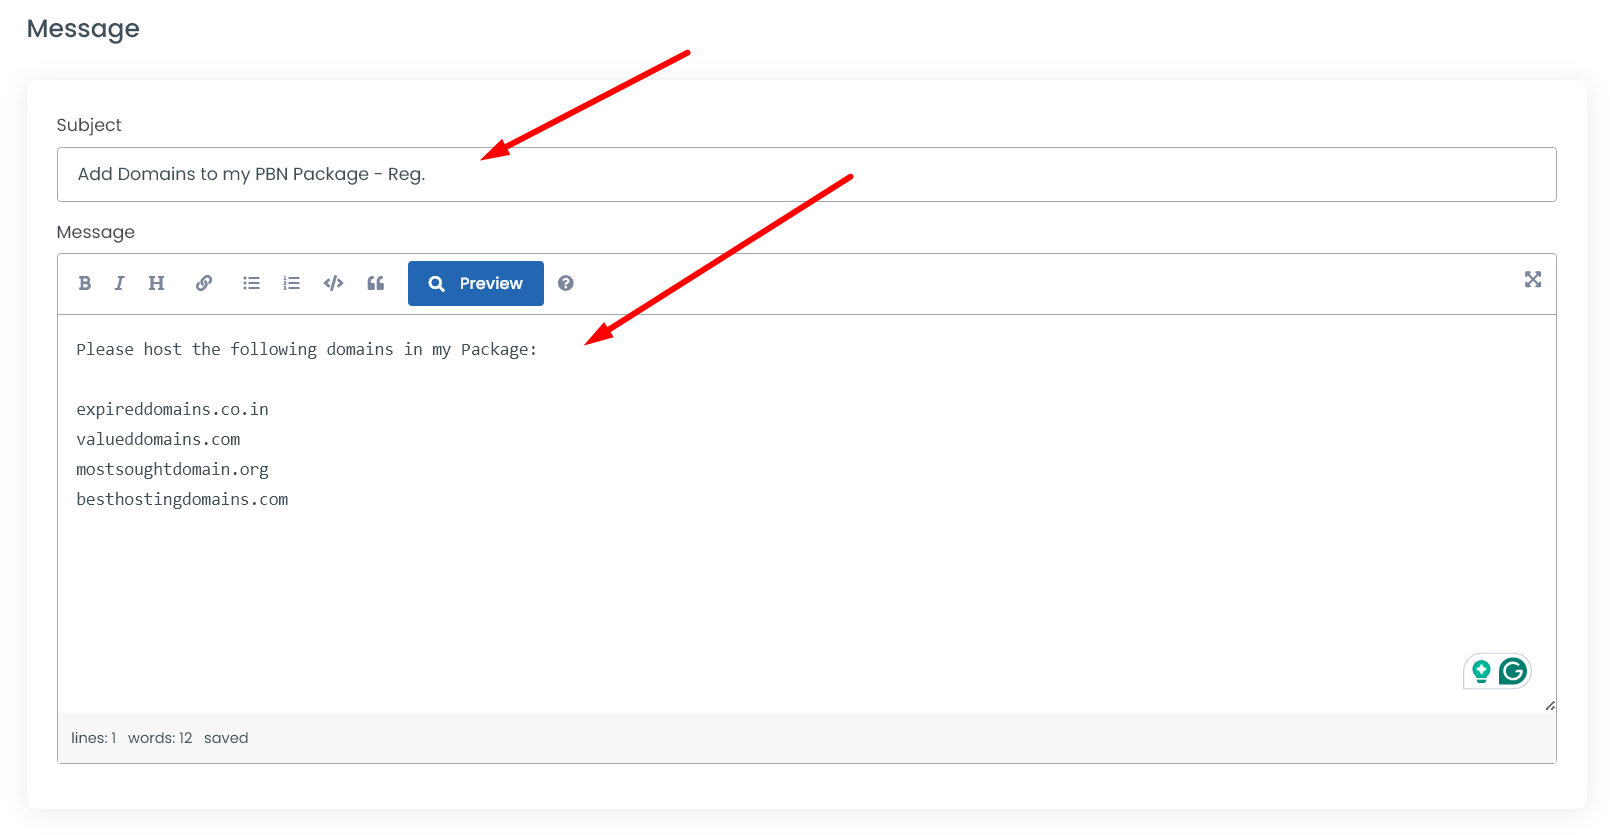
Example of how the hosting ticket will look,
Process After Sharing Domain List:
Process 1: Once you share the domain list, we will host the domains manually in server and share the hosting details in the same ticket where you shared the domain list.
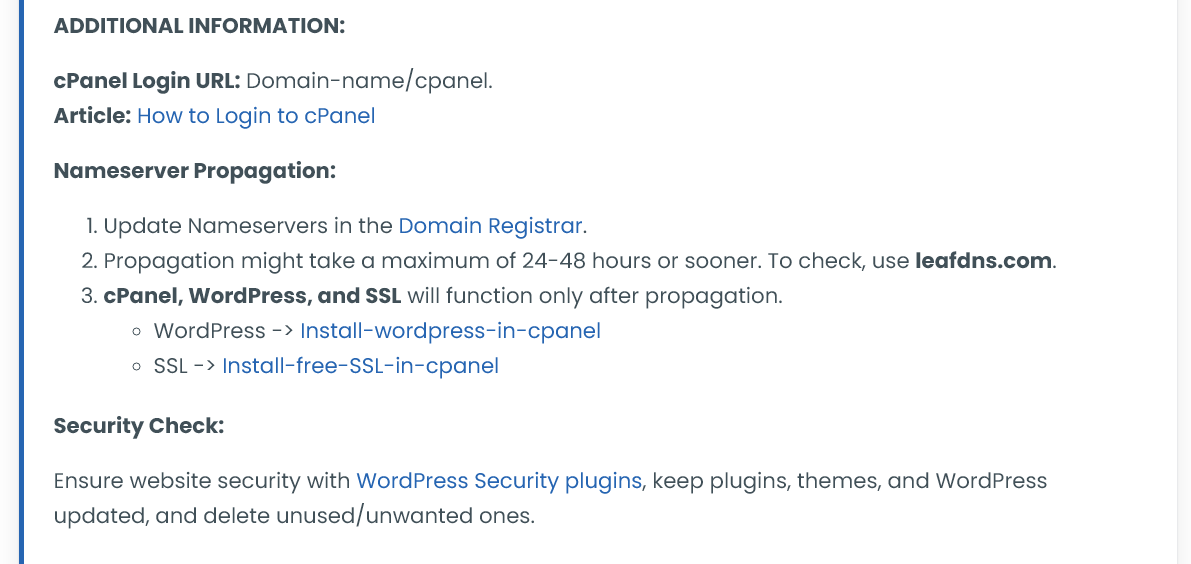
Scroll down and check the additional information to know next steps in this hosting as follow,
1. How to update Nameservers in domain
4. How to install Free SSL (It will be activate automatically once nameserver update in next 12 hours.)
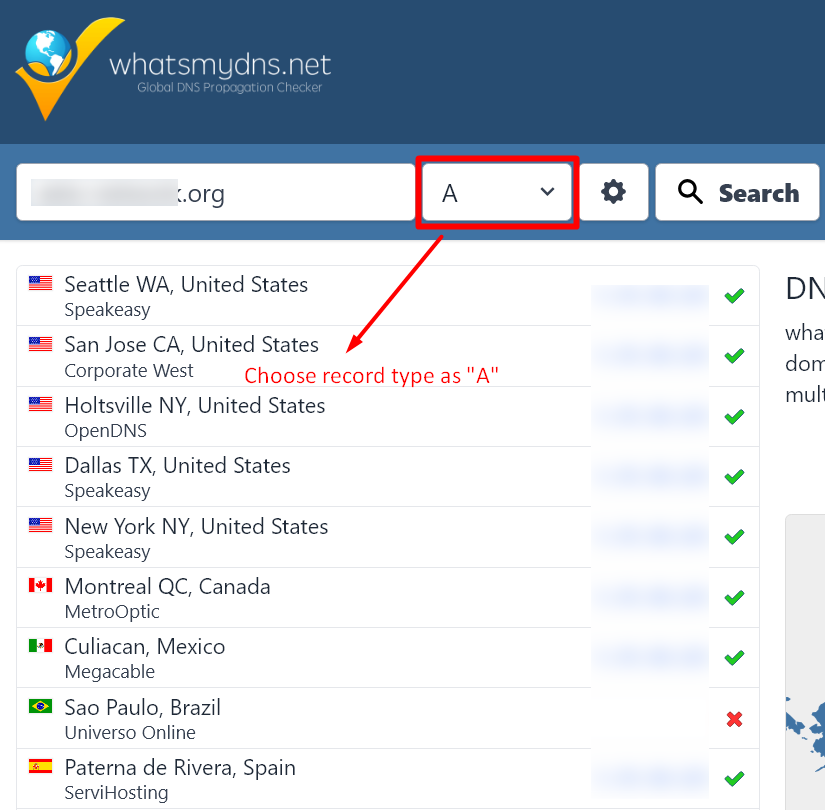
Process 2:. Check the nameserver propagation in third party tool to confirm if the updated nameservers are propagating or not.
Tool -> https://www.whatsmydns.net/
For A record propagation check,
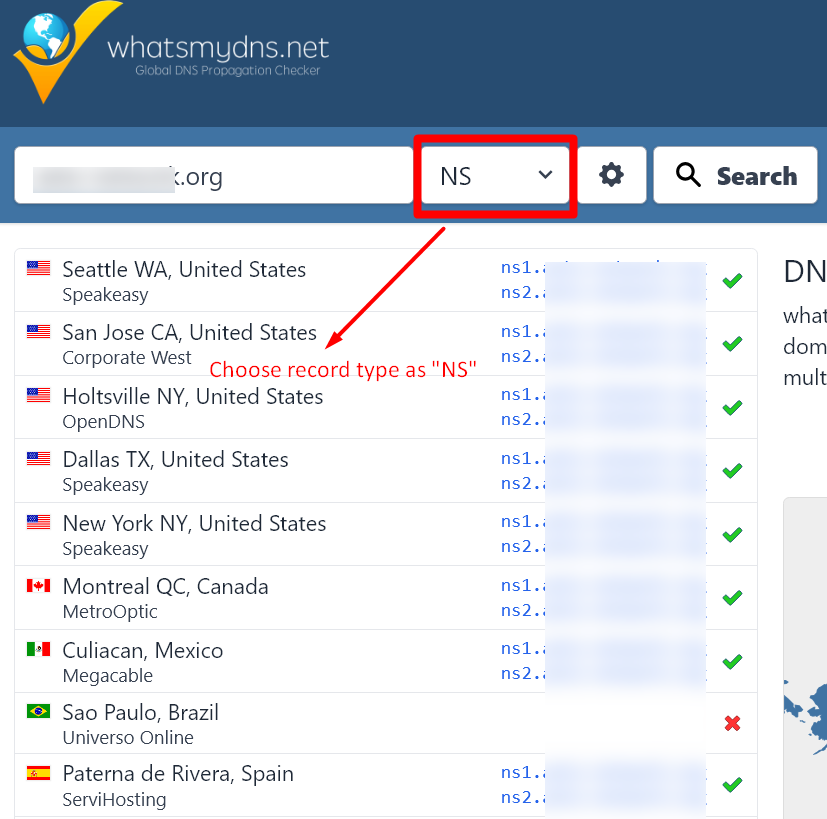
For NS record propagation check,
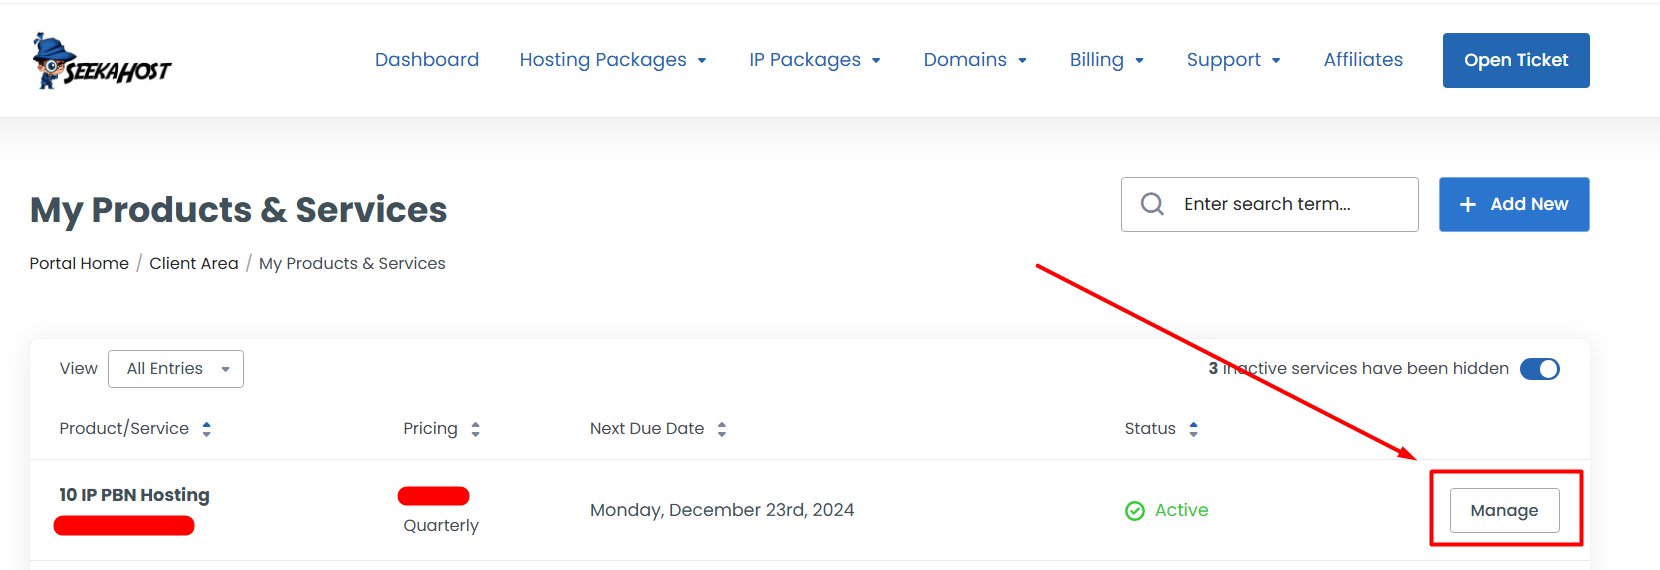
Process 3: You can find the hosted domain list in your hosting plan. Login to Client Area -> Click “Services”.
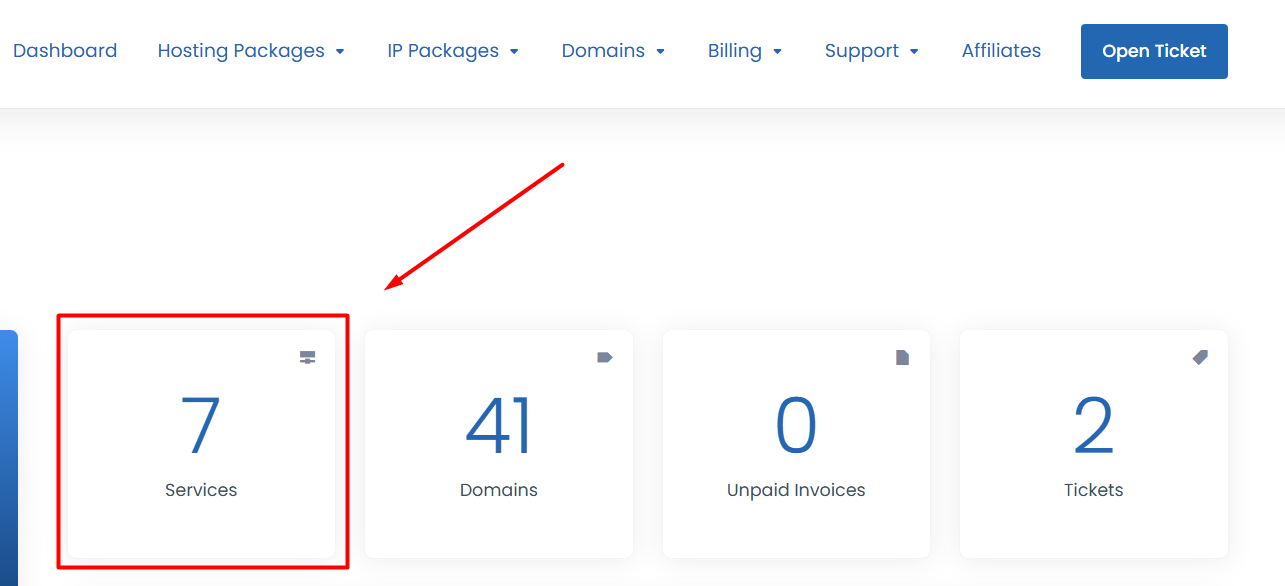
Click “Manage” button near the product under where you want to check the details.
Now you will be able to see the Complete product information for the PBN Hosting.
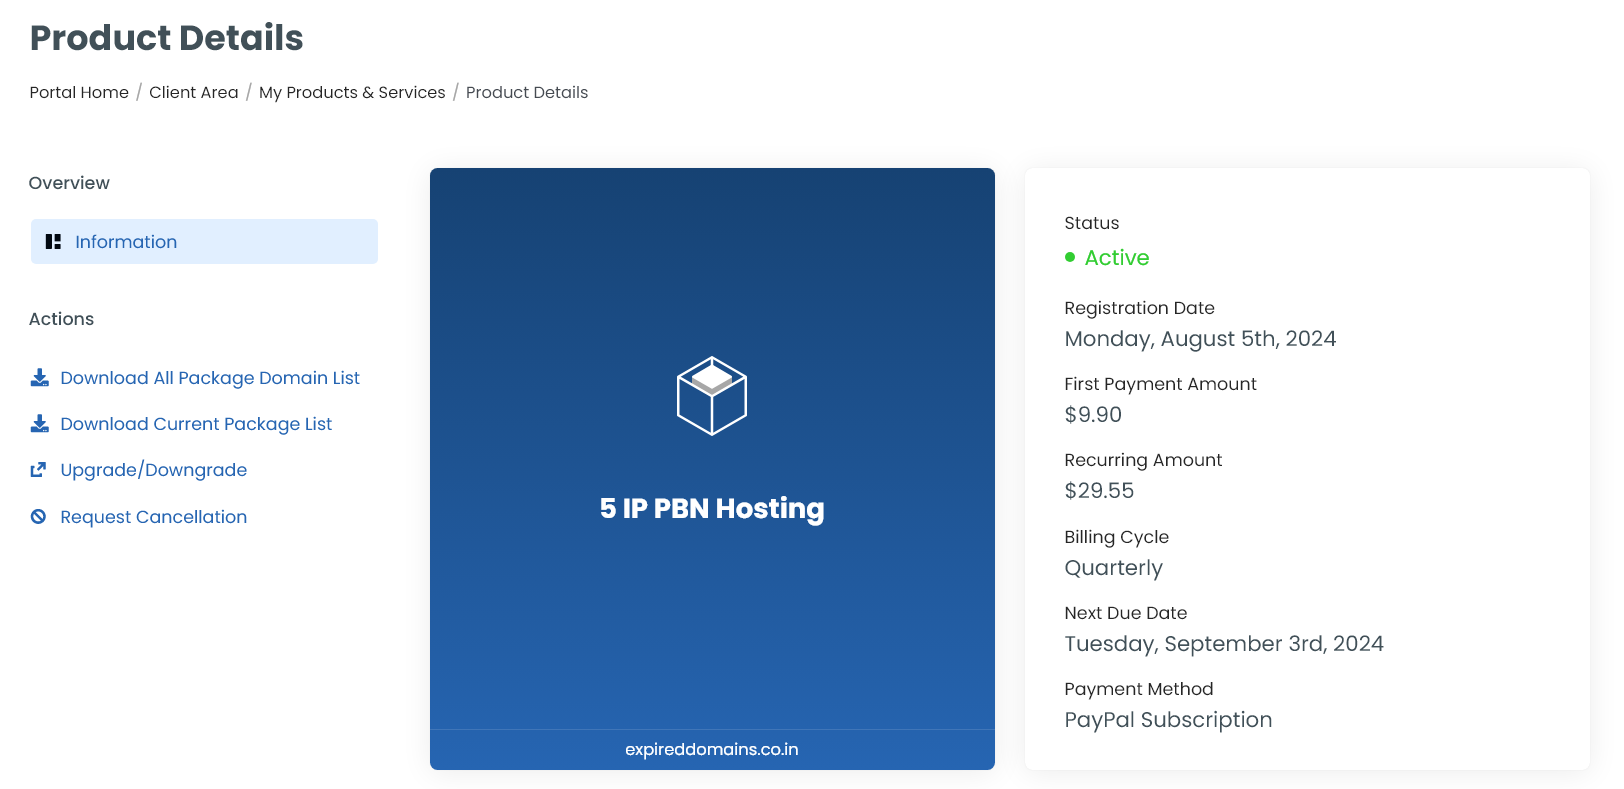
Scroll down the page and click “Additional Information”.
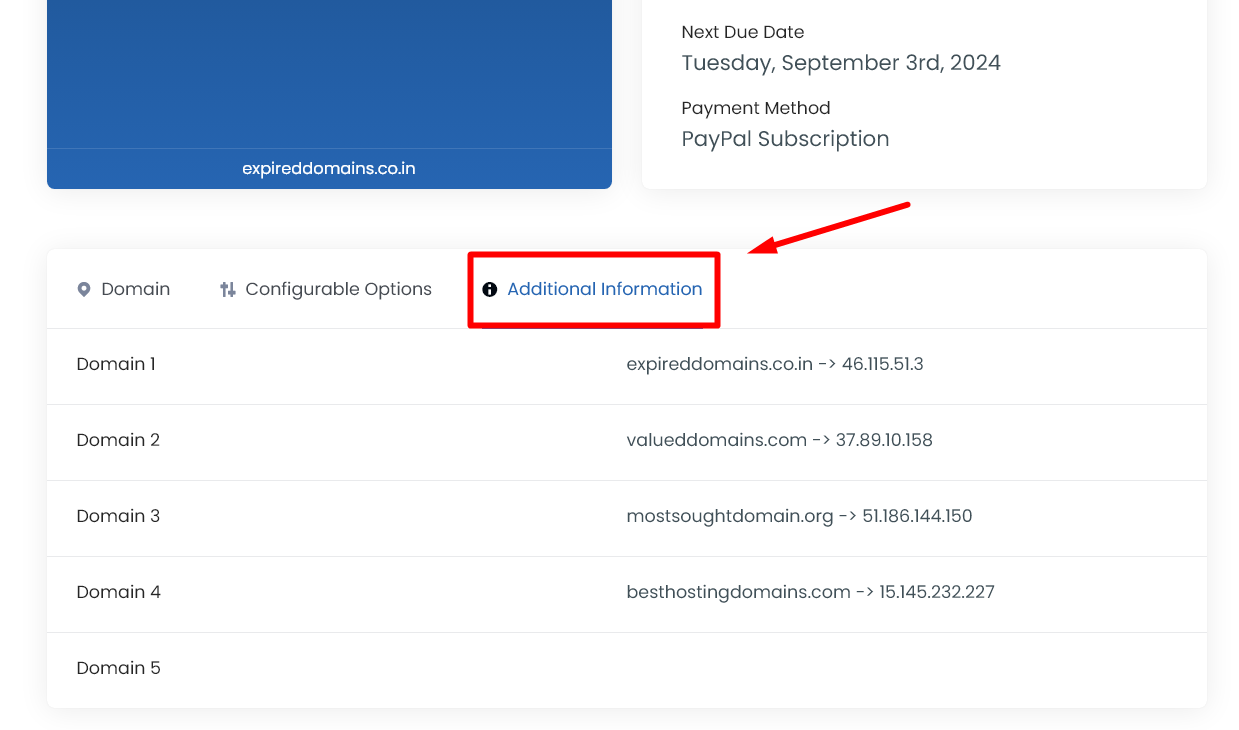
Process 4: In the same page and the section, you can able to check how much additional resources of bandwidth and disk space is allocated.
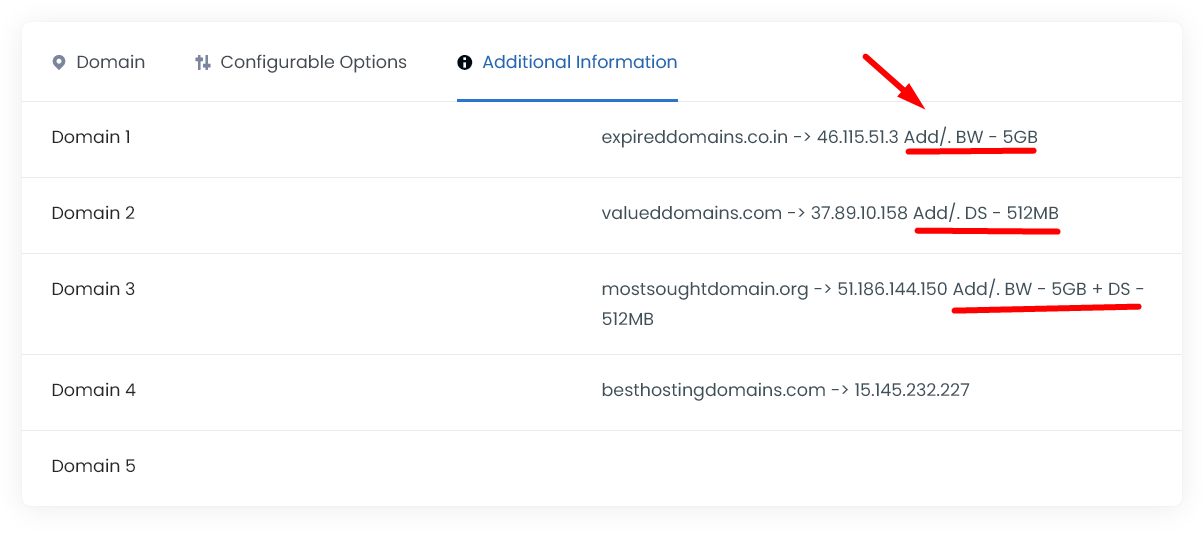
Here for example,
Add/. BW – 5GB – It means the website – expireddomains.co.in is allocated with additional 5GB bandwidth. So total bandwidth allocated will be 10GB.
Add/. DS – 512MB – It means the website – valueddomains.com is allocated with additional 512MB Disk space. So total Disk space allocated will be 1GB.
Add/. BW – 5GB + DS – 512MB – It means the website – mostsoughtdomain.org is allocated with additional 5GB bandwidth and 512MB Disk space. So total bandwidth and Disk space allocated will be 10GB and 1GB.
besthostingdomains.com -> For this website, it hasn’t been mentioned anything additionally. So by default, website will be allocated with limit of Disk space 512MB and bandwidth 5Gb which will be total resources as well.
If you need any additional resources, you can request us through live chat or support ticket. Our team will guide and help you with further process in it.
Contact Support:
If you face any issues, you can Just Contact our support team for assistance via chat/ticket.