Step By Step Guide to Create an Addon domain in cPanel
Table of Contents
What is Addon domain?
Addon domain is a separate domain hosted under your primary domain. Addon domains have the full functionality as like primary domain.
You can create email addresses, forwarders, and more the same way as a primary domain on the account.
One of the main benefits for creating addon domain is that you can manage multiple domains in a single account.
Content and Files for this addon domain will be stored as a unique folder within the public_html. This domain will be created in the cPanel account.
How to create Addon domain/Subdomain?
- Login to your cPanel Account with the access given by your web hosting providers.
- In search, enter “Domains” and click “Create a New Domain” as shown below.

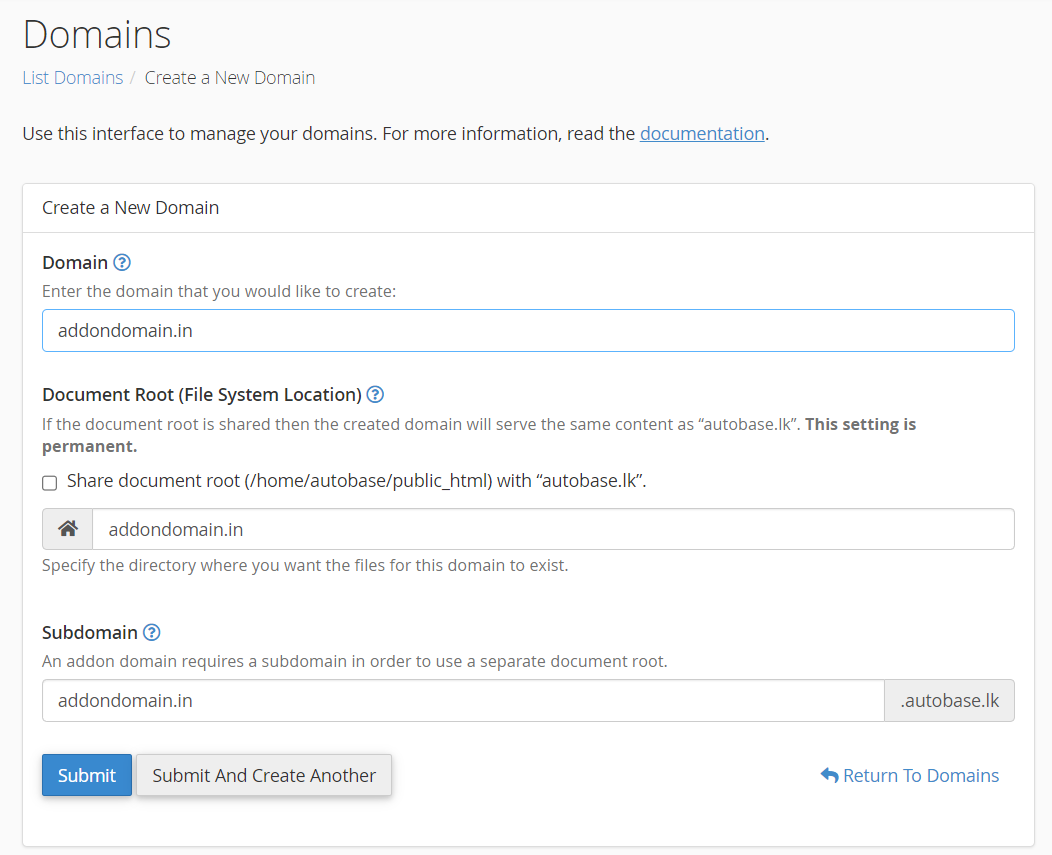
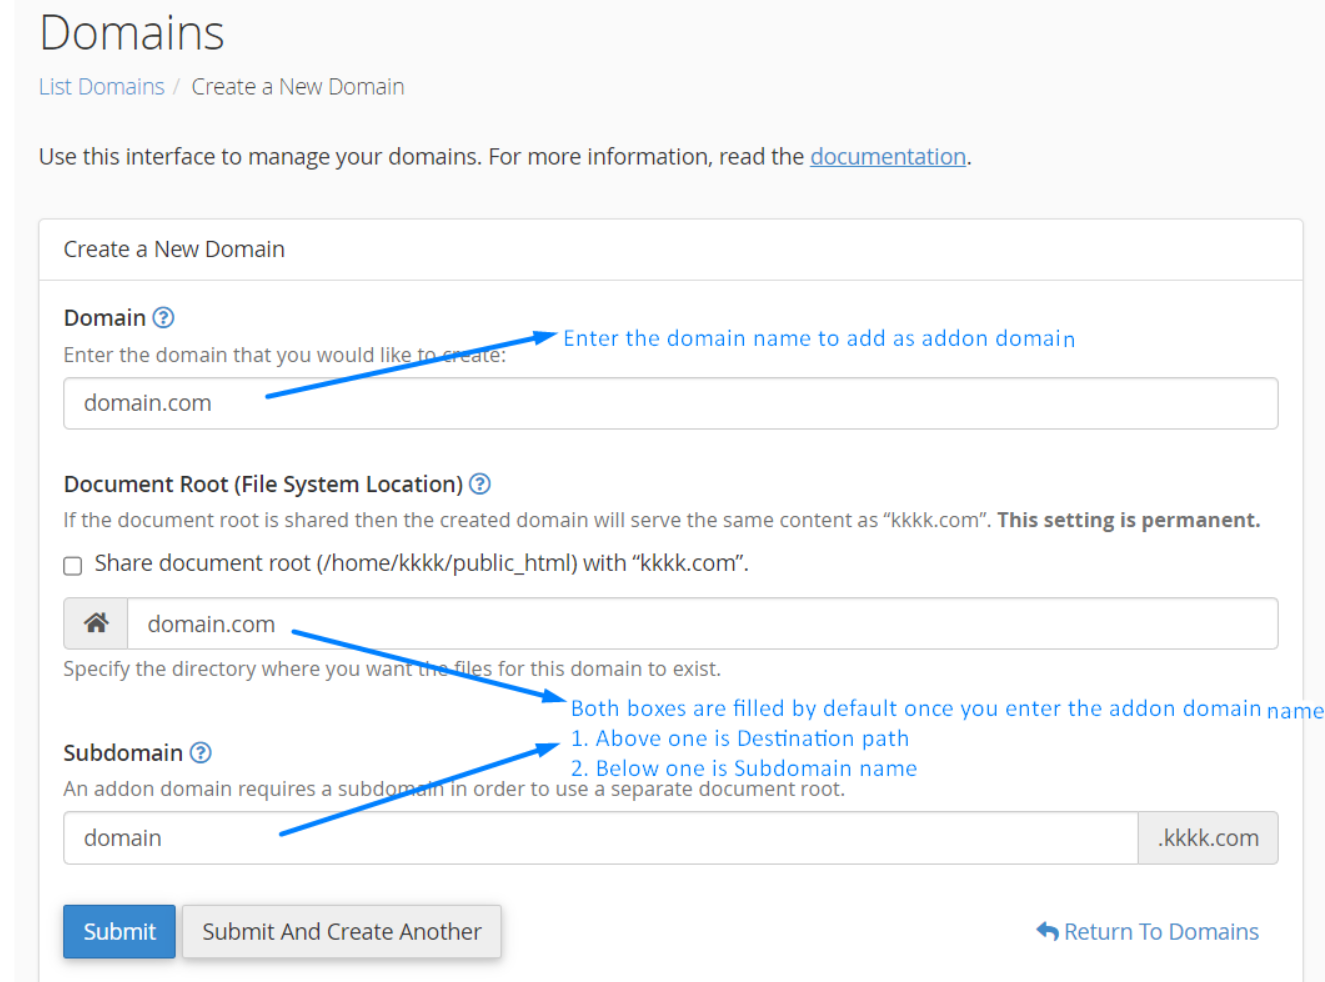
- Enter the domain name that you want to add as Addon/Subdomain domain in the text box.
- Once you have entered the domain name, it will automatically fetch the Subdomain & Document root folder as shown below.

- The document root is the directory where the files will be stored. The default directory will be public_html.
- If you want an FTP account for your Addon domain, enable the option “Create an FTP account associated with this Addon Domain.”
- Enter the username and password for an FTP account and click on Add domain.
Create Subdomain:
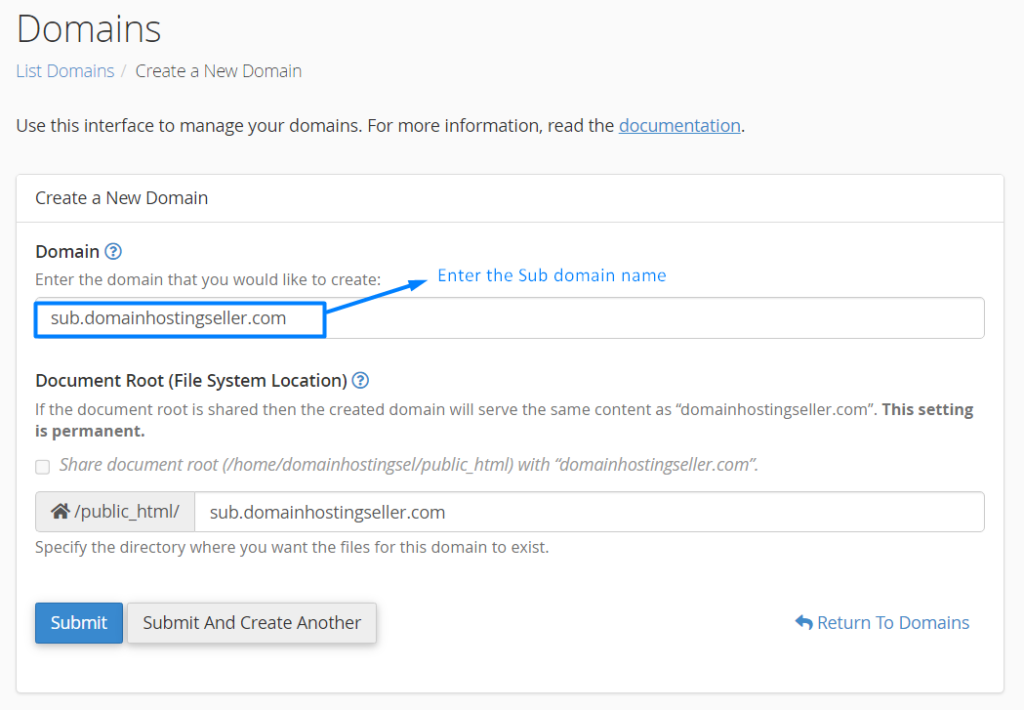
- If you want to create subdomain for your main domain or any domain without creating the addon domain, you can mention the “subdomain” name in the domain text box. In the Document Root folder text box, you can mention the folder name under which you want to store the files.

- To install WordPress for the subdomain, click “WordPress” and then click install under the “softaculous app installer” section. Now choose the domain name from the drop-down.
- You can view the WordPress files under the subdomain domain folder inside the public_html directory.
How to modify Addon domain account?
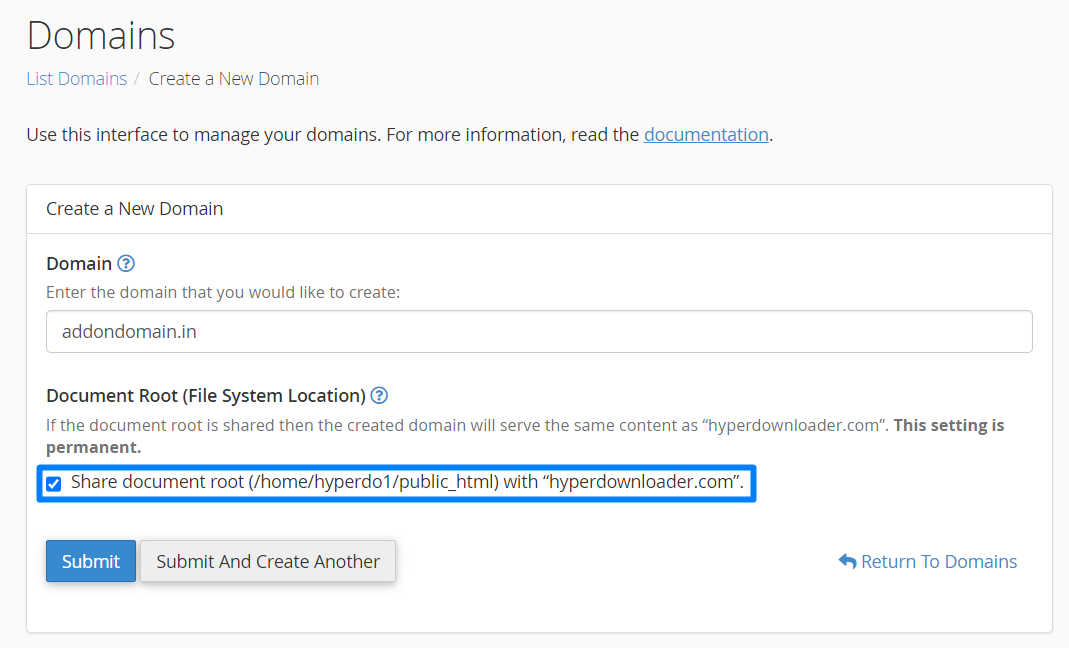
- If you want to modify the destination path or subdomain name, uncheck the box here or you can leave as it is.

Modify the details as mentioned in the screenshot below,

- To redirect your addon domain, click on Manage Redirection. Enter the link to which you want to redirect your domain and click save.
- To install WordPress for the addon domain, under the “softaculous app installer” section, click “WordPress” and then click install.
Now choose the addon domain name from the drop-down as shown below,

- You can view the WordPress files under the addon domain folder inside the public_html directory.
Unable to Create Addon Domain/Subdomain:
If you are facing any issues while creating Addon Domain then it should be because of the below-mentioned reasons.
- Before adding the domain, main domain nameserver must be updated for the addon domain. Only then, you could be able to add the domain on the cPanel.
For example, if the nameserver for the main domain is ns1.seekahost.info and ns2.seekahost.info, then the same nameserver must be updated for the addon domain in your domain registrar also.
- Ensure you have Addon Availability in your cPanel Account. On the right side of your cPanel dashboard, you could see an option like Addon where you can see the allocation.
- Check whether you have utilized the 100% disk usage or still you have enough space to create an Addon Domain. If your disk space is more than 95%, you will face the issue in adding the Addon Domain.
- Make sure you are not using the reserved domain names while creating the Addon domains.
If you are still facing issue in adding the Addon domain, please contact SeekaHost on 24×7 Live support and share us the error screenshot.
Our experts will help you in solving it immediately and you can proceed with that.
[Tweet “These are the step by step guide to create an Addon domain in cPanel”]

