

How to Add Funds & Check Credit Balance In SeekaHost?

By Swetha
Table of Contents
Add funds in your account will give you more advantage. If you have added the funds, then it will be added to credit balance and you can use that when you need.
For example, if you need to increase the bandwidth or disk space for your domains, we will utilize the respective amount from that credit balance. And also you can use this for any of your package or invoices in the future.
Lets see how to request for add funds in SeekaHost account.
Note: To add funds in your SeekaHost Account you must have at least one active order.
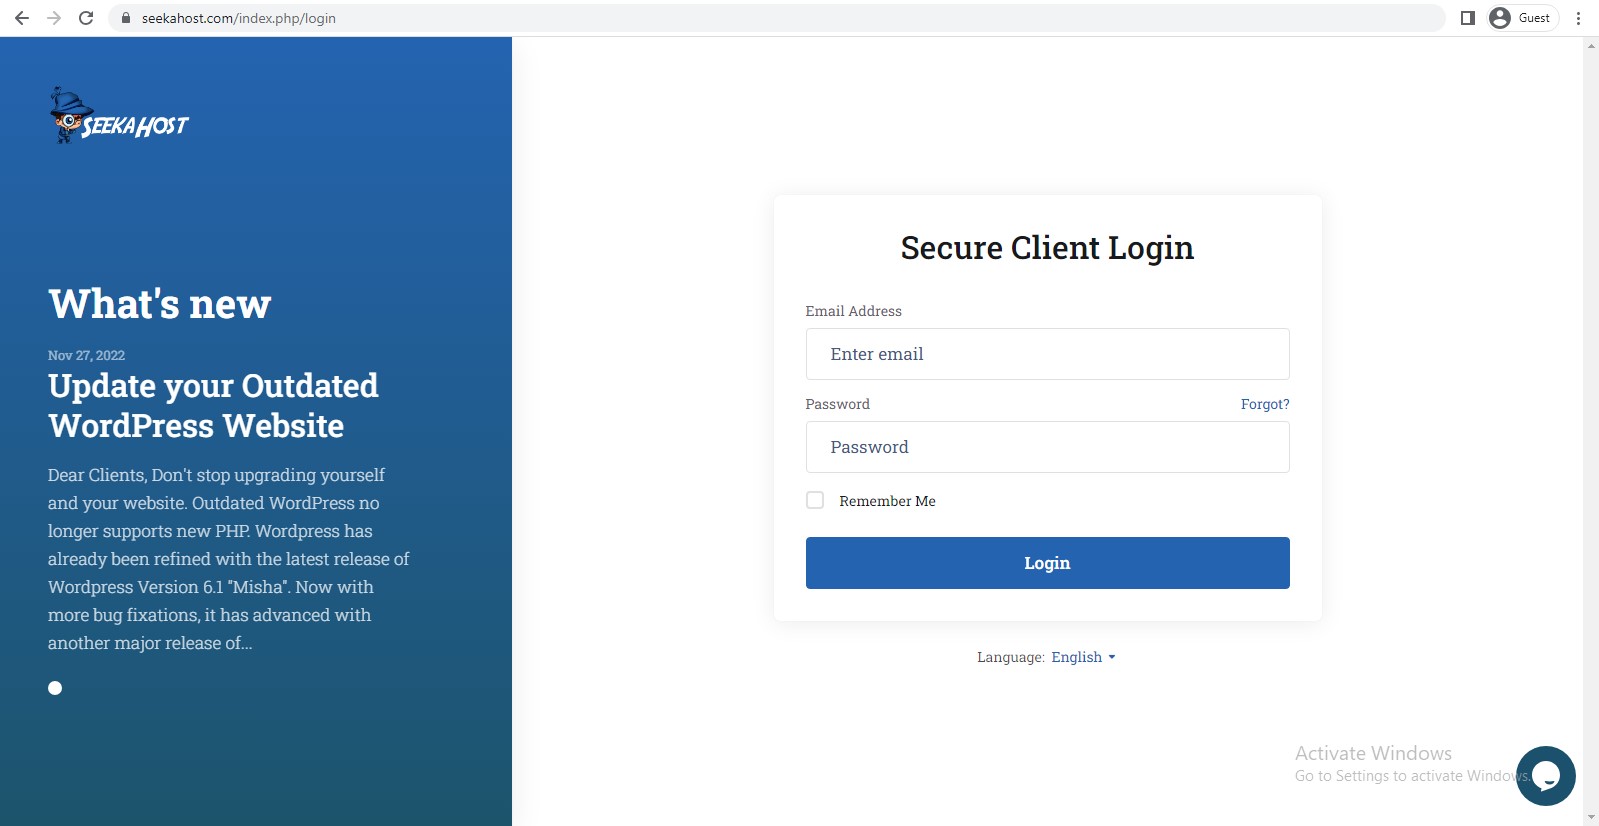
Step:1 – Client Area
Login to your Client area using the registered email address and password. Incase if you forgotten password, you can reset the password using the email address.
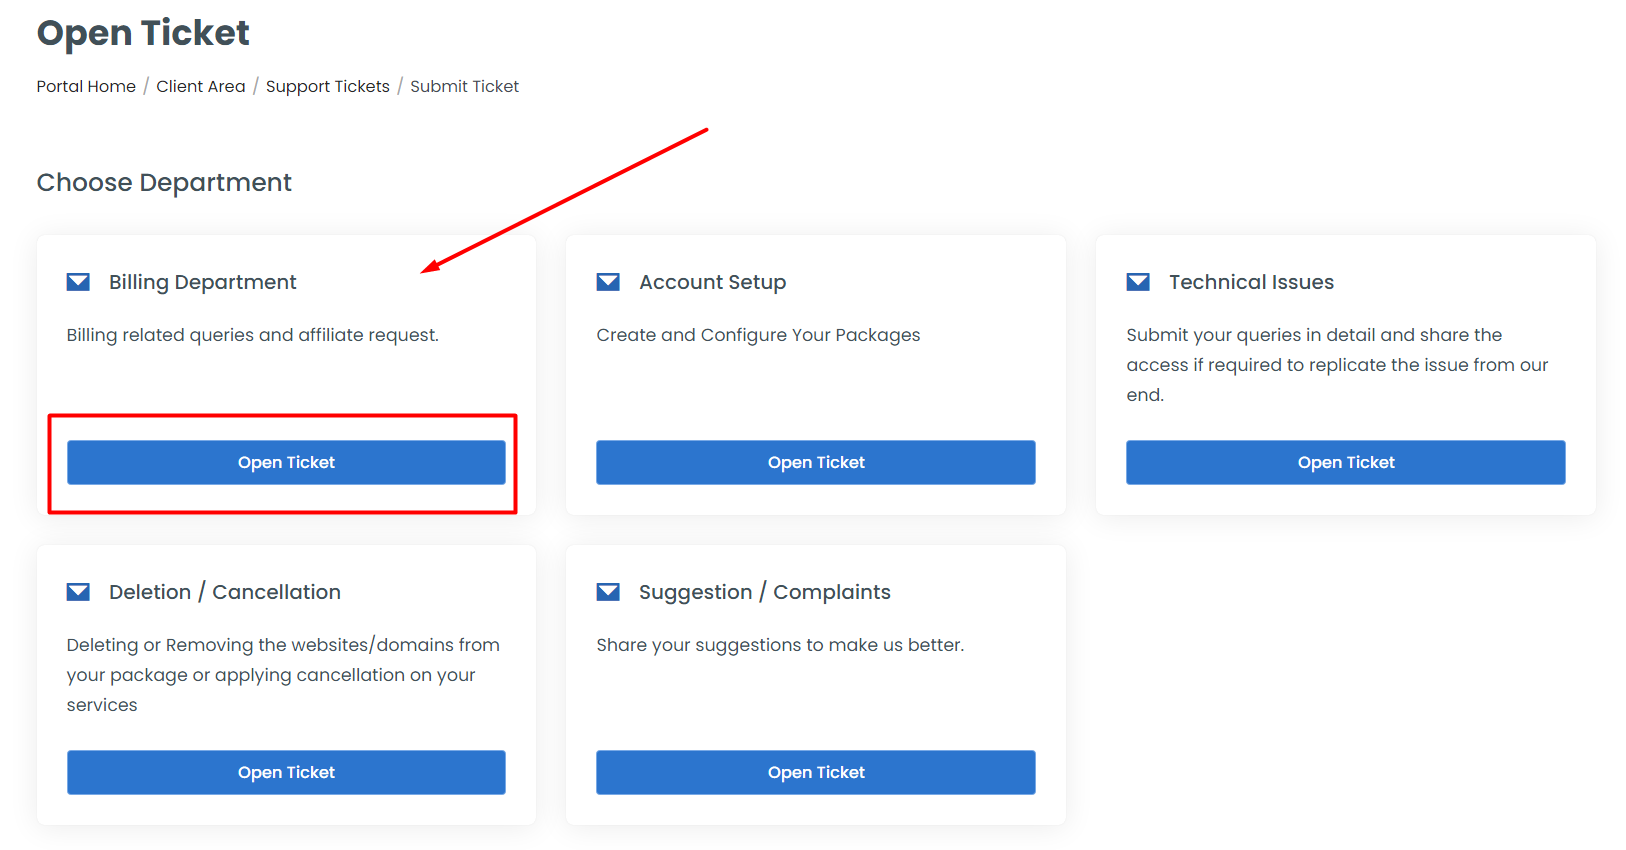
Step:2 – Open Ticket
Click “Open Ticket” button on top right corner of the page. Choose “Billing department” and click “Open Ticket” now.
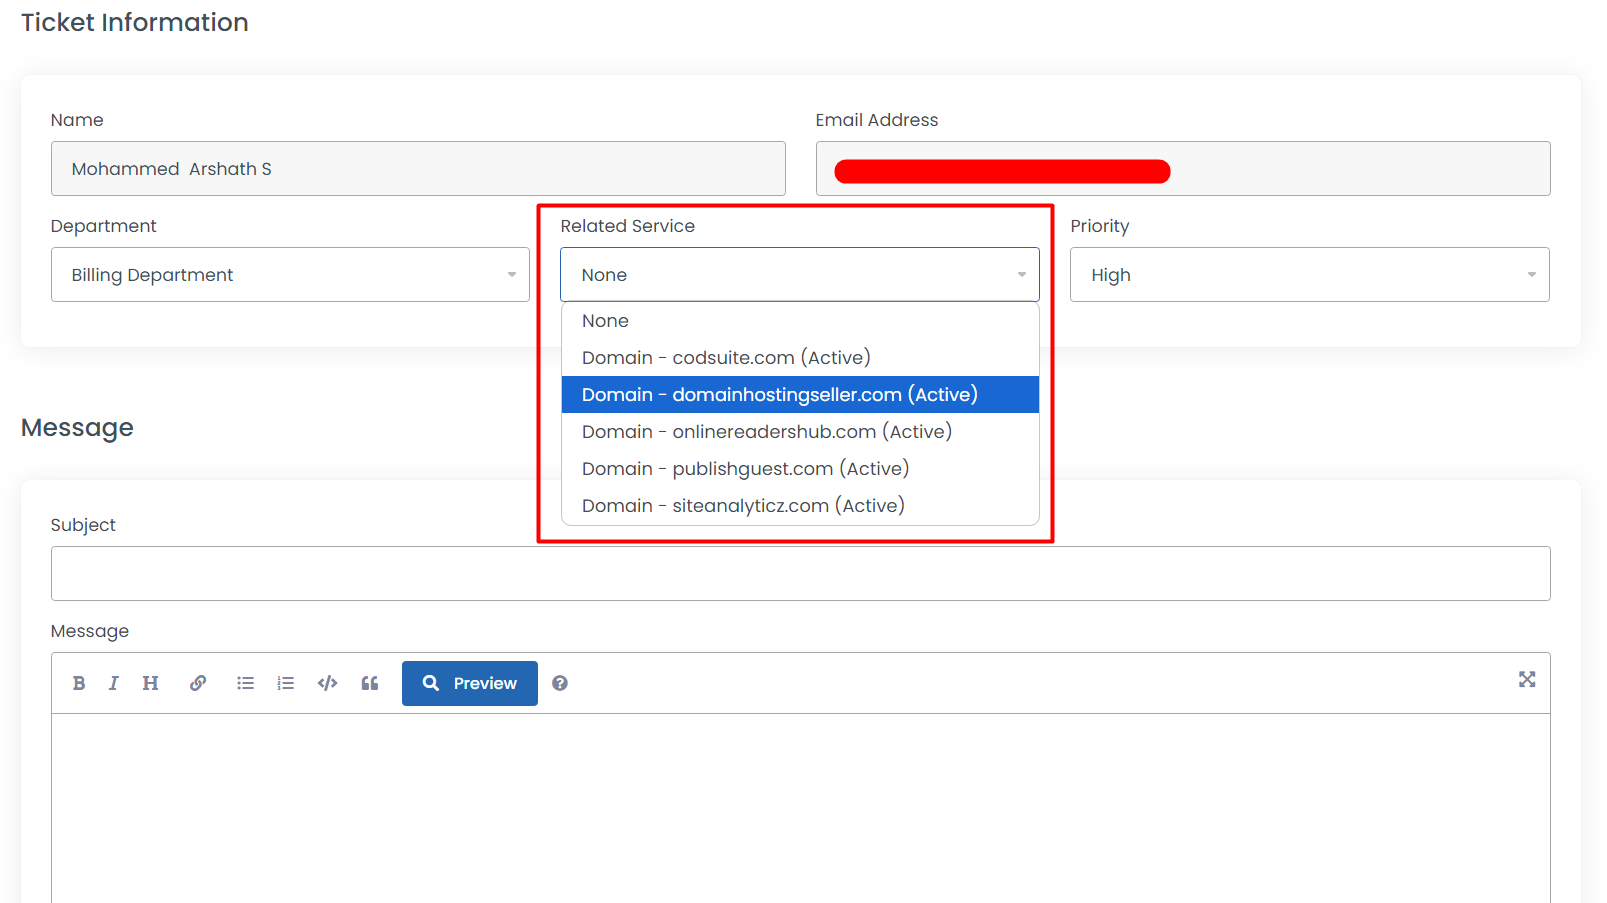
Step:3 – Select Package
Select the package where the domain hosted and mention the details how much fund you want to add and reason to add the funds which is required to record details and process your request.
Below are the details you can choose and update for raising the ticket.
Related Service – Choose the package or domain which you are requesting for.
Priority – Set the level which you want
Subject – Mention requesting for adding funds in your account
Message – Mention in details of the reason why you want to add funds in your account and how much you want to add.
Step:4 – Submit Ticket
Click “Submit” button at end of the page once you have entered the details to raise the ticket.
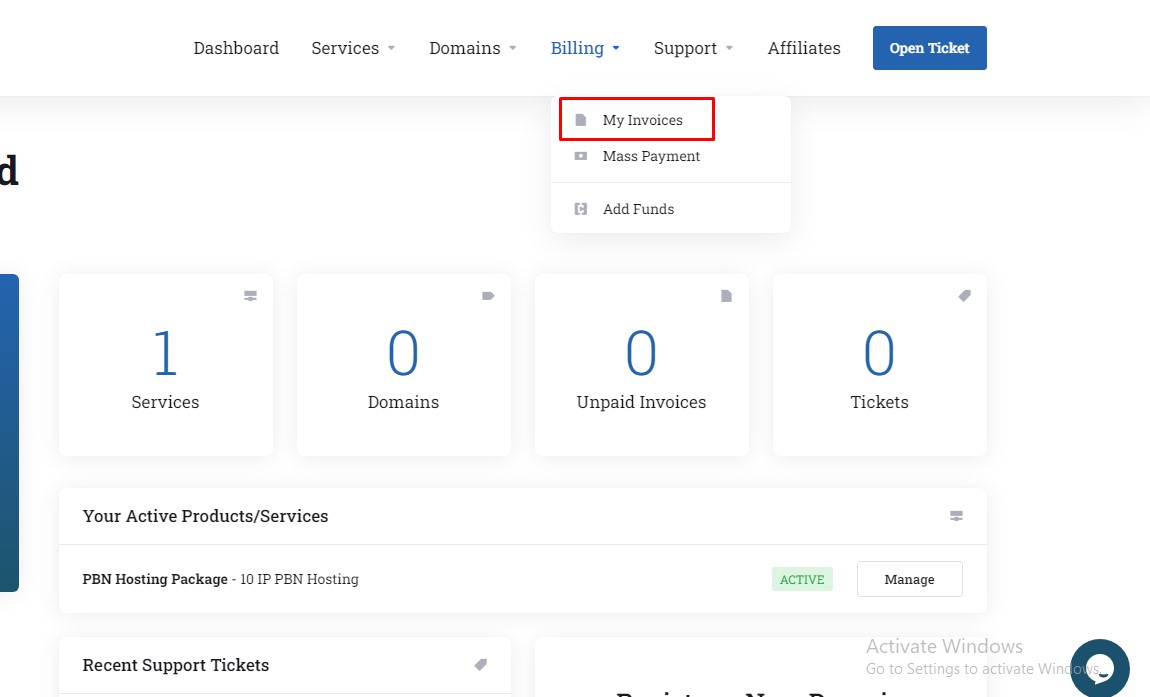
Step:5 – Invoices
You can pay the invoice we have generated for add fund through the option Billing -> My Invoices and pay the upaid invoice for add fund.
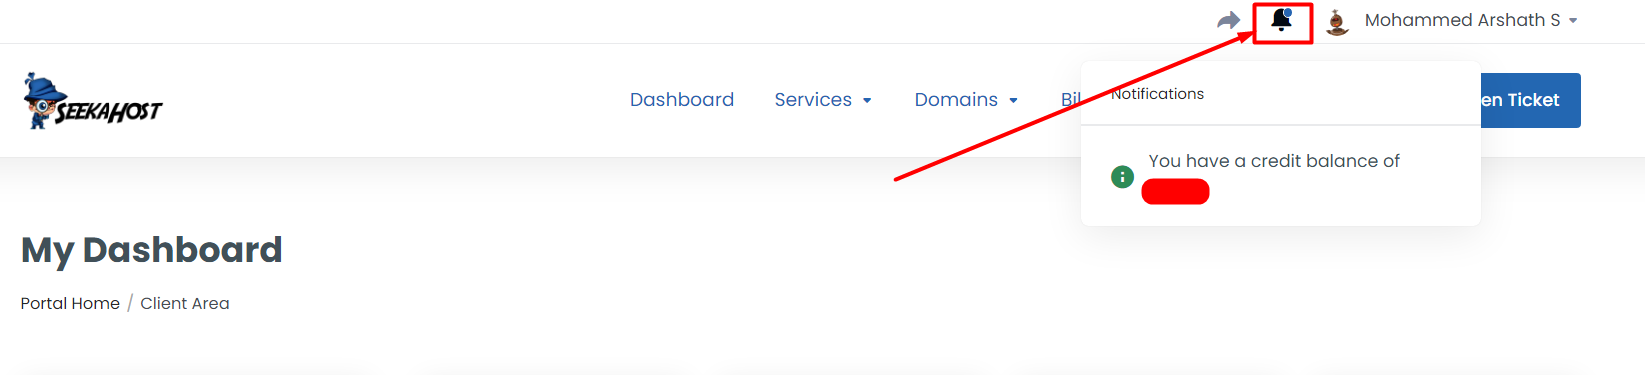
Step:6 – Credit Balance
To check the available credit balance in your account once paid, you can click the bell icon on right top corner of the page.
How to Use Credit Balance to Purchase an Order or Pay Invoice?
Step 1: If you are registering the domain or purchase the hosting package, click the order and add to the cart.
Step 2: On Review and checkout page, scroll down and click “Apply Credit” button on the right side.
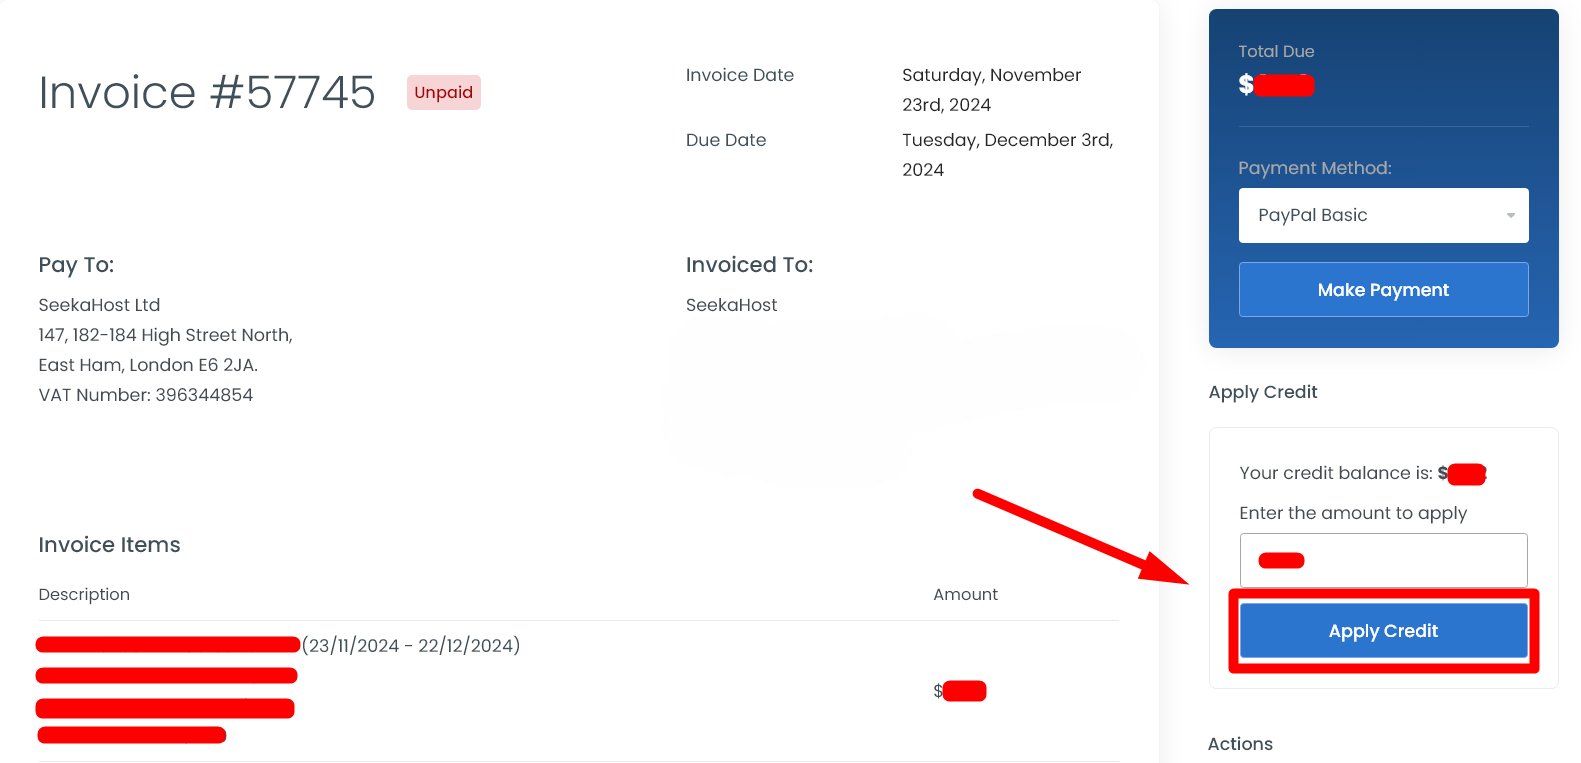
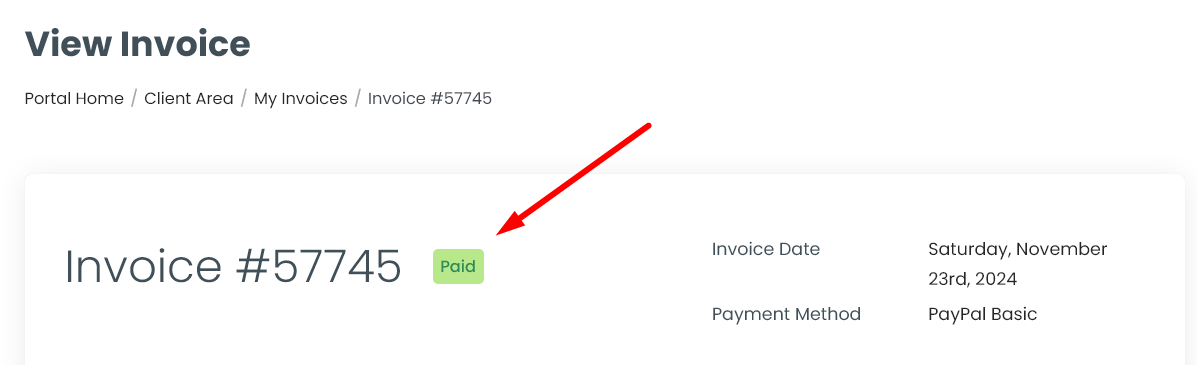
Step 3: Once applied, your order will be automatically activated and invoice will be marked “Paid”. You do not need to do any further steps on this.
NOTE: If there is no enough funds available, you can request us anytime with reason. Our team will send the invoice for you.
Additional Helpful Resources:
1. Purchase Domain or Hosting.
4. Add New User
5. Enable Two Factor Authentication
7. Account Email Verification at SeekaHost
If you are a registered user in SeekaHost and have any queries to be clarified or issues to be sorted, you can raise a ticket through client area dashboard or email to [email protected]. For immediate interaction or guidelines, contact our support team available in LiveChat at the right bottom corner of the website.