 SeekaHost.com Client Area
  SeekaHost.app
  SeekaHost.co.uk
  SeekaHost.in
Simple Steps To Create An Account in SeekaHost

Steps in creating an account in SeekaHost:
This blog post will guide you on how to create an account in SeekaHost. The customers can easily create an account by following these six simple steps.
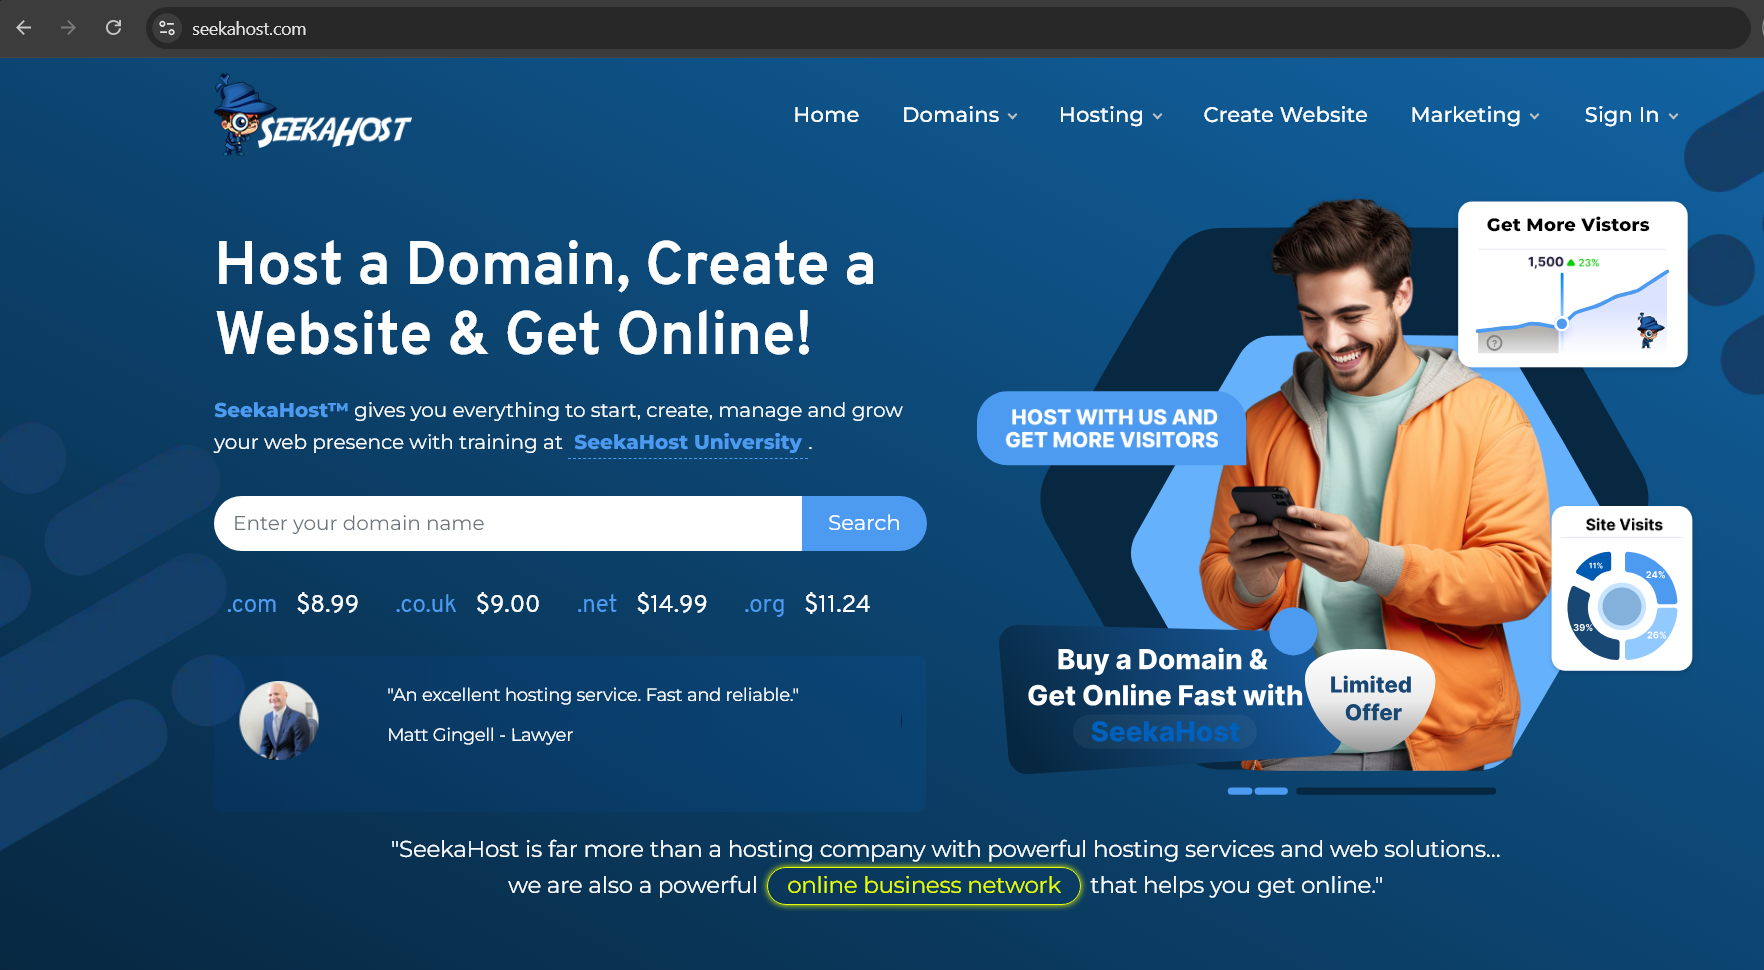
STEP 1:
Go to SeekaHost official home page.
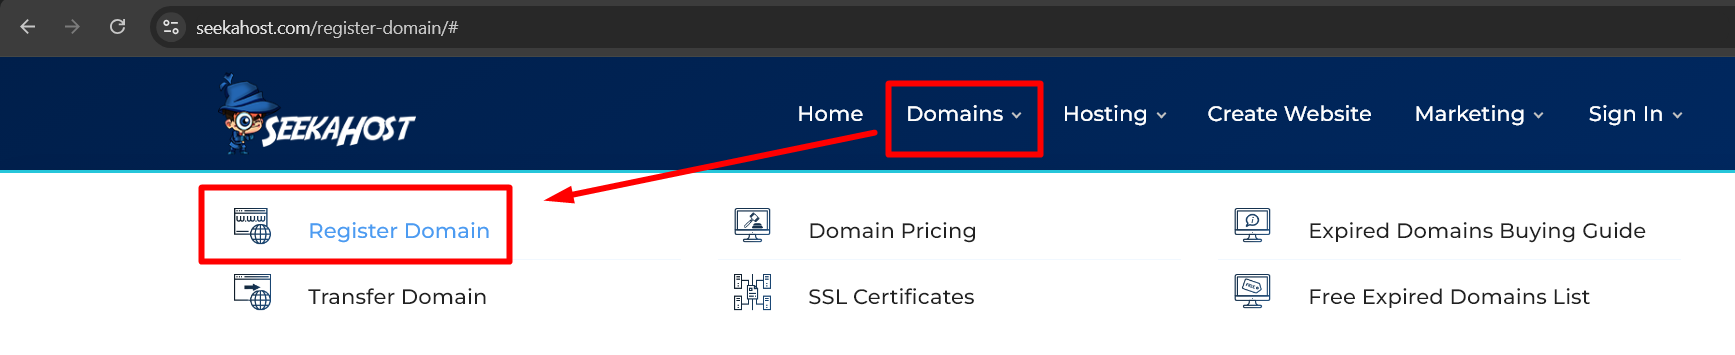
STEP 2:
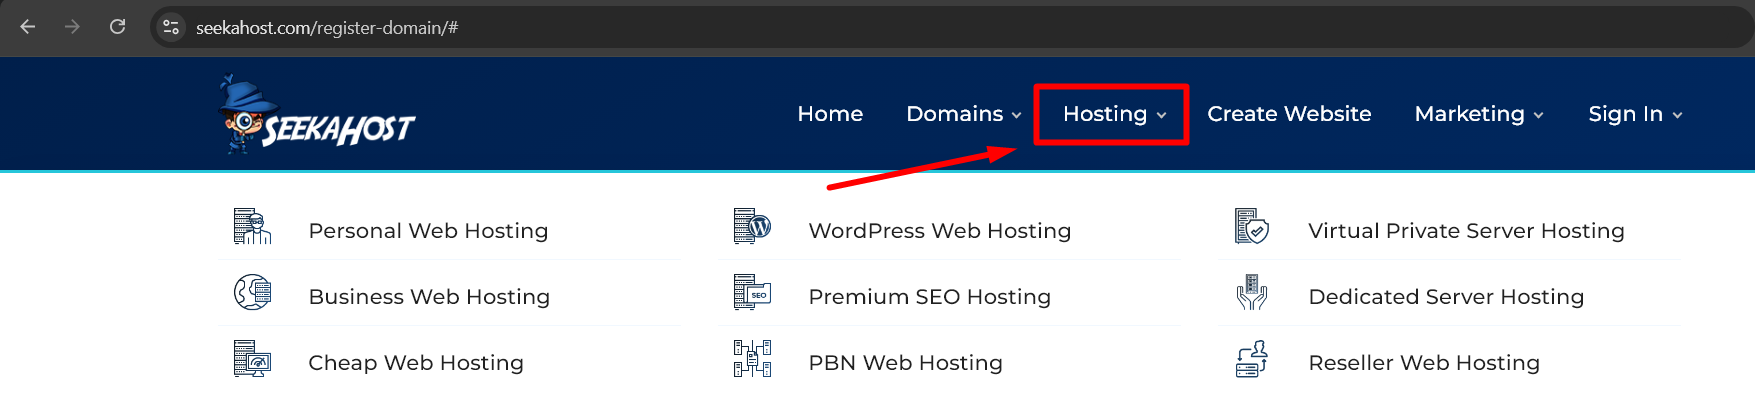
Initiate the domain order or any one of the suitable hosting plans with us.
Available Hosting Plans,
STEP 3:
Add the domain or hosting plan to the cart and continue to the review and checkout page. At this page, scroll down a little and you can see the “Create a new account” under the Billing Details section.
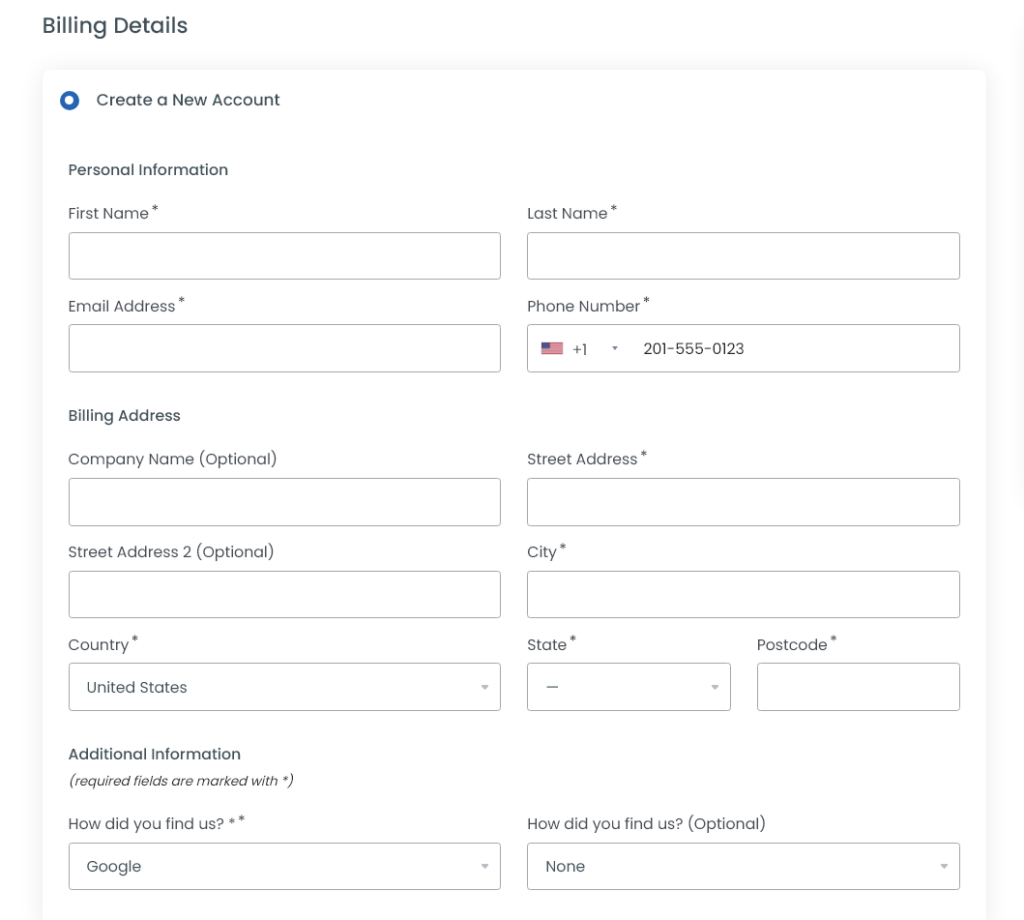
NOTE: Enter account information should be valid and correct to validate the account. If not, we might request for proof through mail to activate the order.
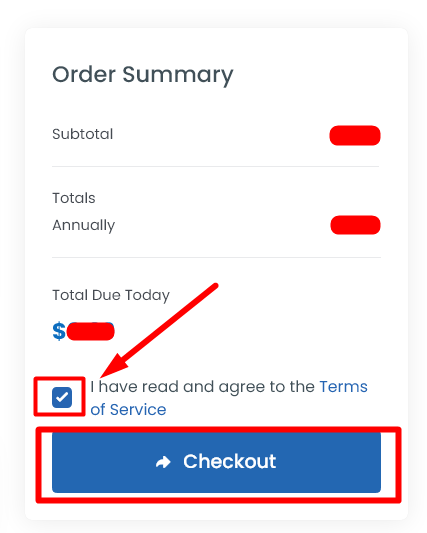
STEP 4:
After filling your details, at the right side under “Order Summary” section click on the checkbox near sentence “I have read and agree to the Terms of Service“. Then, click “Checkout” button to initiate the order and make the payment.
ADDITIONAL STEP:
Once registered, you should have received an email to your registered mail id, click on the link received to confirm your email address. This is to verify/confirm that it’s your email id and to avoid chaos in the system. The SeekAHost system will always recognize you with your registered mail id as that will be the only unique personal detail you provide when compared to others.
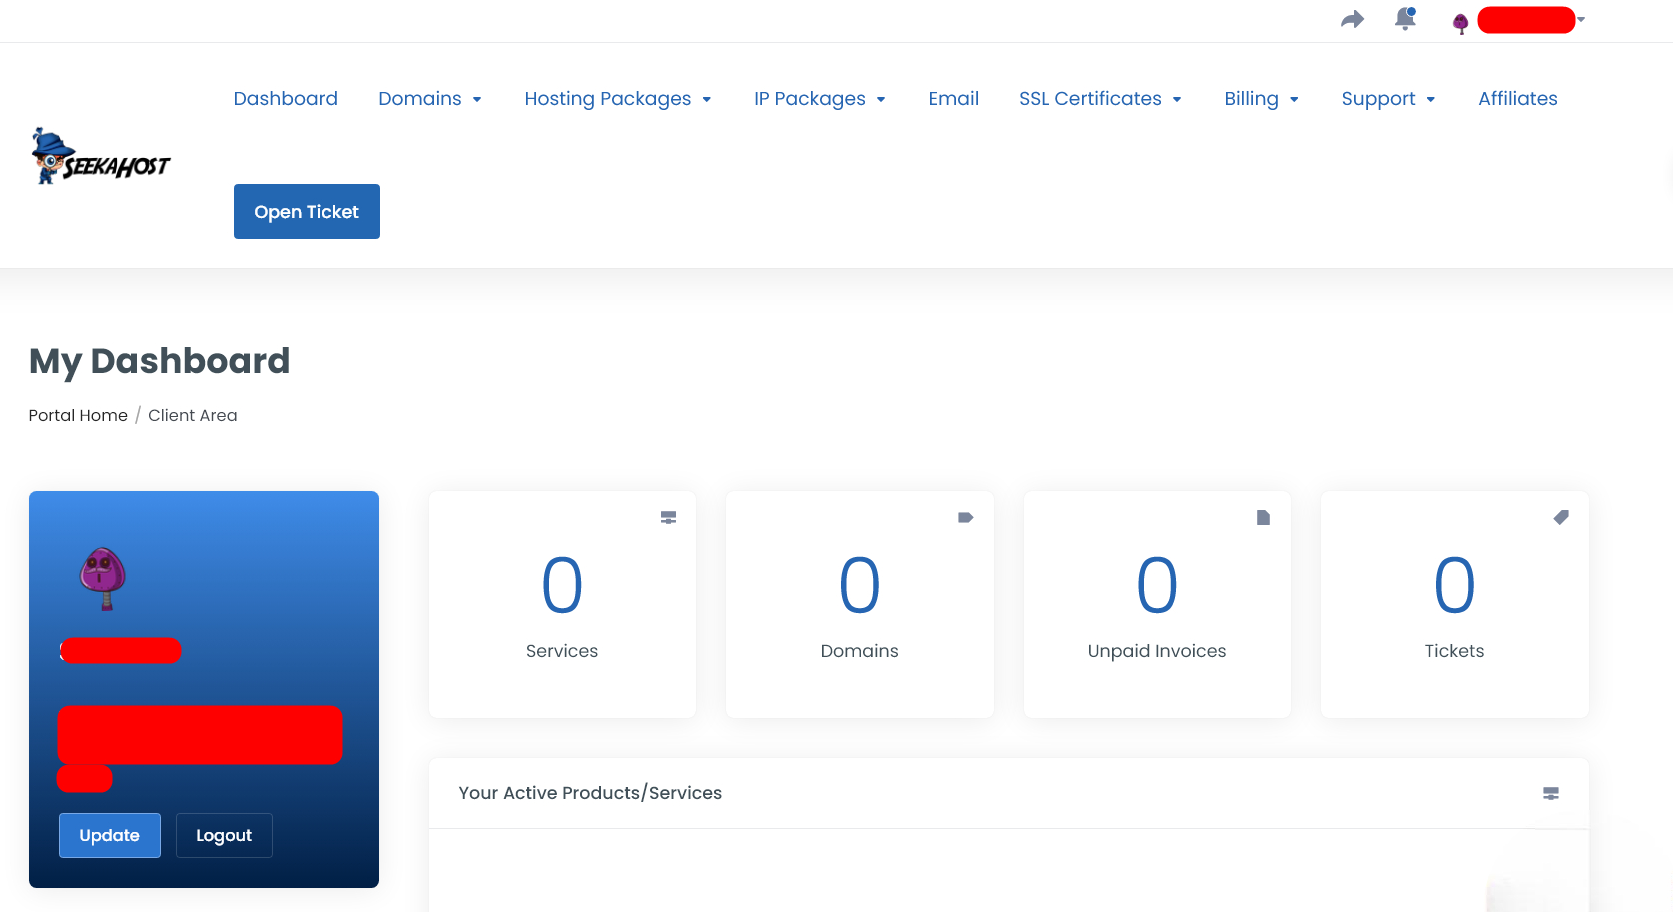
STEP 5:
After finishing the process, you can see your account details and purchase history, invoice, tickets, etc., in the dashboard page.
Additional Helpful Resources:
1. Purchase Domain or Hosting.
3. Add New User
4. Enable Two Factor Authentication
5. Add and check Available Funds in Account
7. Account Email Verification at SeekaHost
So, these are the simple steps involved in creating an account in SeekaHost.
If you are a registered user in SeekaHost and have any queries to be clarified or issues to be sorted, you can raise a ticket through client area dashboard or email to [email protected]. For immediate interaction or guidelines, contact our support team available in LiveChat at the right bottom corner of the website.