
How to Setup Auto Subscription in SeekaHost?

By Aravind
Auto subscription refers to a convenient mechanism wherein recurring payments are automatically deducted from your account, ensuring uninterrupted access to a product or service without the hassle of manual renewals.
In Seekahost, You can enable an automatic subscription in PayPal while paying the invoice. To setup an Auto Subscription follow the below steps,
Login to Client Area
To set up an Auto Subscription, first login to the Seekahost client area.
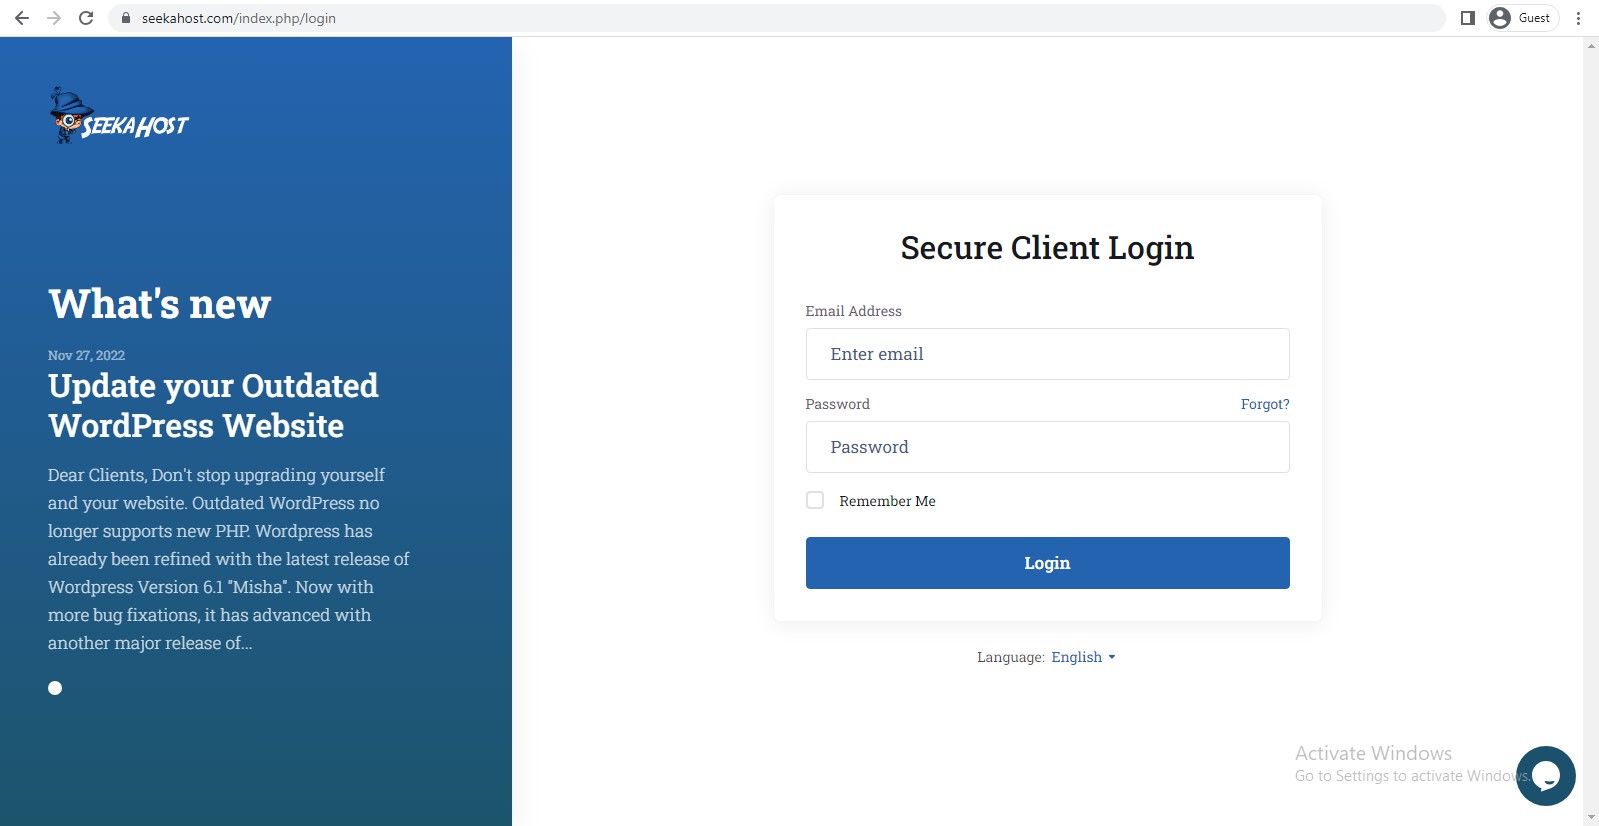
Enter your Email Address and Password to login the Client Area.
That’s it! You’ve successfully logged in to your client area. On successful login,
You will see the Dashboard screen,
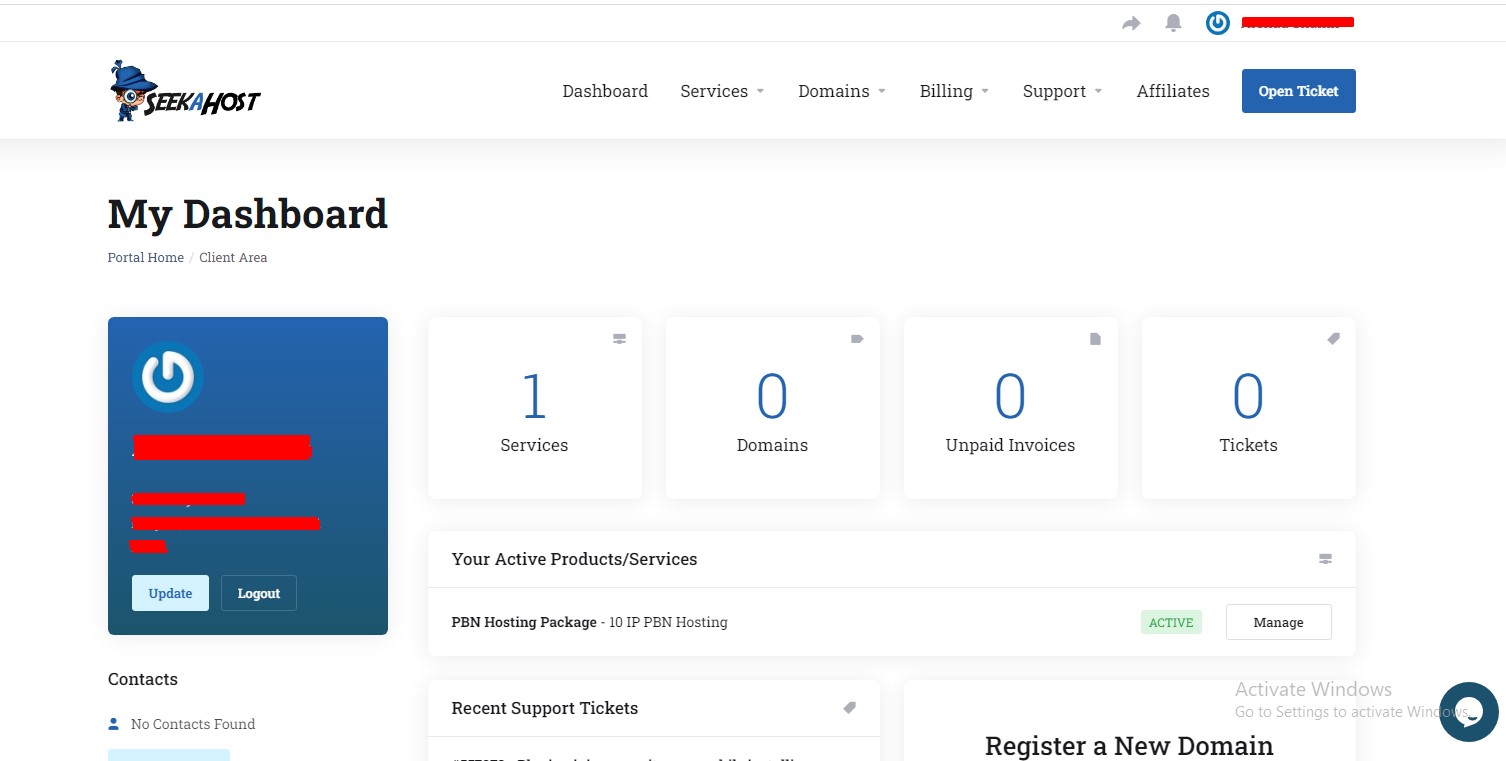
Once you are logged in, follow the below-described steps to setup an Auto Subscription.
Setup an Auto Subscription in Seekahost
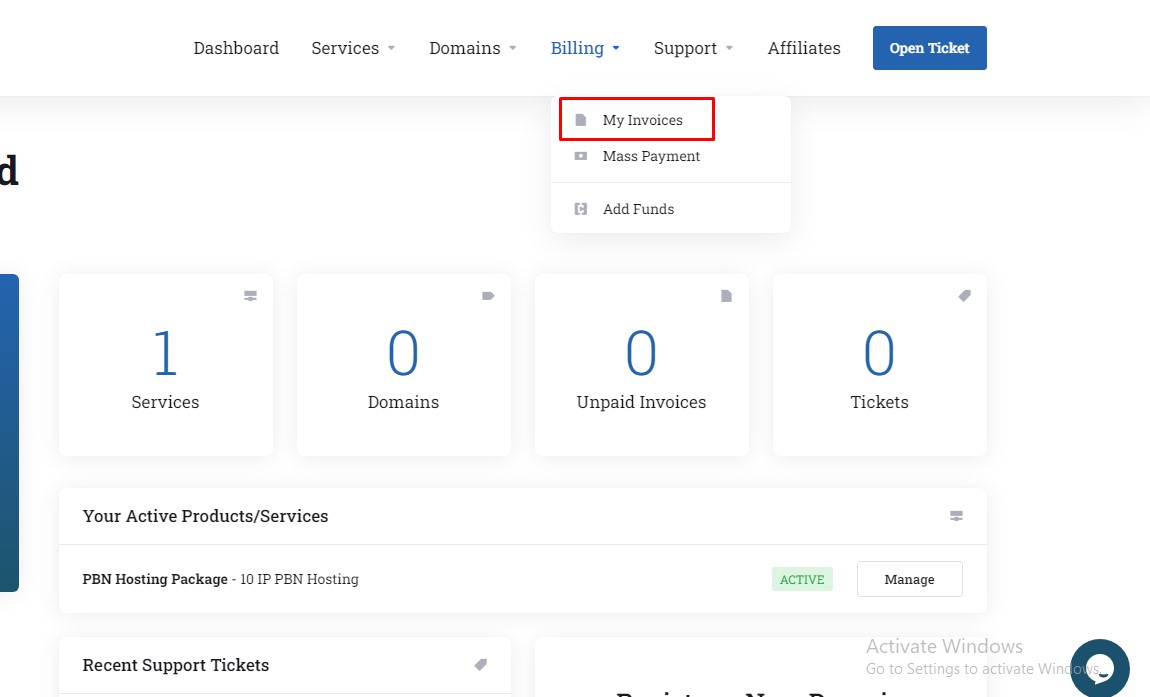
Once you are successfully logged in to Client Area, Goto Billing and select My Invoices.
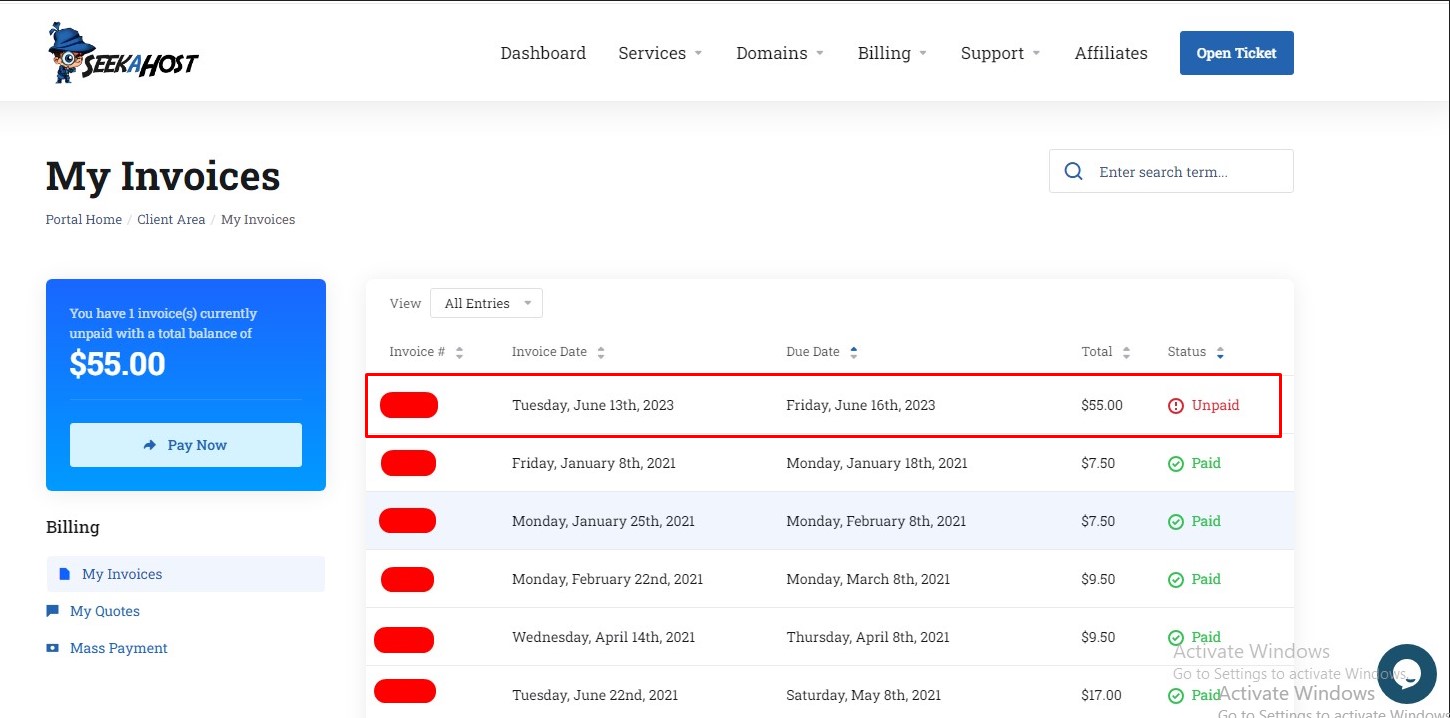
After clicking on my invoices, It will redirect to the invoice list page,
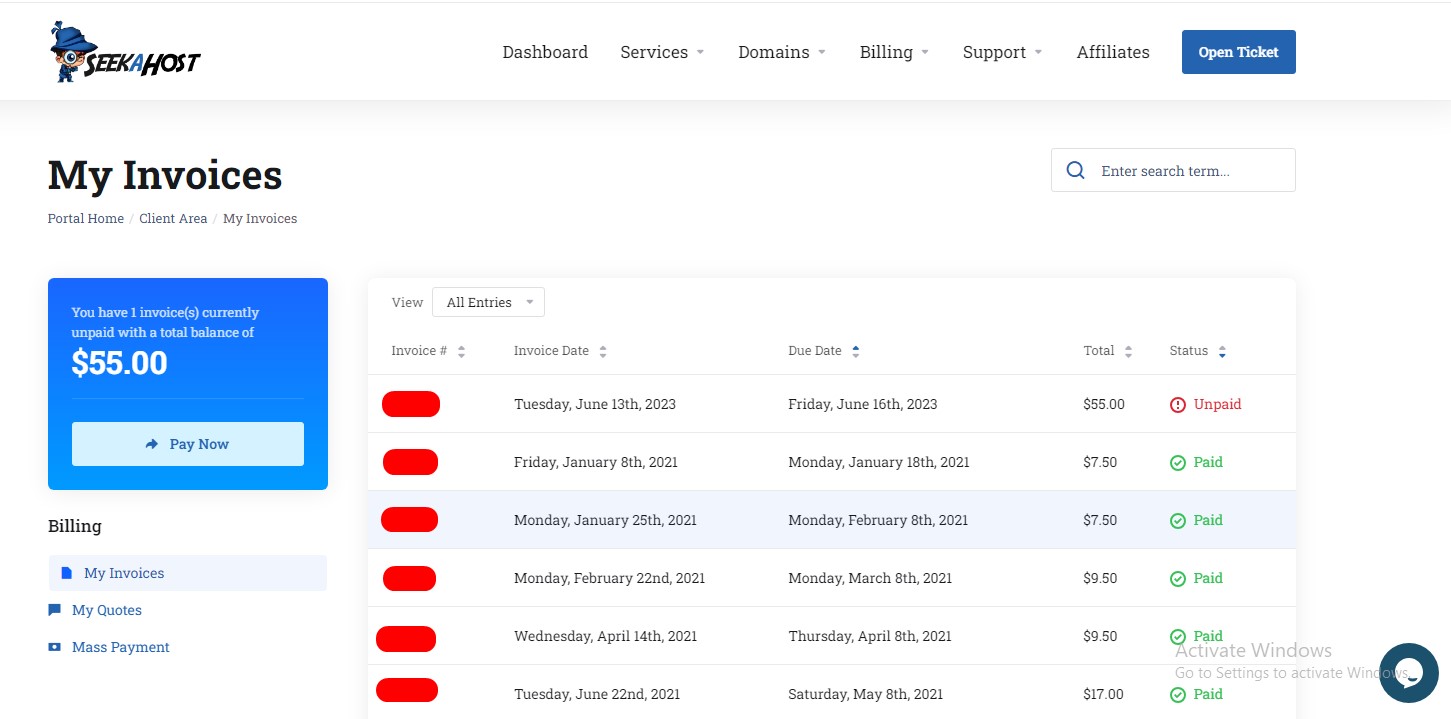
Click on the unpaid invoice,
It will take you to the payment page. Select the payment method to Paypal & Click Check out.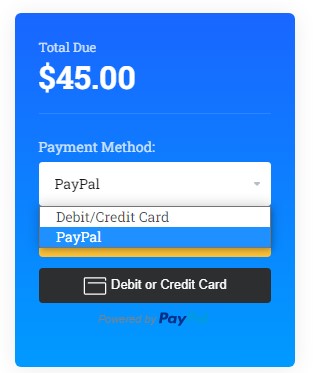
After clicking on checkout, the Paypal login page will appear. When you logged in you will get a page like mentioned below.
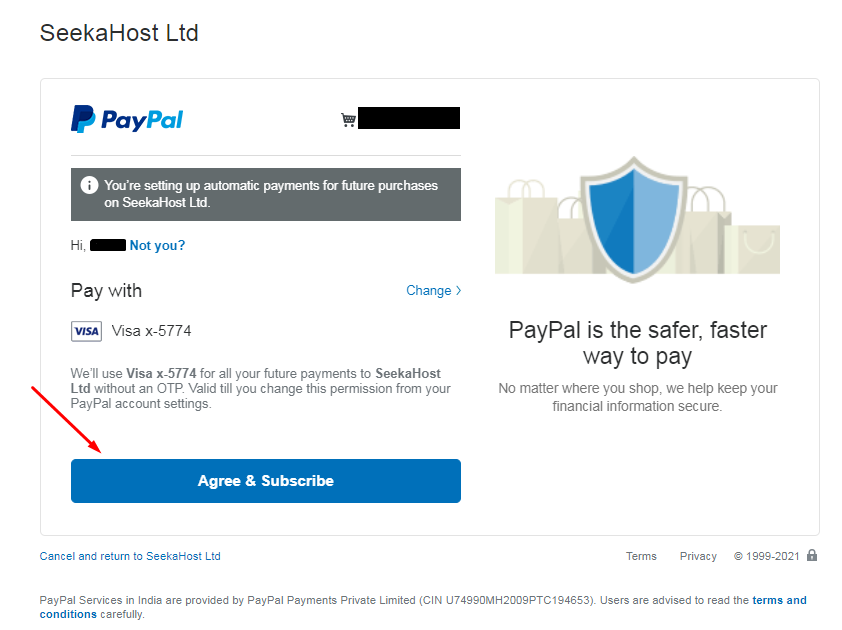
Click on Agree & Subscribe. The payment will be done and an auto subscription will also be enabled.
NOTE: The subscription option will only be available till the due date.
Auto Subscription for new clients:
After purchasing the product, click on Continue.
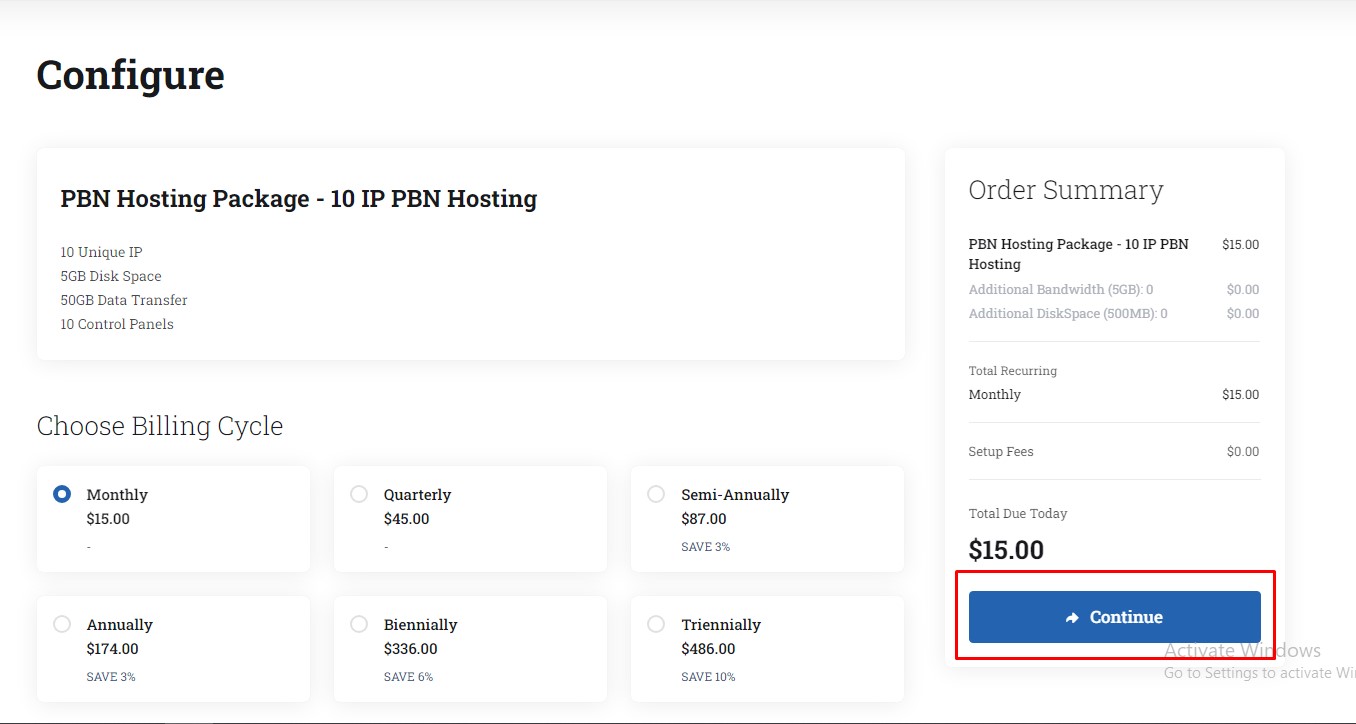
Once you click on continue, it will redirect to the preview and checkout page. Review your products and click on Checkout.
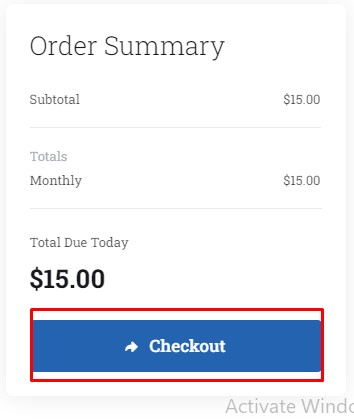
After clicking on checkout, the Paypal login page will appear. When you logged in you will get a page like mentioned below.

Click on Agree & Subscribe. The payment will be done and auto subscription will also be enabled.
