SeekaHost.com Client Area
  SeekaHost.app
  SeekaHost.co.uk
  SeekaHost.in
 Step By Step Guide to Create a Subdomain in cPanel
Hosting is the base for every website. It is very important to provide a user-friendly interface to make effective usage of the features. Because even though there are thousands of features, you can use it only if it is easy to understand. So user interface must be easily understandable. So normally every hosting provider will provide the cPanel details for the users which is easy to understand.
What is a Subdomain?
A subdomain is a domain name that is followed by the main domain. For Example: Seekahost.com is a domain and blog.seekahost.com is a subdomain.
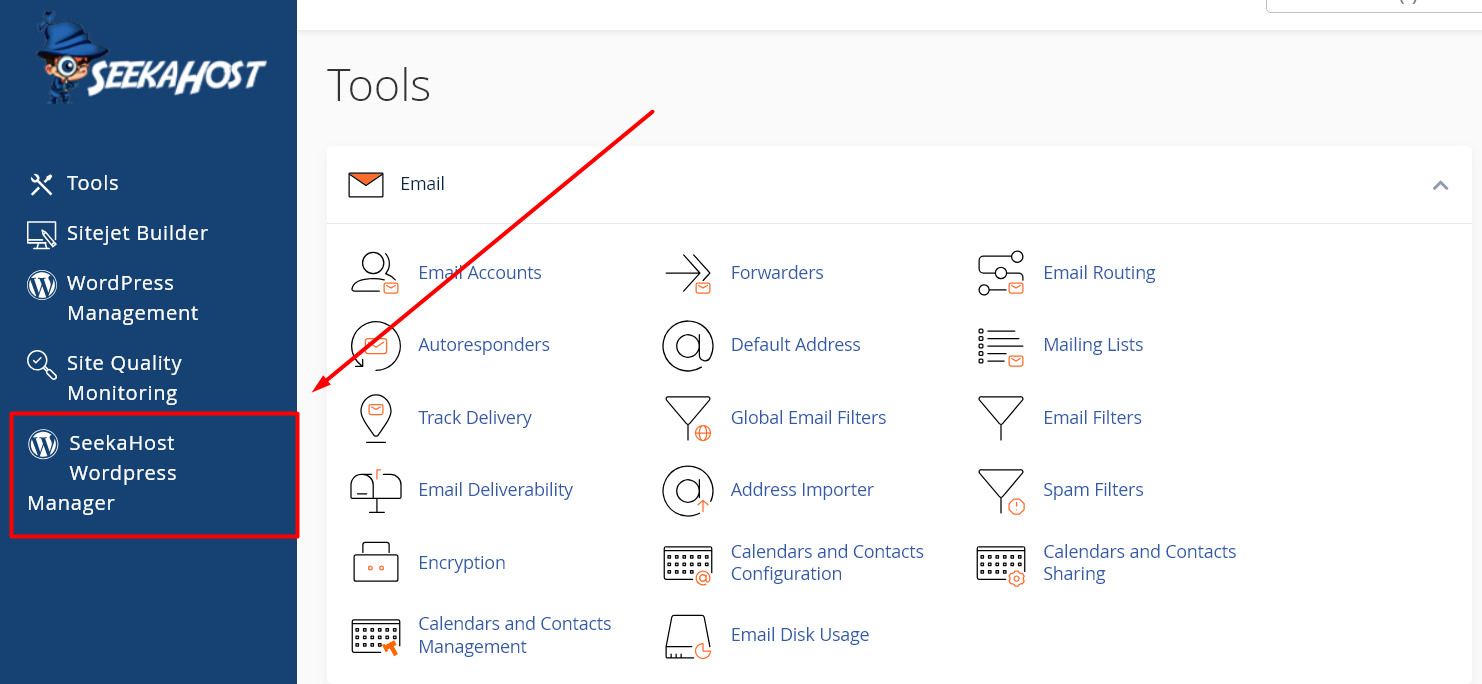
How to Create a Subdomain in cPanel?
In cPanel it is very simple and easy steps to create the subdomain. Just follow the below steps to create a subdomain in your account.
- Login to your cPanel with your Account Details.
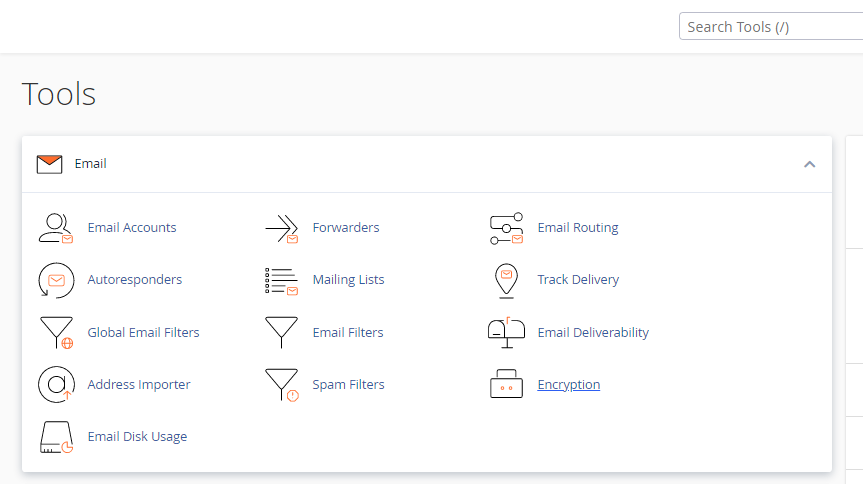
- After login, you will see an interface like below. Sometimes it may vary just because of different themes.
- In search, type “domains“, then you will get the results as shown below.
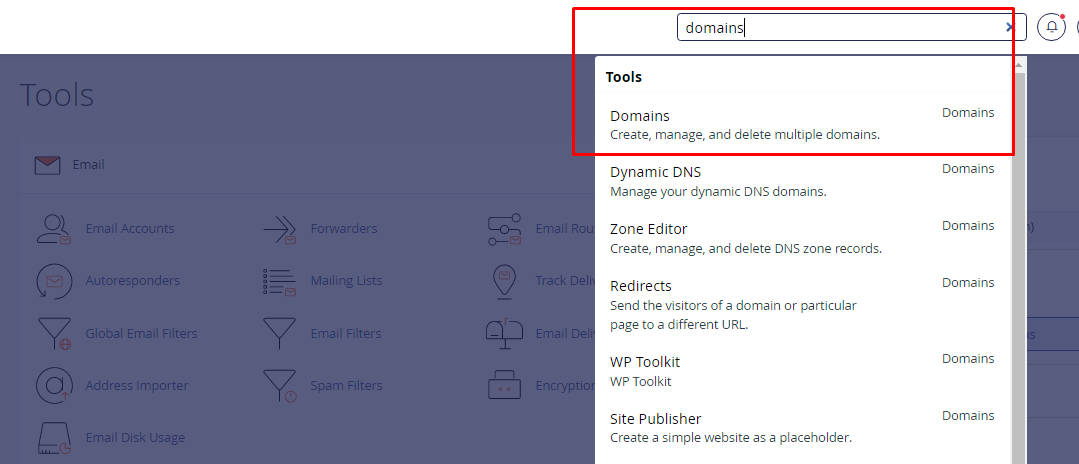
- Click on the Domains.
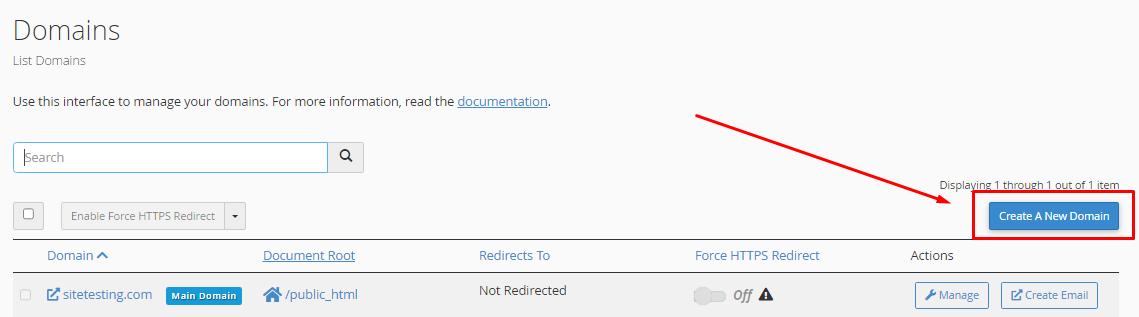
- Then you will be redirected to another page, where you can see the option to create a new domain.
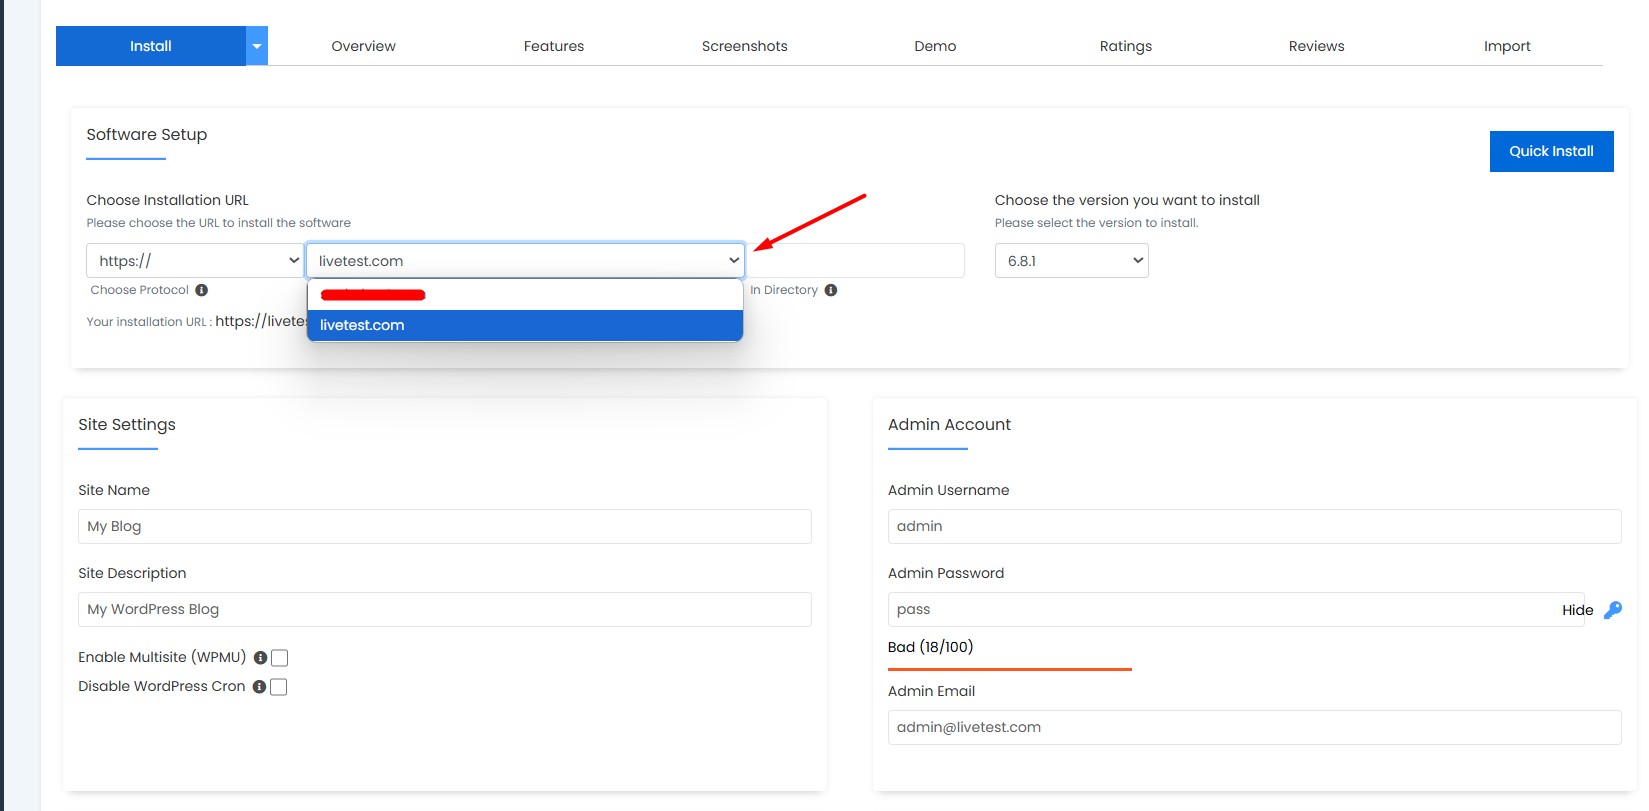
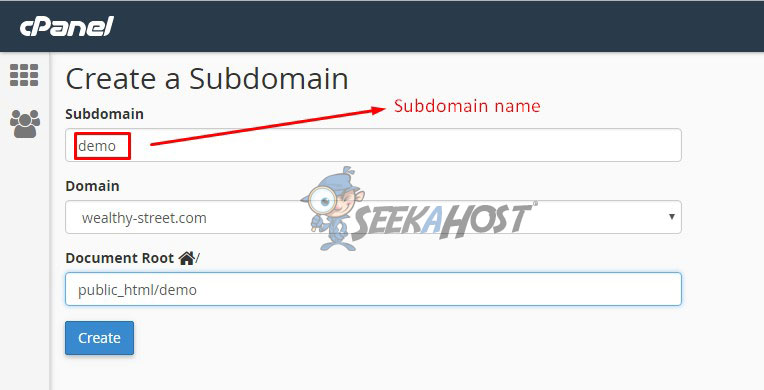
- Just click the “Create a New Domain” and you will see an option as the below image. There enter your subdomain name in the provided box and just make a click inside the document root text box. For example: I have used the domain wealthystreet.com and created the subdomain “demo”.
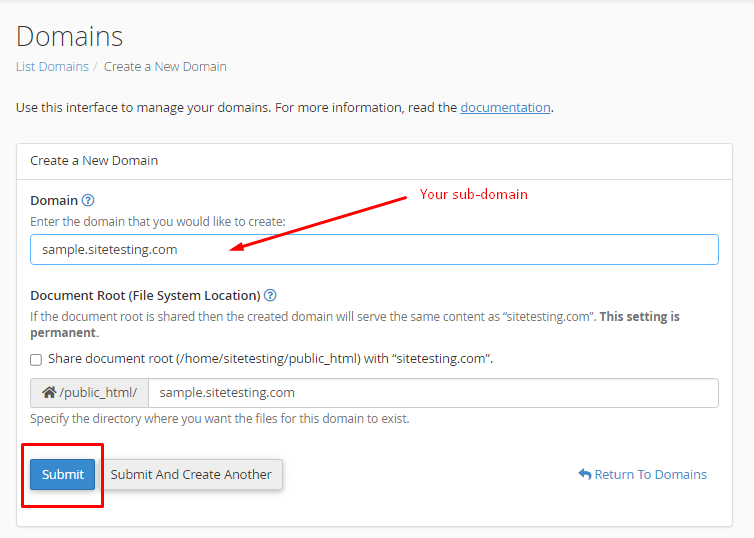
- Click on Submit. Then your Subdomain is created.
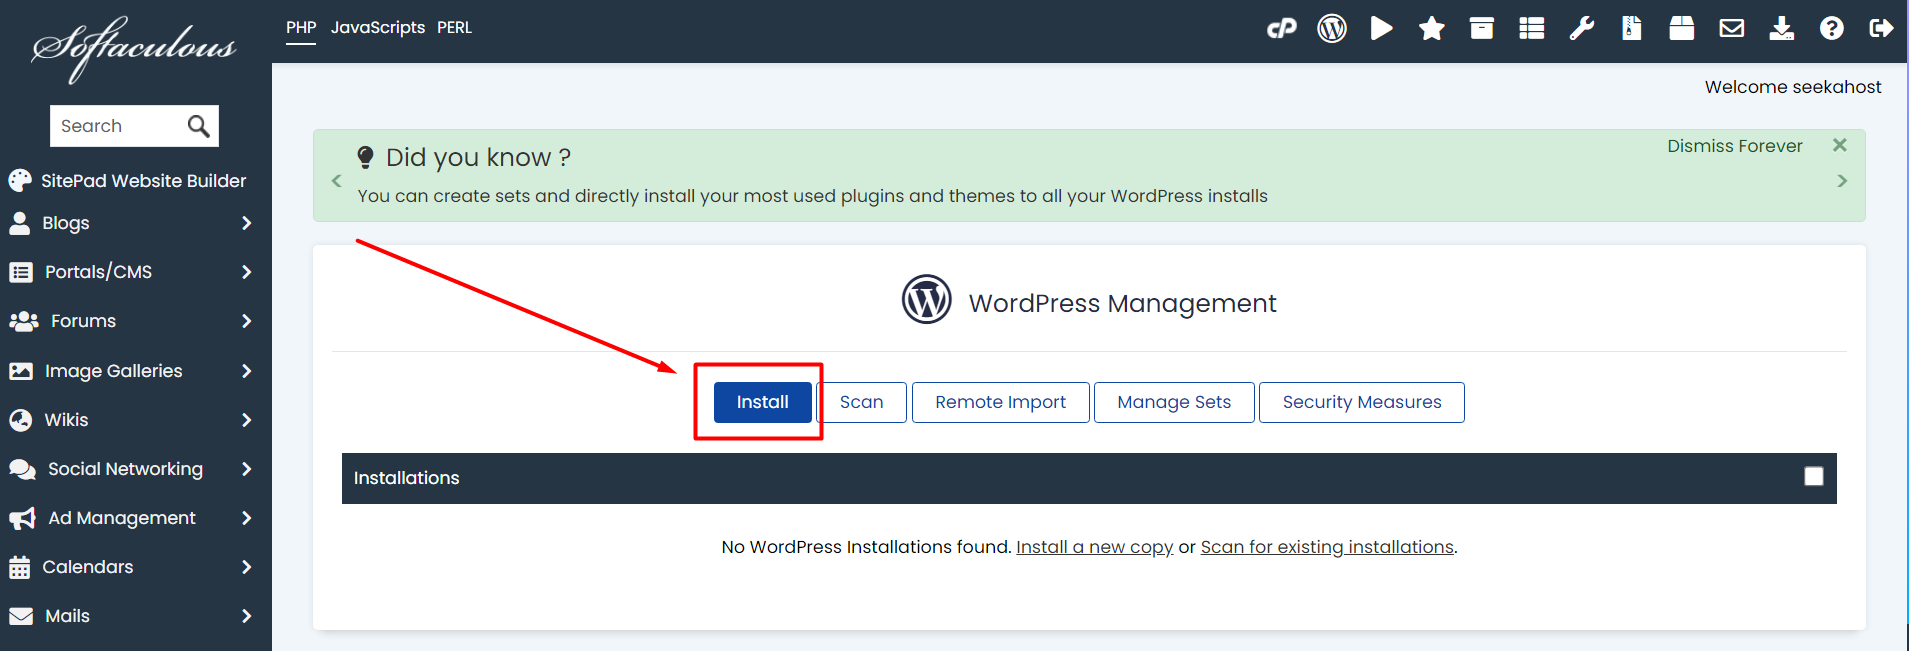
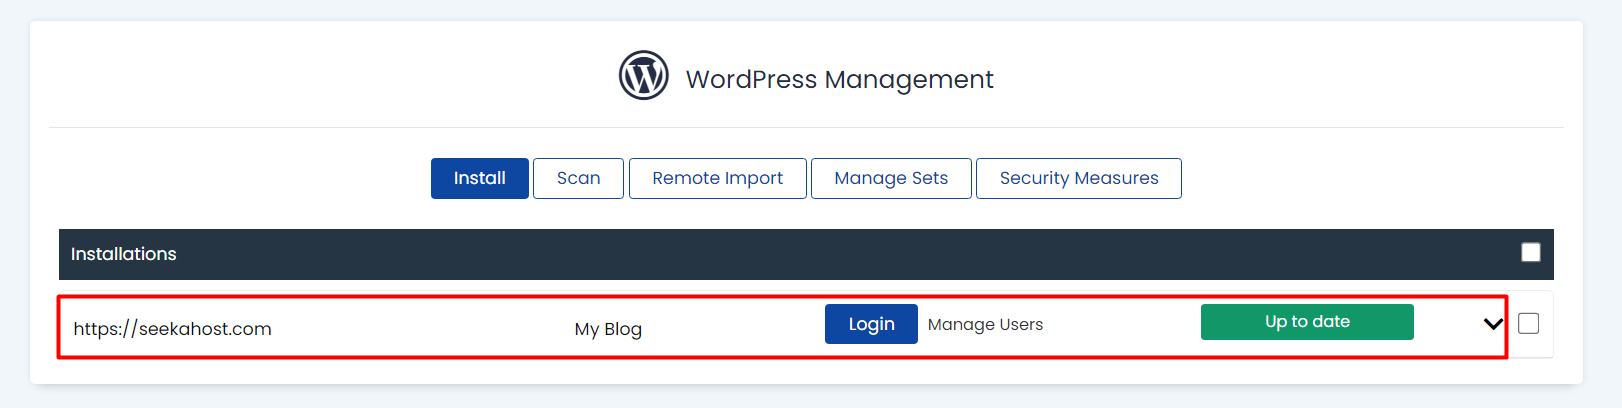
- To use the Subdomain, you must install CMS like WordPress.
Just follow the below steps to install WordPress and Use the subdomain.
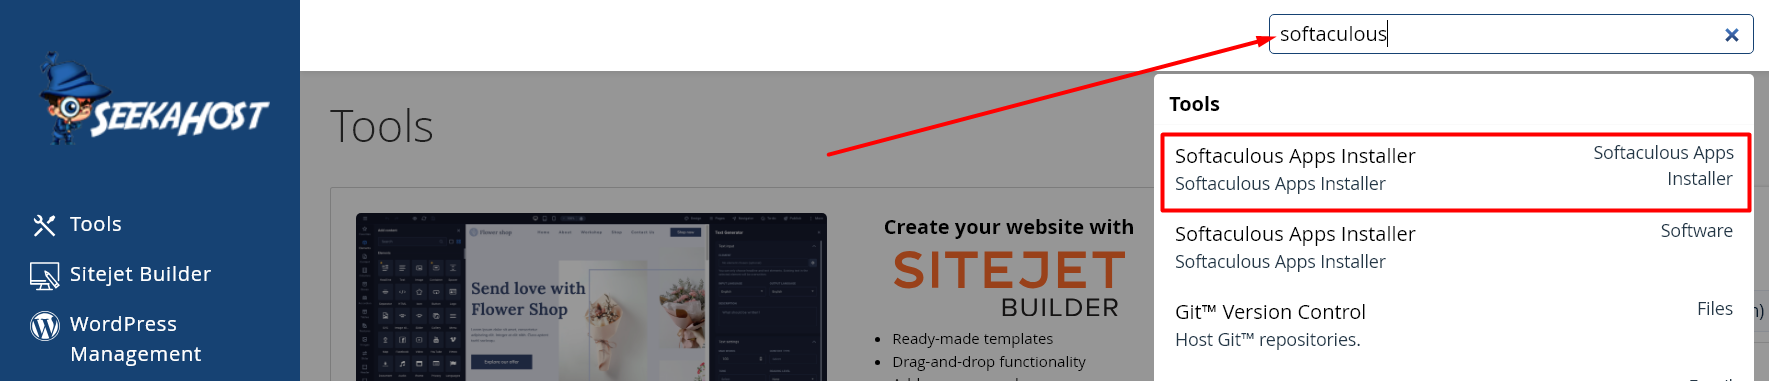
- Go to cPanel, and search for Softaculous.
- Click on the Softaculous under software.
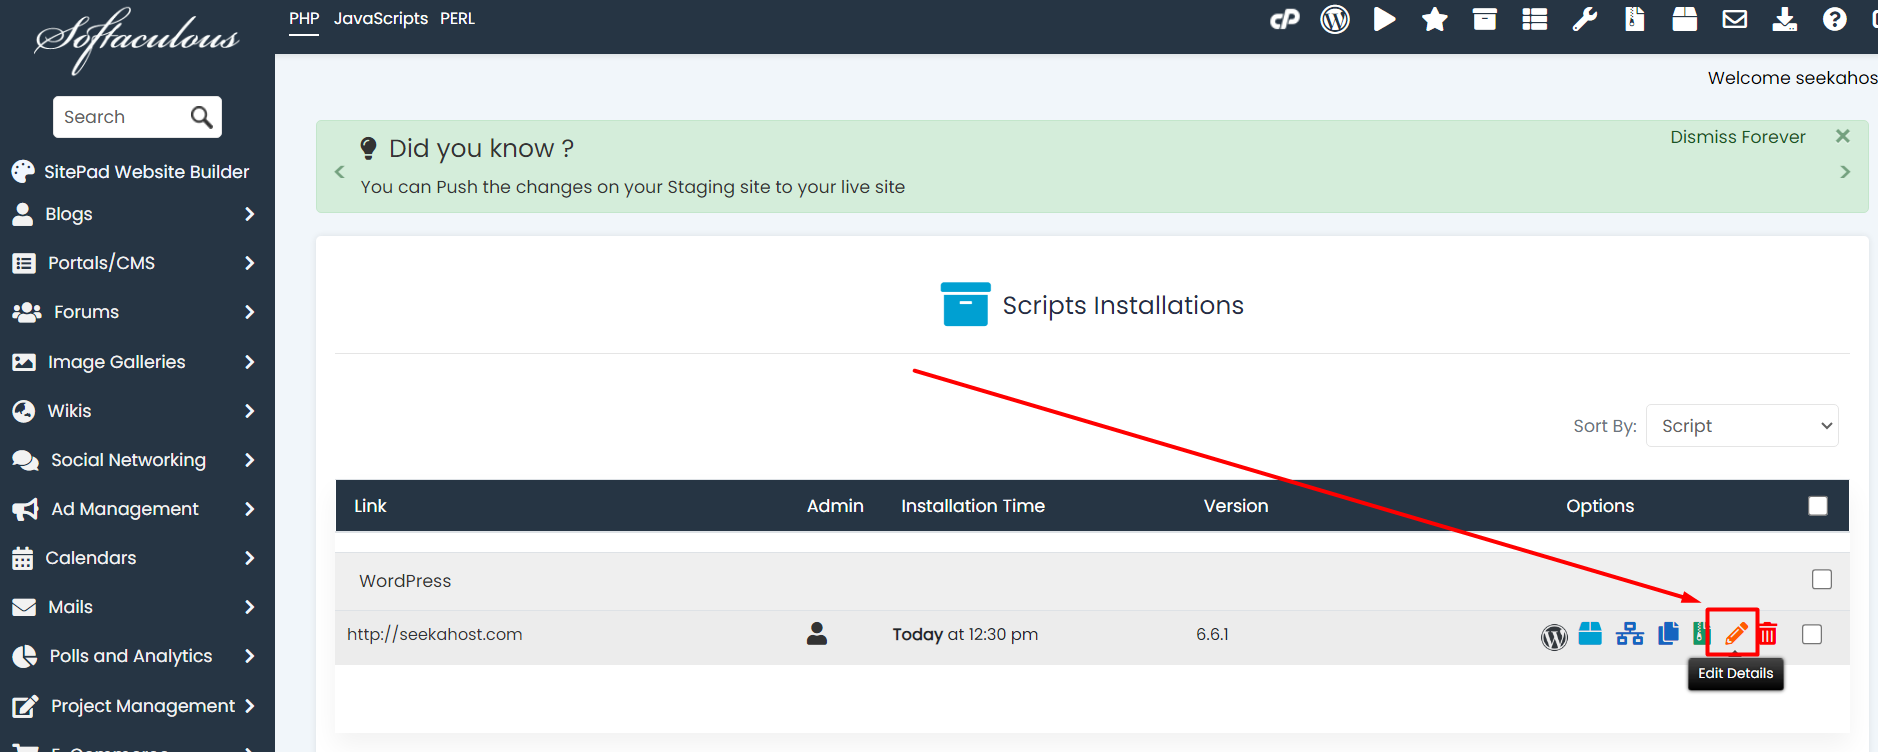
- In Softaculous, go to WordPress installation. For more refer step by step guide to make use of a click installer.
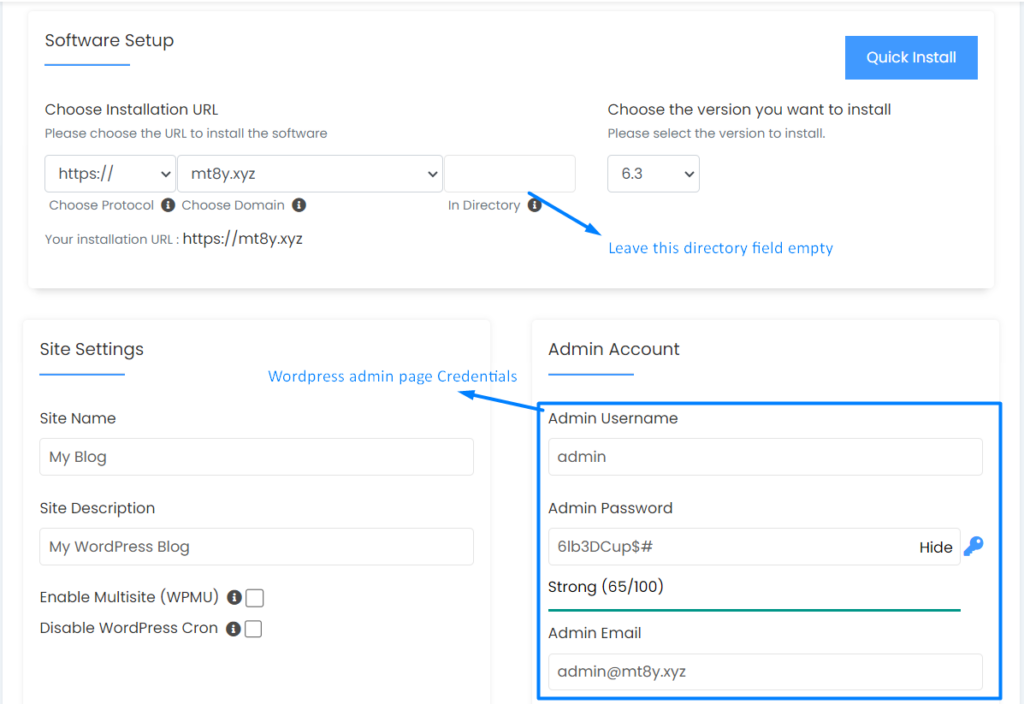
- Choose your subdomain and provide the needed details to install WordPress.
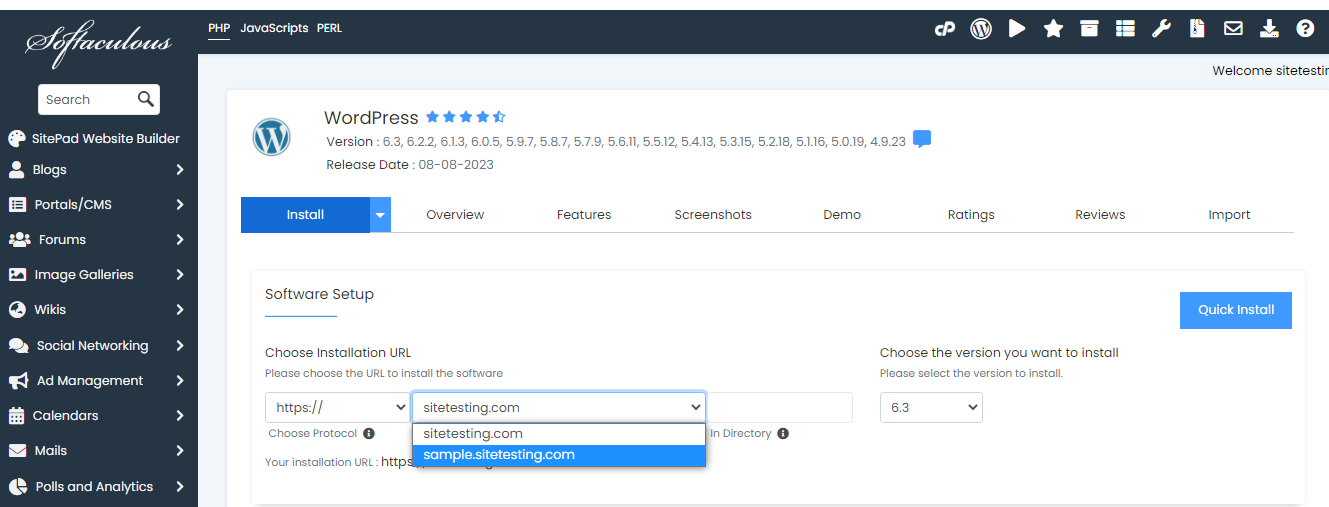
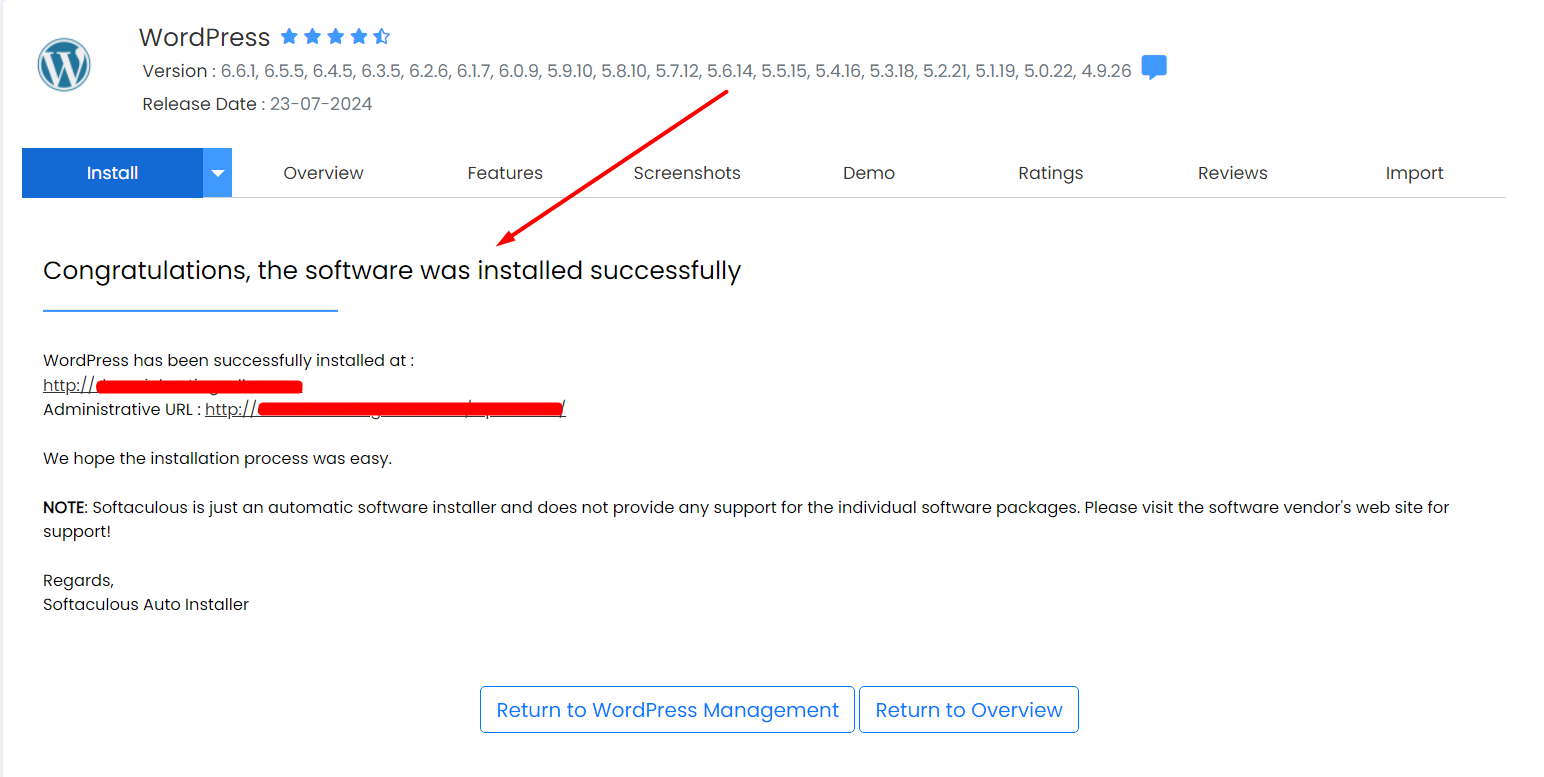
- Click on Submit. Once after the installation, your subdomain is ready to design and use.
- To check, go to cPanel and click on File Manager as shown below.
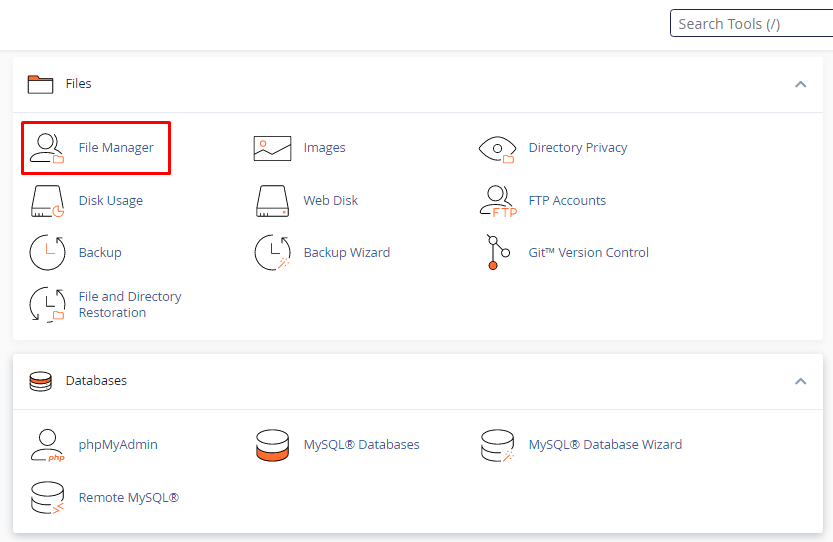
- In Filemanager, Click on public_html.
- Here you will see a folder in the name of your subdomain as shown in the below image.
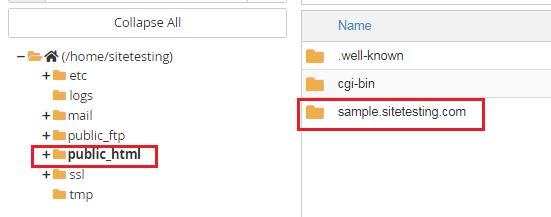
- Finally, you have created a subdomain and it is ready to use it.
For more, Visit -> seekahost.com/blog