How to Use Website Virus Scanner in cPanel?

By Surya
Table of Contents
A virus scanner is the most important feature in the application side and also even for websites, servers, etc., cPanel with a virus scanner is a huge advantage for the hosting users. This helps the hosting users to safeguard their files, folders, etc., from harmful threats. The user can also scan the different sectors of the home directory by using the antivirus.
Scan Account with Virus Scanner in cPanel
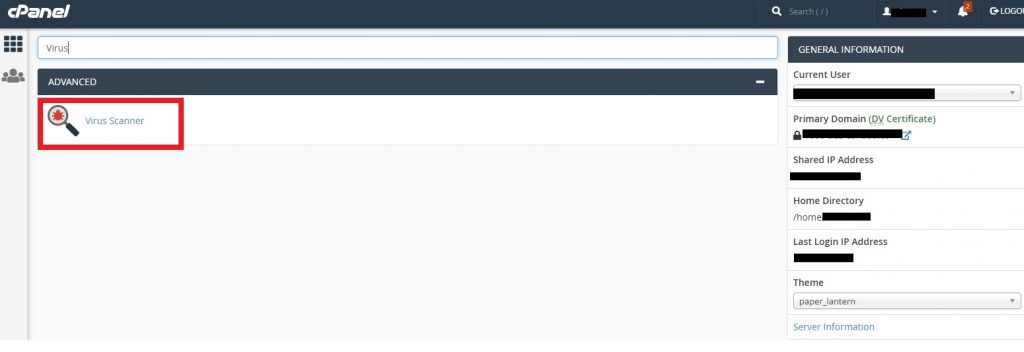
STEP 1: Opening the Virus Scanner
Type ‘Virus Scanner’ in the search box and click on it.

STEP 2: Scan Now
Choose the type of scan from the given options for scanning. Click ‘Scan now’.
Scan Entire Home Directory – This option helps you to scan the entire cPanel. If you choose this option, you don’t need to scan on other options.
Scan Mail – It scans your emails for viruses.
Scan Public FTP Space – It scans the public_ftp folder.
Scan Public Web Space – It scans the public_html folder, where all the end files reside.

STEP 3: Completion of Virus Scan
After scanning, it notifies that the ‘Virus Scan is complete’ and ‘No Viruses found’. If there is a presence of malware, it displays the files which are infected.
STEP 4: Process Cleanup
You can remove the malware by checking the buttons under the option ‘Destroy’ and click on ‘Process Cleanup’. Now, the malware from your cPanel is totally removed.
